Wish List

Friday, September 30, 2022

Cherries on a fun fold...


Since I had some of this pretty, cherry-patterned DSP in my stash, I decided to make a card with it. This time I opted for a simple fun fold. This is one of my favorite folds--it's so much more interesting than the usual A2 card, but is still super simple to make.

The cherries were die-cut and adhered to the white panel after using a stamp to add a speckled background for them. The "Happy Birthday" was also die-cut. When I was done with that, it still seemed like it needed something, so I added the little triangular corners out of the green DSP, which I also used as a mat for my cherry paper.
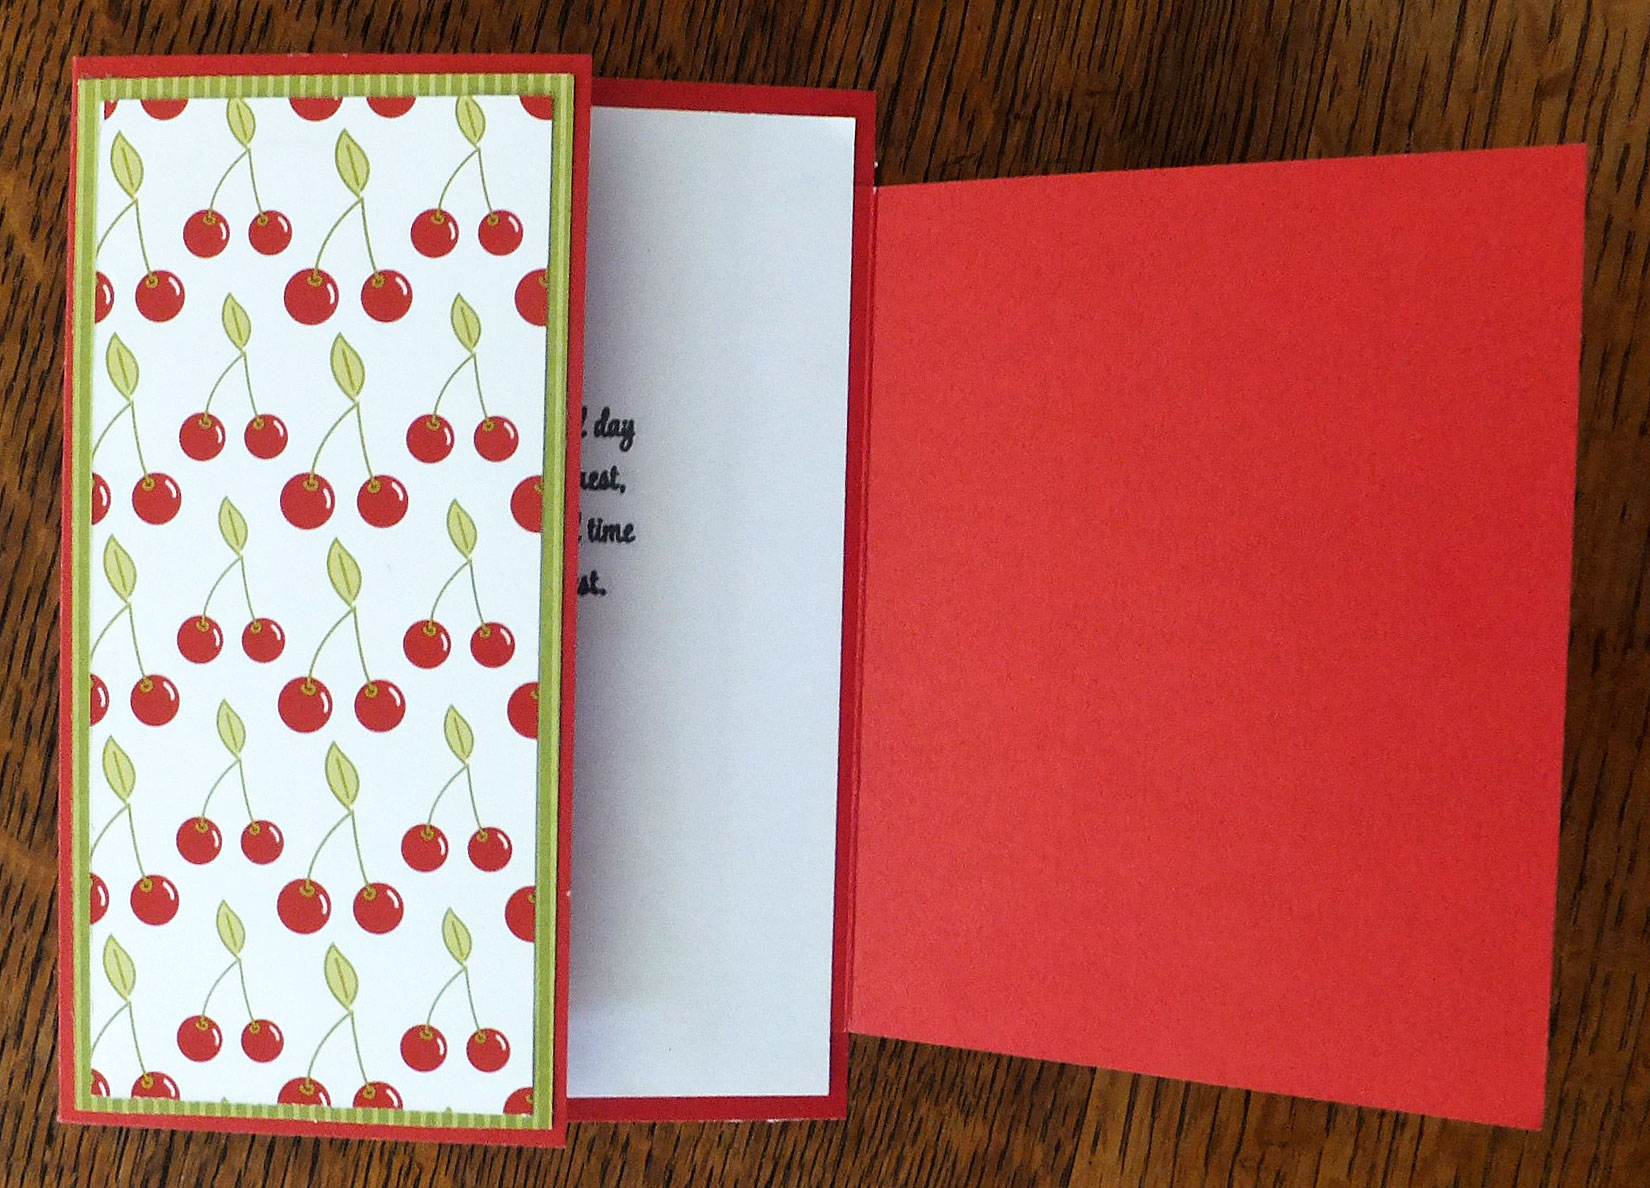

Here is how the card opens up. The piece on the right is a separate piece that is adhered behind the white panel. You could actually make it any size you wanted.


And this is the card fully opened. I added a stamped sentiment to the inside panel.

Do you have a favorite fun fold? I'll admit that I have several. It's fun to make the more complicated ones if I have the time. These days, however, it seems I just don't have that much time.

Thanks so much for stopping by, and remember to laugh--a little or a lot--every day.

Cheryl

Tuesday, September 27, 2022

Another quick baby card...

As I've mentioned before, I sometimes am given stickers (usually just odds and ends) when I volunteer at the thrift store. They give them to me in hopes that I can use them on the cards I make for them to sell. I've gotten quite a few baby-themed stickers, and here's a card I made with some of them.

The rectangle with the tiny buttons was a sticker, as was the teddy bear sleeping on a cloud with the baby banner hanging beheath it. I just placed the bear on the green and pink panel before adhering both to my card front. The sentiment was stamped, die-cut and popped up on foam squares.


Each letter of the banner was also held in place with a tiny foam square. Those little stick-ums sure come in handy!


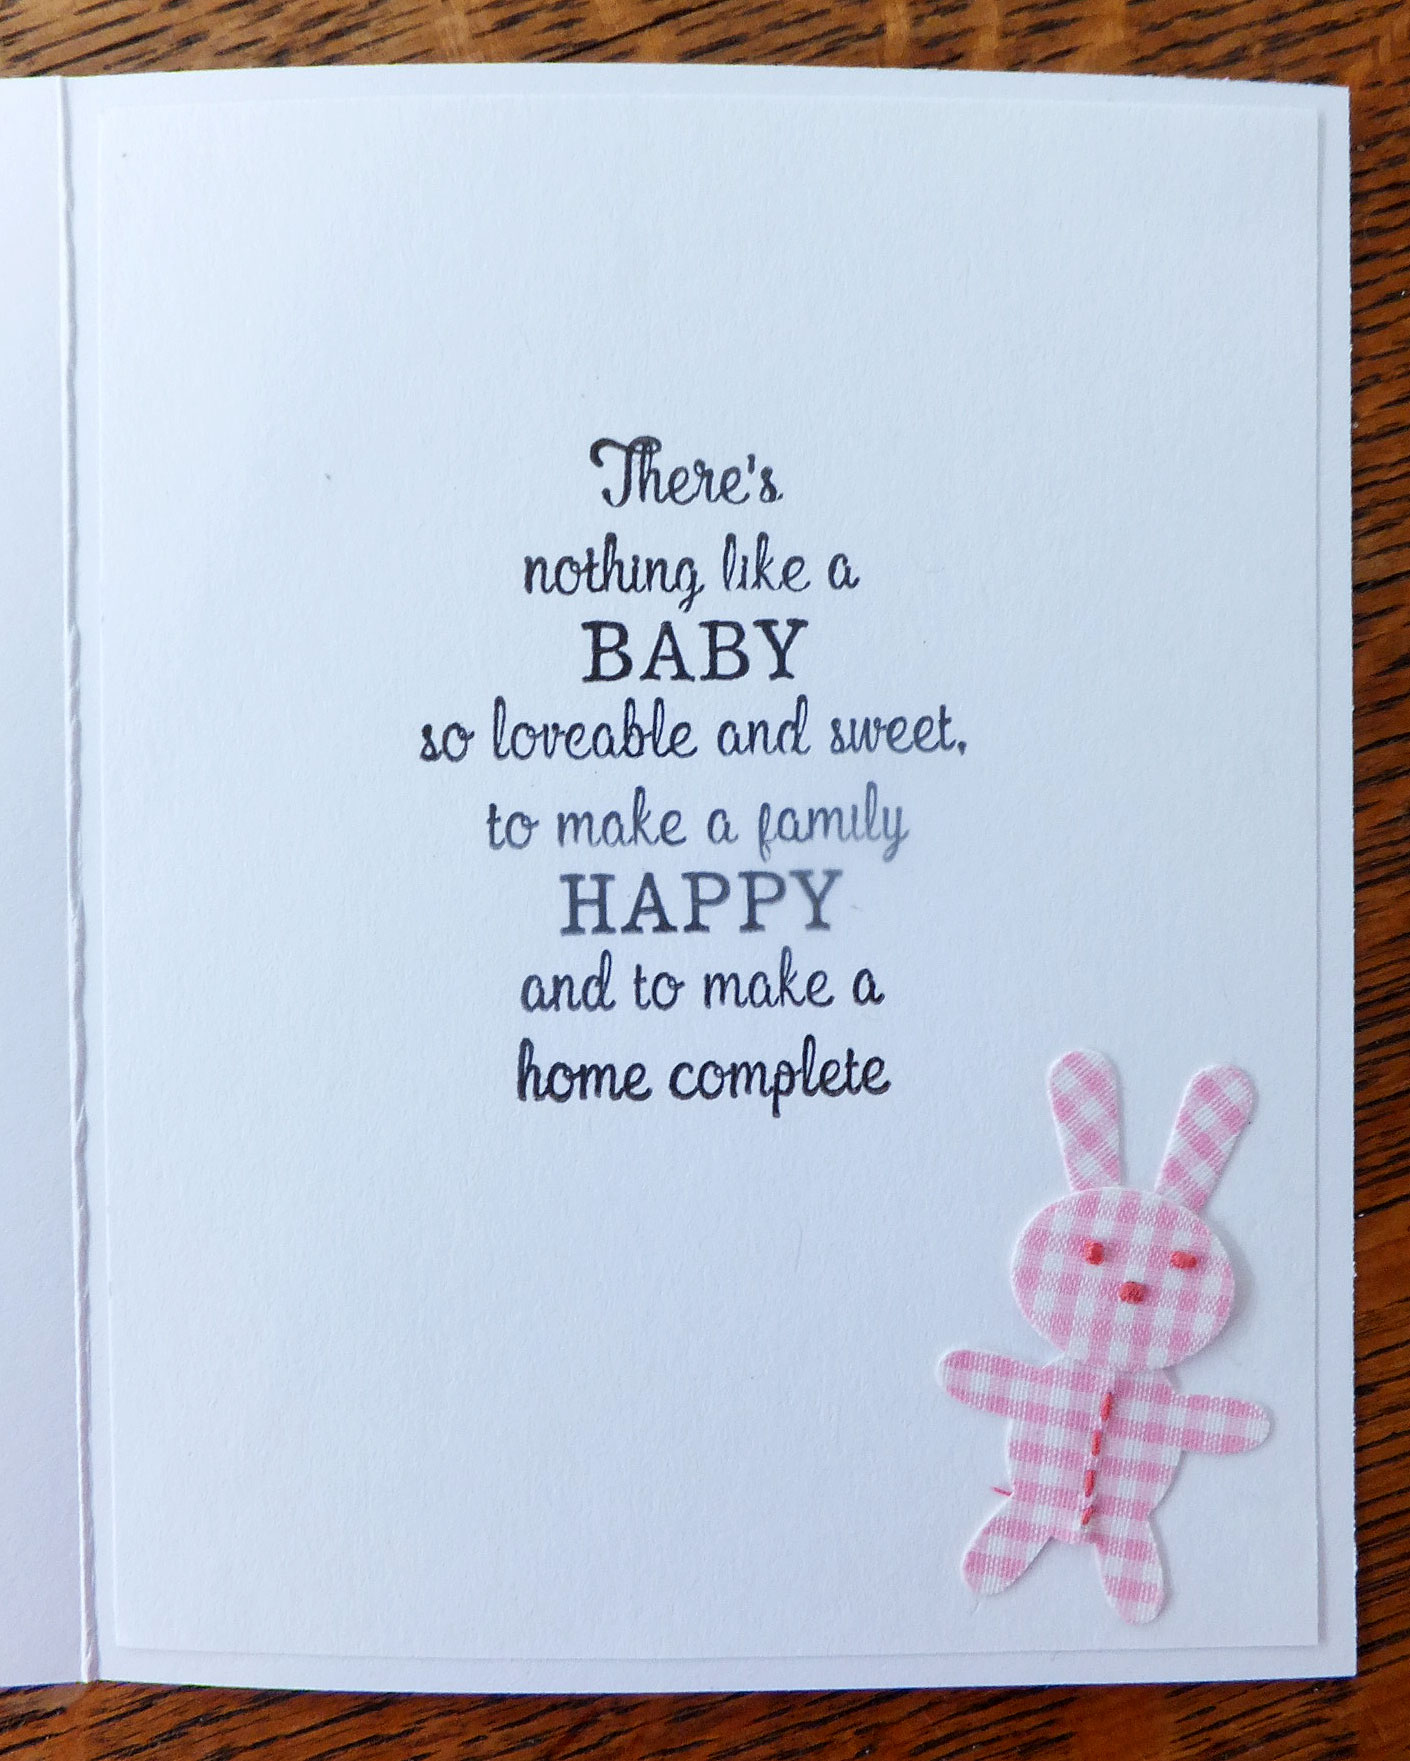
On the inside of the card I stamped a sentiment and added yet another sticker--a cute little gingham bunny!

I really do appreciate that the store offers me these stickers. They make quick work of some of the cards I make, and they seem to sell very well, even though they're not 100% handmade.


The store also gave me a stack of inserts for cards with embellishments like the buttons on the one above. These inserts are actually 4 1/2" X 6" and I just cut them down a bit for A2 cards. They are made of a fairly heavy cardstock, and I add a note to the customer to place them over the front of the card before inserting it into the envelope. I sure hope they use them!

Thanks so much for stopping by, and remember to laugh--a little or a lot--every day.

Cheryl

Friday, September 23, 2022

Beautiful butterfly...


This is such a simple card, but I actually really loved it when it was done.

I started by adding a panel of DSP to the front of my A2 cardbase. Then I cut the fancy butterfly out of some white cardstock. I also cut a solid butterfly that came in the same die set out of vellum and glued it behind the fancy one.


You can see the vellum a little better in this photo.

I use a die from another butterfly set to cut the turquoise body. I really liked the contrast.

The sentiment was die-cut from teal and then from white and stacked for dimension.


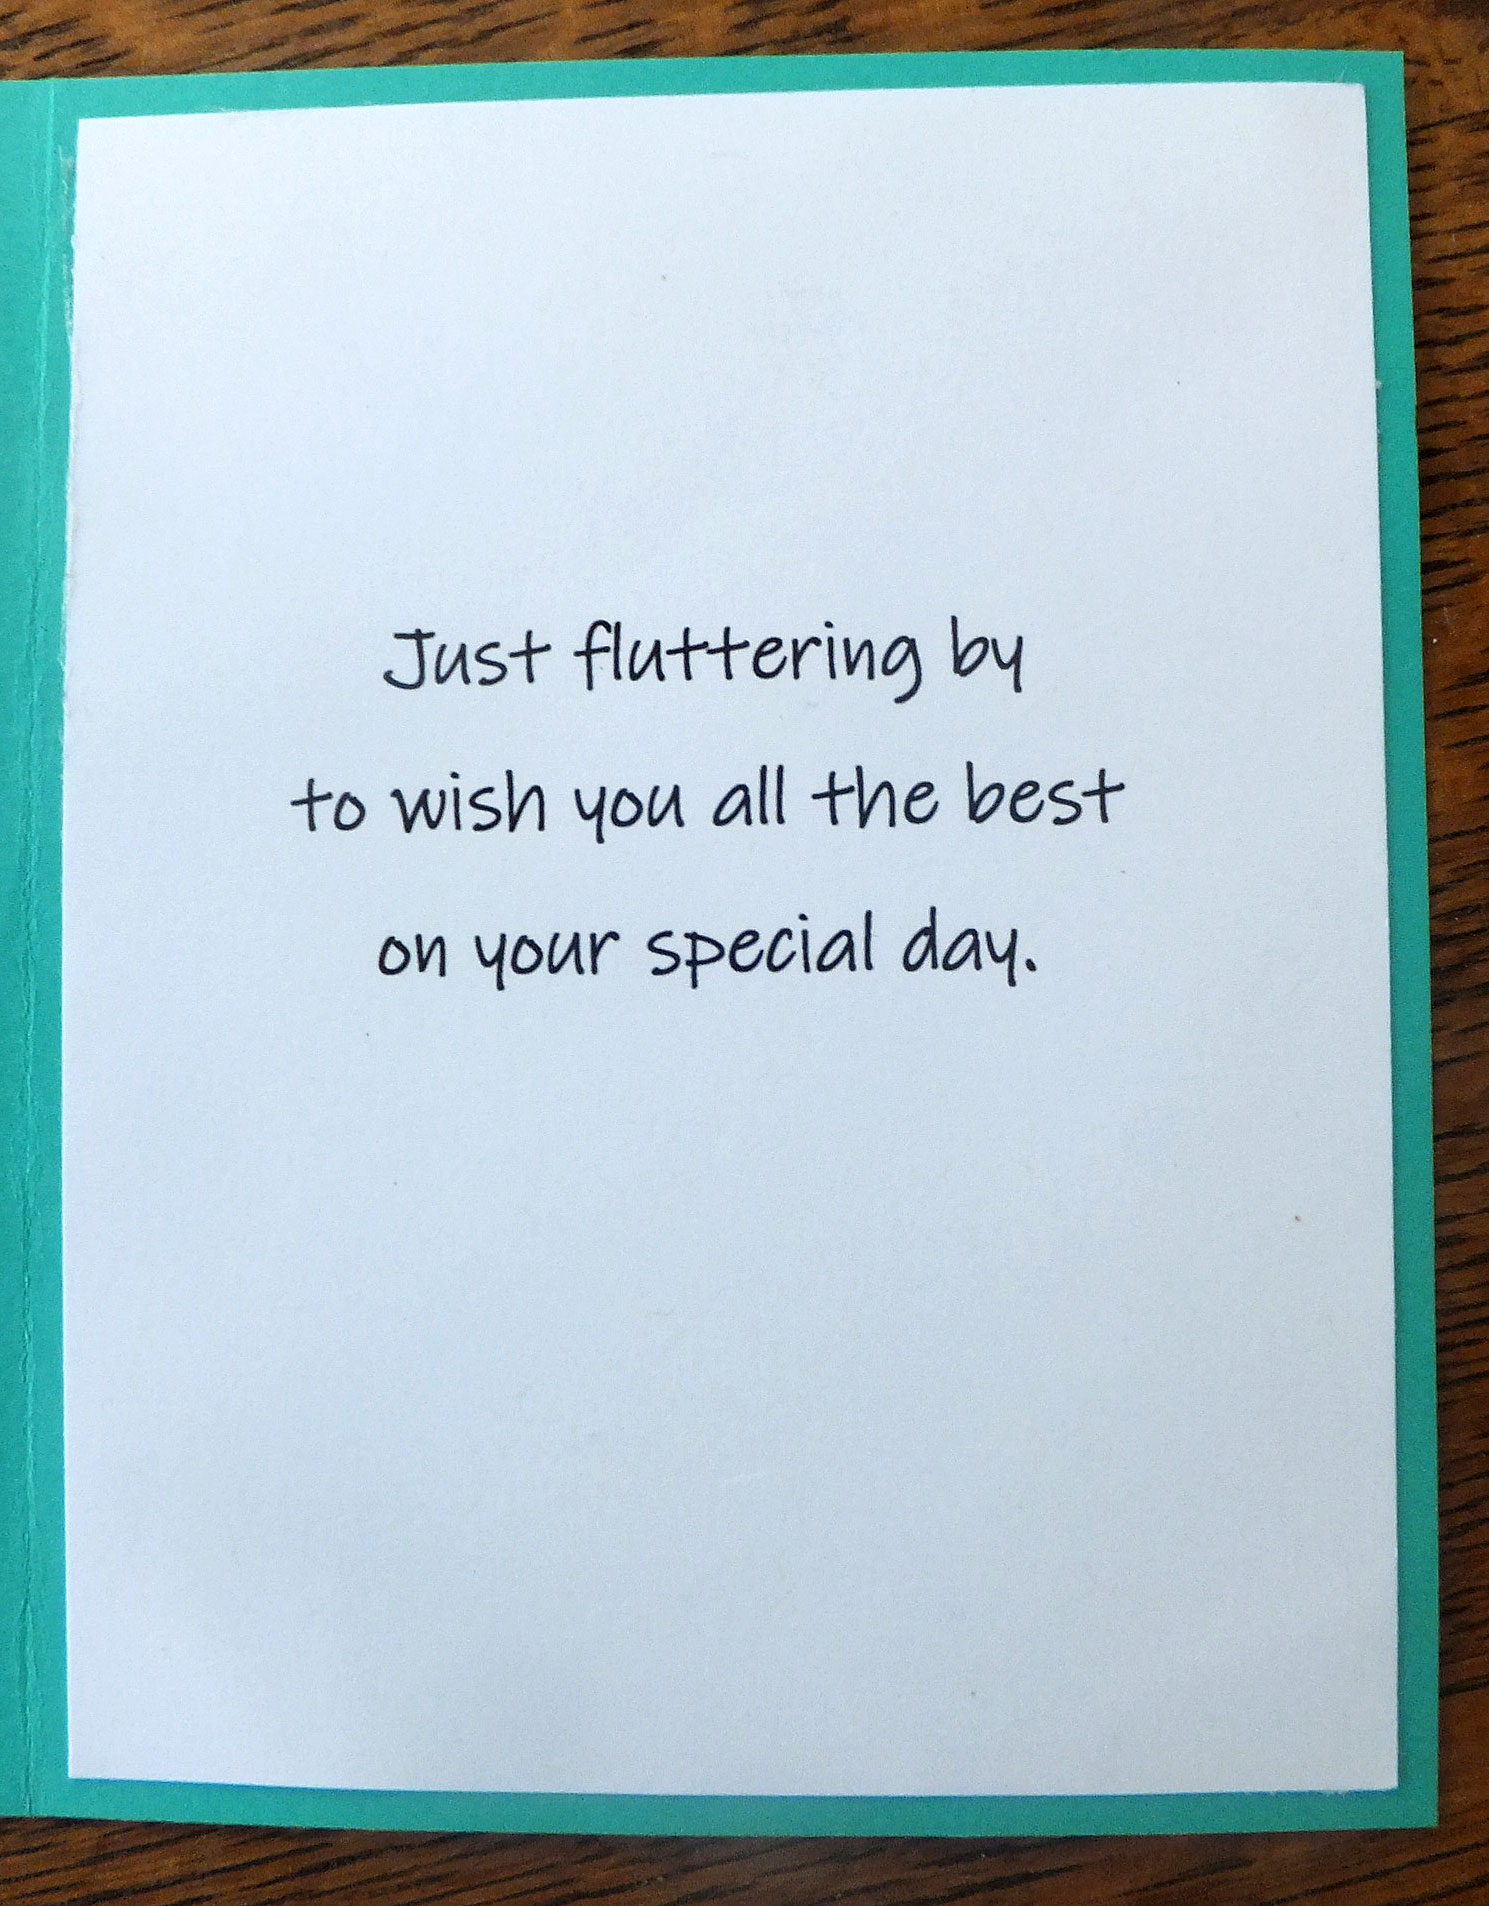
I printed the inside sentioment with my computer. I think I may have to make a whole set of cards like this in different colors this winter. They will remind me of spring when we're dealing with mountains of snow here in Minnesota!

Do you tend to make more cards during the winter months? I know I do. This summer has been especially busy with our months-long remodeling project, and I have struggled to get enough cards made for my stash and for the thrift store. Thank goodness for crafty friends like Lynette (My Stamping Addiction) who donates cards to the store, too.

Thanks so much for stopping by, and remember to laugh--a little or a lot--every day.

Cheryl

Tuesday, September 20, 2022

Surprise Happy Birthday card kit...

Online crafty friend and wonderful cardmaker Shirley Hotop (Glittered Paws Blog) sent me a little surprise not long ago. It was a card kit for a colorful, glittery, and fun birthday card. Everything was in the kit (including some dot adhesive) to make the card base and front. All I had to add was a stamped panel for the inside.

Look at this fabulous card!

THANK YOU SO MUCH, SHIRLEY!!!

Shirley had done all the die-cutting, so it really was just a matter of  adhering the pieces to the front of the card.


She also including the strip sentiment. I did cut a few more strips the same size out of black cardstock and stacked them behind the sentiment to give it some dimension.


On the inside I stamped a sentiment. Shirley had included a glittery red outline of a balloon, so I glued the outline to a piece of red cardstock and cut it out. Then I glued this to the inside of the card and drew a string with a black pen.

This was such a fun and unexpected surprise. Thank you again, Shirley! You made my day!

To all whose blogs I follow and comment on regularly: I may not be commenting much during the next 10 days. I will be on an adventure, which I'll eventually share with you here on Paper Panacea.

Thanks tso much for stopping by, and rmember to laugh--a little or a lot--every day.

Cheryl
Friday, September 16, 2022

Happy 16th birthday...


 My sister sent me several "fashion girl" images that were already cut out and ready to place on cards. Because they were images of young girls, I decided to use a couple of them for 16th birthday cards. I popped each girl up on foam squares.


I used a die that features a pierced design for the background. I really love these dies as they add such nice texture.

The "Happy" and "Birthday" were from a sticker sheet that I've had for years! They're tiny, so I haven't used them much, but I thought they worked fine for these cards.


I cut the "16th" out with a number die set. The swirly corner was also cut with a die from my collection of corner dies.


On the inside, I matted my sentiment panel with the same cardstock as was used on the front.

The sentiment was computer-generated.

These cards were fun to make. I actually made three of them and donated them to the thrift store.


While our company was here, we took them to the Minneapolis Institute of Art. I love going there, and when I do, I always have to visit my favorite sculpture--the "Veiled Lady" by Raffaelo Monti (1860). I am always amazed that a sculptor could make you think you were looking at a lady's face through her veil, when it's all made of stone!


This effect is achieved by leaving the portion of stone that makes up the veil unpolished, and polishing the rest of the sculpture. It's actually more amazing than this picture shows. There are other sculptors who have created veiled ladies, so if you ever get a chance, go see one!


This is a picture of my son-in-law and me studying the Veiled Lady at the MIA.

Thanks so much for stopping by, and remember to laugh--a little or a lot--every day.

Cheryl

Tuesday, September 13, 2022

Birthday wishes for a guy who fishes...


I saw this sentiment on Pinterest, and knowing that I had a fishing-themed die set, I just had to use it.

I printed four sentiments on a sheet of white cardstock first. Then I cut the cardstock into four panels that would fit onto A2 size card bases.


After adding a little color with a blending brush to the center of my panel, I adhered a die-cut rod and reel, a can of worms and a small red  bobber. Then I moved on to the inside where I added a fun pop-out.


The dangling worm on a hook was part of my die set. I drew the line in with a fine-tipped black felt pen. The fish is surprisingly easy to make. It takes just one cut into the card liner and a couple of strategic folds to create. I used a couple different sizes of die-cut hearts from patterned paper for the tail and fins. The inside sentiment was also printed with my computer.

The fish's eyes were made with a couple of small circle punches, and I stamped "Happy Birthday" on the pink piece of paper before adding it to the inside behind the fish's open mouth.

Since I made four of these to donate to the thrift store, I kept them quite simple. If I were making them for family members or friends, I would probably add some inking to make the background to look more like water. I would also add some water plants and maybe even a river/lake bottom.

Our kitchen is finally beginning to look like a kitchen again. The cabinet boxes were installed yesterday. Below is a photo of a portion of the kitchen. There are no doors on the cabinets, yet, and, of course, no appliances, but it will all come together before we know it!


Thanks so much for stopping by, and remember to laugh--a little or a lot--every day.

Cheryl

Friday, September 9, 2022

Floral slimline card...


 My stepdaughter's birthday was in August, and this is the card I made for her. I stamped the image using a light-colored ink. Then I used a stencil and blending brush to lay down a very light base of color on each flower.

Instead of using the other stencils to add shading, I used my water color pencils and a water brush to add some depth to the petals and leaves. I also outlined each of the petals with a colored pencil.

When my coloring was done, I created a mask for my flowers so that I could use a blending brush to add some color to the background.

Using the water brush did cause my cardstock to warp, since it wasn't extra heavy. All I had to do to straighten it out was run it through my laminating machine. Voila! It became perfectly flat once again.

Finally, I stamped the sentiment, and then adhered the panel to my slimline card base.

For a final touch, I added some clear dots.


Since there is so much room on the inside of a slimline card, I stamped just the largest flower again with yellow ink.

This card took quite a while for me to make because I'm such a slow colorer, but I actually really enjoyed the coloring. I am going to try this process again with other stamp and stencil sets. I feel like I get better shading and have more control if I add it with colored pencils.

Do you like to use stamp and stencil sets? Even if you use all the stencils to add different shades of color, I recommend trying to add some additional shading with colored pencils. I figure if I can do it, anyone can!

Thanks so much for stopping by, and remember to laugh--a little or a lot--every day.

Cheryl