Wish List

Friday, April 30, 2021

Simple Mother's Day card...


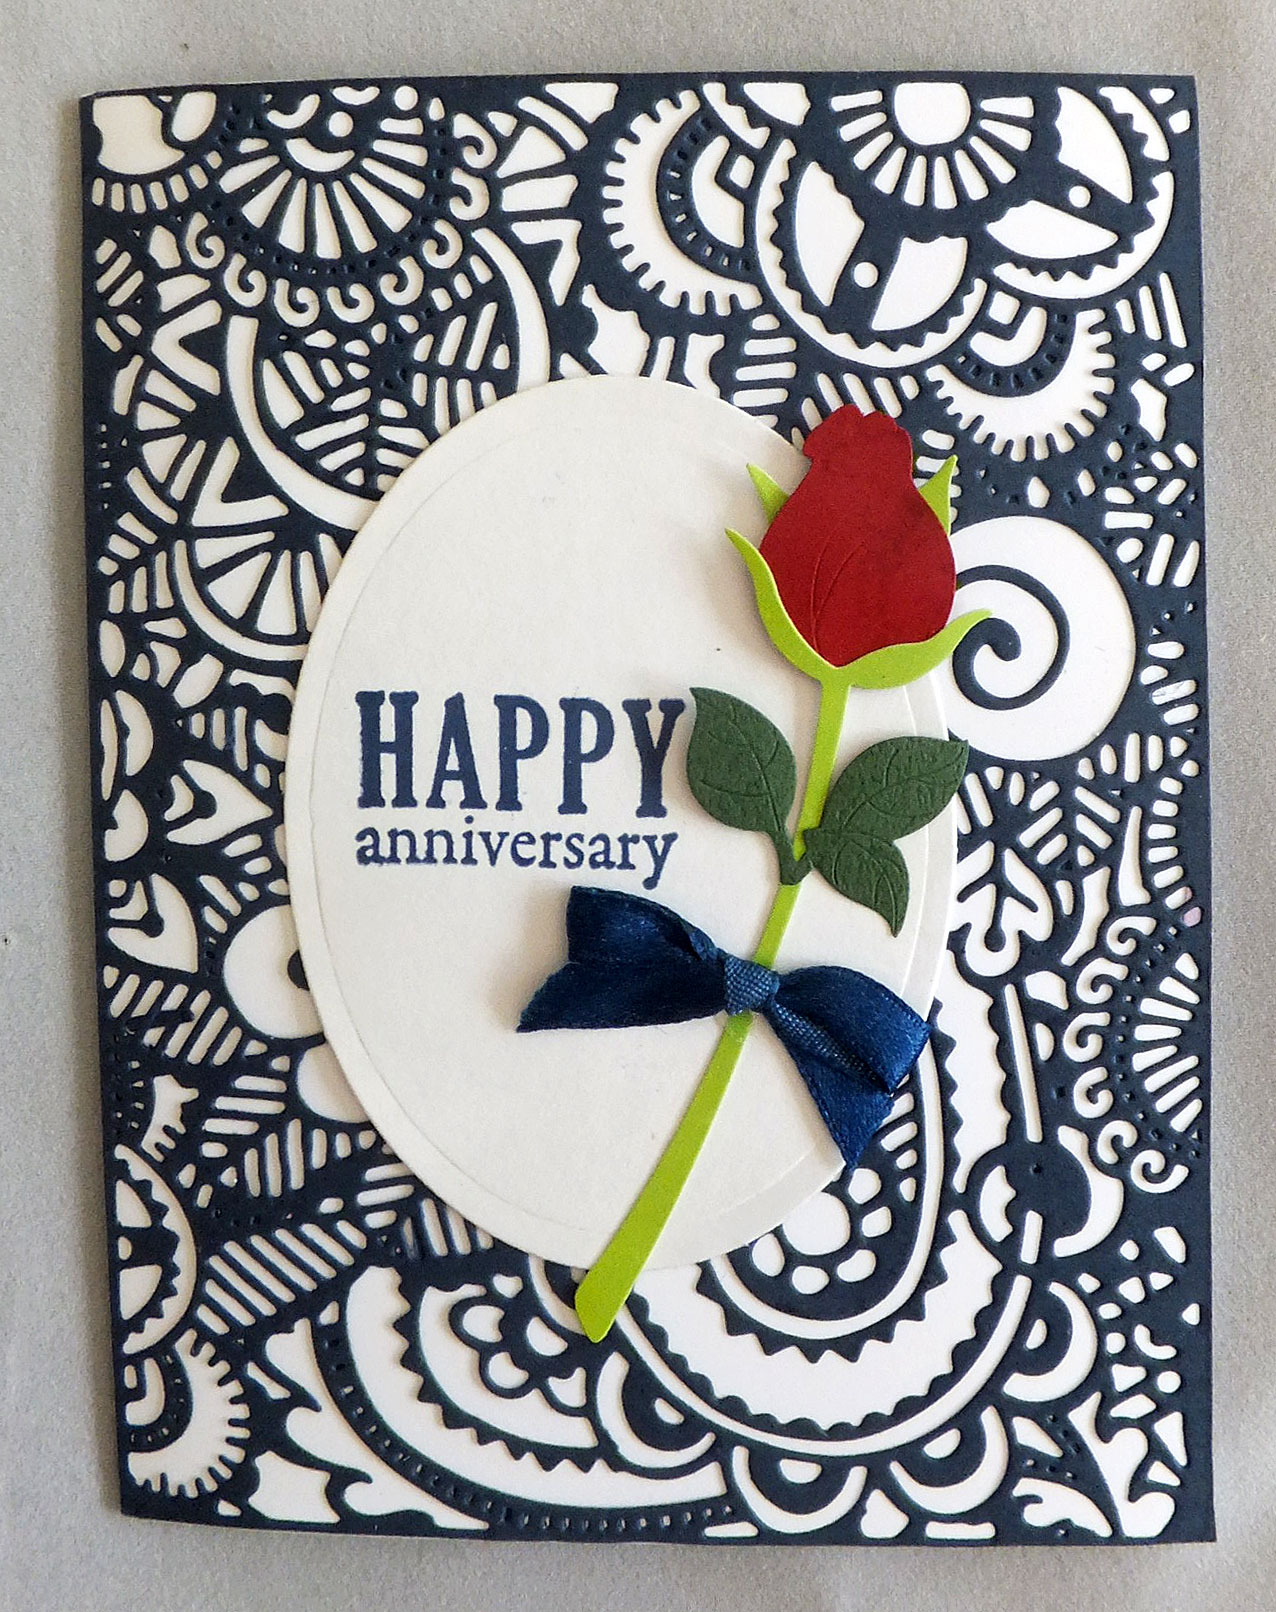
I had this die-cut background laying on my craft desk for ages. It was time to use it! I also had the flower in my card parts, and it needed to be used, too. When I saw how well they went together, it was a no-brainer to make a quick Mother's Day card to donate to the thrift store. After adding a little ink to my flower with a blending brush, a silver, glittery enamel dot became my flower center.

My sentiment was heat-embossed onto a vellum strip with silver embossing powder. When I placed the vellum on my die-cut background, the pattern of the background seemed to overpower the sentiment. To remedy this, I cut a second piece of vellum and adhered it underneath my sentiment strip. This did the trick, softening the floral pattern and allowing the sentiment to be read easily.


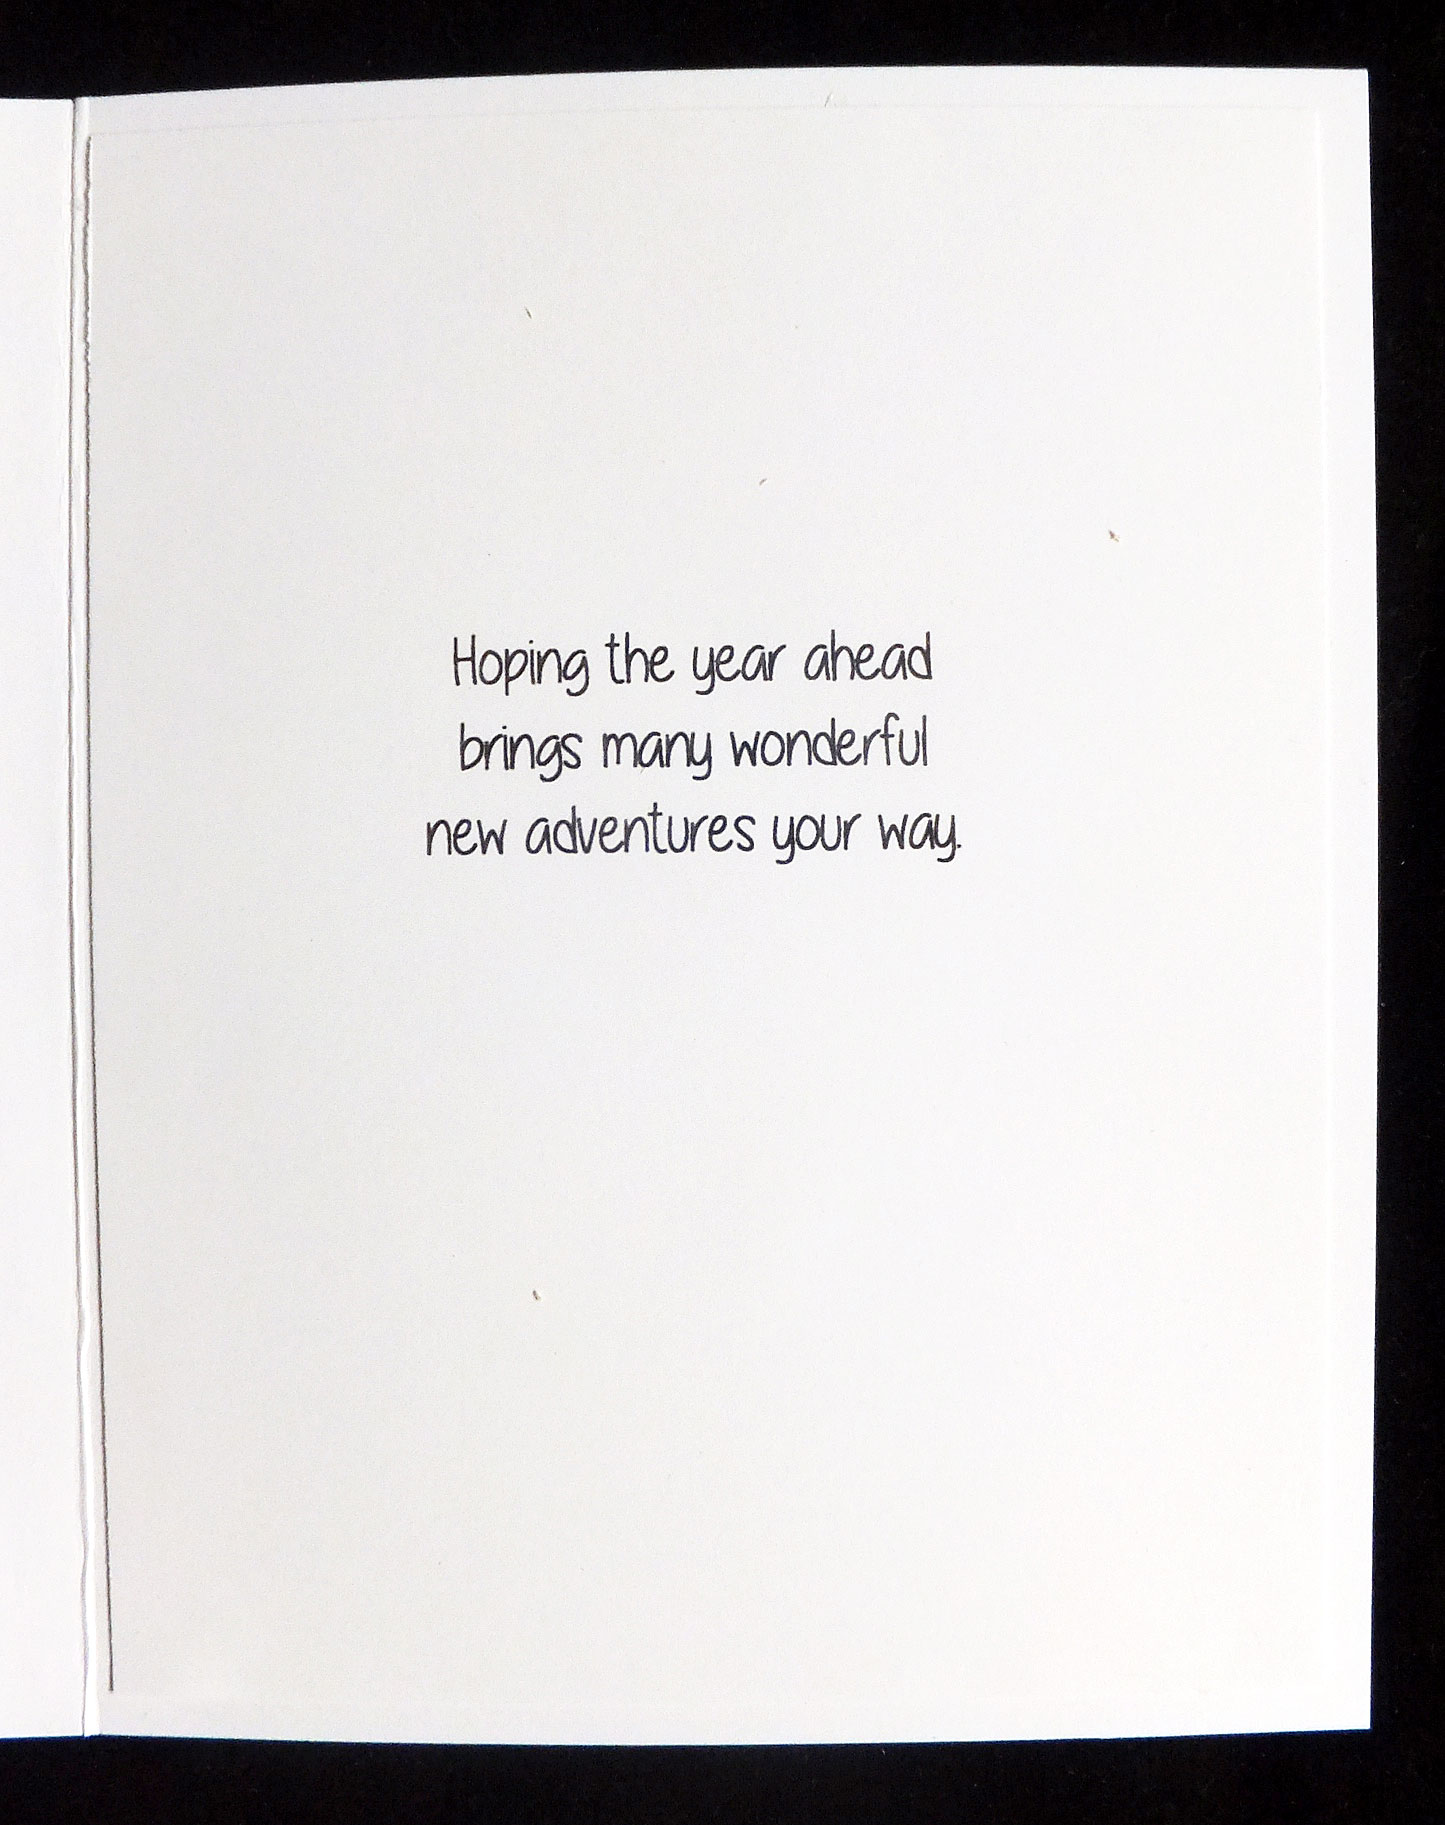
I created a sentiment on my computer to finish the inside of my card. 

I volunteered today at the thrift store. When I walk in, the first thing I check is how the cards have sold since I was last there. Almost all the cards I had put on display last week (including the one above) had sold, so I was glad I had brought 24 more with me. With the few that were still in my office area, I had enough for another nice display. 

Thanks so much for stopping by, and remember to laugh--a little or a lot--every day.

Cheryl

Tuesday, April 27, 2021

Red rose anniversary...


I created this card using this intricate background die cut from some navy blue cardstock. It looked so pretty against the white card blank, that I didn't want to add too much more.


I had been given a partial set of stickers that had just this long-stemmed rose and a blossom left. The rose initially had a pink ribbon bow on it, but I swapped that out for this navy blue one.

My sentiment was stamped with an old Fiskars stamp.


I used the remaining rose blossom sticker on the inside. I believe my inside sentiment is an unbranded one.

This card will be donated to the thrift store, along with a stack of others that I have made this week. My crafty friend Lynette (My Stamping Addiction blog) has also donated many beautiful cards to the store. I've noticed that not only do the customers buy our cards, but the staff members also buy them. It's very satisfying to know they are brightening a few lives--the givers and the receivers--and helping people stay connected.

My daughter told me recently that she had seen the name of a reporter for the Bismarck Tribune (North Dakota) with a last name that was the same as my grandmother's maiden name. She said, "Mom, there aren't many people with that name in North Dakota. I bet he's related to us." I decided to look up his email address and send him a little note asking if we could, indeed, be related. It turns out we are! His great grandfather and my great grandfather were brothers who immigrated to North Dakota from Bohemia (Czechoslovakia) in 1907. 

I have also had my DNA analyzed by 23 and Me. They have sent me a list of about 1,500 relatives from all over the world, most of whom I had never heard of before. One of my favorite TV shows is "Finding Your Roots" with Henry Louis Gates on PBS. It is amazing the way they can track down family trees nowadays, and DNA is proving to be an invaluable tool.

Thanks so much for stopping by, and remember to laugh--a little or a lot--every day.

Cheryl

Friday, April 23, 2021

Cards for children...

Children's birthday cards sell very well at the thrift store, so I made these to donate. I started with a 12" X 12" paper pack meant for scrapbooking. It had some large animal images linked to the alphabet along with some punch-out pieces that gave the animals dimension.

After adding the punched out layers, I also added googly eyes and, of course, a sentiment.


I tried to dress up the inside of this card with a couple of apples and a computer-generated sentiment.


Isn't this iguana fun? 


In this photo you can see some of the layering and how I've popped each layer up on foam squares. 


I didn't have an extra image to add to the inside of this one, but I did go for a punny sentiment.


For this card, I die-cut a sun and added it to my little scene. Once again, the shadows indicate how I've popped the dog's layers up on foam squares.


For the inside of this card, I punched out a couple of small squares, cut them in half diagonally and added them behind each corner of my sentiment.


This crab image came with a few punch-out shells, so I popped them up on the front of my card for a little added interest. I love the crab's googly eyes, don't you?


Here you can see I added some border-punched strips and a couple of shell die-cuts for interest on the inside.

These cards are all approximately 5" X 7". I had to make them this size because of the size of the animal images.  I thought they turned out pretty cute, and they sold almost immediately.

I have made other cards from this paper pack that I haven't shared here on my blog. I didn't think you'd want to see every googly-eyed animal I used on cards. I've only a few pages left in the paper stack, and I'm going to have to get really creative in order to use them. Some are just too large and others have additional images too near to them. Perhaps I can use just their upper bodies and have them peeking out of apertures. I'll have to give that some thought.

Our apricot tree has been blooming now for a full three weeks. That's a very long time for it to hold onto its blossoms. Usually warm weather and wind make them all disappear in little more than a week after they appear, but the calm, cool weather has made a big difference. I've been loving the view out our front window!

Thanks so much for stopping by, and remember to laugh--a little or a lot--every day.

Cheryl


Tuesday, April 20, 2021

A fun die from In Love Art Shop...


I had so much fun using this sweet flower die. It's from In Love Art Shop where you can use my discount code, G-40248for 20% off.

For my first card, I cut it several times (it cuts beautifully!!) out of black cardstock and adhered them randomly to my card front.


I heat-embossed a sentiment onto black cardstock and matted that with some silver glitter cardstock.

Final touches included some scattered clear gems and a black ribbon near the fold.


The inside of my card featured a stamped sentiment and a few more gems.


Next, I used the die-cut as a focal point on a couple of cards where I had first adhered some brightly colored cardstock panels. This time, I used white glitter cardstock for the die-cut with some coordinating Nuvo Drops for the flower centers.

Would it also look good cut from beige glitter cardstock and adhered to jewel-toned panels? These color combos were actually my favorite. 


Here's an example of one of the inside sentiments. I used my computer to create most of them.


Finally, I wanted to try coloring a white die-cut with alcohol markers. I loved the way this one turned out, too. It's so bright and cheerful. Here, I've added some gems to the centers of two of the flowers. The sentiment was also die-cut and adhered to my dotted panel.

I really love this die and have a few more ideas on how to use it. Most of these cards will be sold at the thrift store, but I did keep a couple of them for my stash.

Remember, if you're interested in purchasing it at In Love Art Shop, you can use the discount code G-40248 for 20% off.

We had SNOW flurries here today. My poor tulips are shivering and looking around for their winter parkas. Spring always comes in fits and starts in Minnesota. I sure hope it's here to stay soon!

Thanks so much for stopping by, and remember to laugh--a little or a lot--every day.

Cheryl

Friday, April 16, 2021

Twofer challenge #37: Leaves...

 I've been in a card-making frenzy this past week, so while I was at it, I decided to join in on the latest challenge over on the Twofer Card Challenge Blog.


I considered using some favorite leaf dies that I often use for Autumn cards, but I decided instead to use a die that I haven't used in ages. It's a leafy frame, and I've only ever used it as a leafy frame. This challenge was a good reason to try using it in some other way.

Here's what I came up with. The card on the right shows the leafy frame in its entirety. The card on the left uses the same die-cut, but in a very different way.


This card was quick and easy. Cut a card base from some patterned CS, add the frame, butterflies and a gold, heat-embossed sentiment. Done.


My butterflies were die-cut from metallic gold CS, and each was given a green gem just beneath the antennae.


My sentiment on the inside was also heat-embossed with gold EP.


For my second card, I die-cut the frame again, but this time I cut the leafy fronds away from the frame and from each other. Then I created a planter using a scrap of dimensional CS that looked like it had a mosaic pattern on it. Each of the "tiles" is glossy, so it looks very cool IRL.  I first cut an oval from my scrap of CS. Then I cut a small, straight piece off the bottom and used the side of the oval die to cut a curved piece from the top. Once that was done, I simply added my leafy fronds.


In this photo you can see how I've popped it up on foam squares to give it some added dimension. I didn't glue down the entire lengths of my fronds either, I simple glued them to the back of my planter.

The orange strip underneath my planter has been dry-embossed with a Swiss Dots EF.


I added a simple, stamped sentiment on the inside.

It's always fun to use my supplies in new ways. If you think so, too, I hope you'll join in on the challenge over at the Twofer site.

Thanks so much for stopping by, and remember to laugh--a little or a lot--every day.

Cheryl

Tuesday, April 13, 2021

A card gift set...

I recently made a couple of card gift sets--one for a friend and one to be sold at the thrift store. Since both sets were virtually the same, I'll only share one of them with you today.


 I first selected a background die and six different colors of cardstock to put behind it. 

After adhering the background die-cut to the colored cardstock, I glued that to a white card base. I cut a stitched oval for each card and then began picking out the sentiments I wanted to use and the embellishments. These first three feature die-cuts: leaves, a flower and a balloon.


For this card, I curved my sentiment in my stamp positioner so that it would fit the top of my oval (not sure why it looks like a circle in this pic).

I inked my flower a bit, added a glittery center and a few gems.


For the green card I simply added a sentiment, a couple of leaves and some clear sequins. Once again my oval looks like a circle, but trust me, it really is an oval!


For this trio of cards, I used stamped sentiments and dimensional stickers. The orange card (and the blue balloon card) received a few Nuvo drops and I adhered some gems on the pink card. I left the sympathy card a little plainer. I always try to make "quiet" sympathy cards.

Each card had a stamped or computer-generated sentiment on the inside, too. I included six envelopes with each set, and for my friend I added six postage stamps so that she wouldn't have to go hunting for a stamp when she used the cards.

These card sets were fun to make. I kept the embellishments really simple so they came together quickly.

My tulips are now up, and the bunnies have been feasting on them!! The bunnies are really cute, but I get so frustrated with them when they destroy my flowers. I guess I should check out the plant store to see if they have any organic bunny repellent.

I had my hair cut at the salon for the first time in over a year today. I told the stylist not to be shocked at the way my hair looked since I'd been cutting it myself for the past 12 months. She was very kind and said it didn't look too bad. It certainly feels good to have a decent cut once again.

Thanks so much for stopping by, and remember to laugh--a little or a lot--every day.
Cheryl


Friday, April 9, 2021

Three more Easter cards...


This card involves mostly die-cuts (three peeps and Happy Easter), but to dress it up a little, I added a plaid strip down the left side. My peeps were cut from scraps of DSP--oh, how I love using up those scraps! "To my peeps" was computer-generated using the Impact Label font. I changed the color of the font to bright pink to better coordinate with everything else on my card.


My peeps are popped up on foam squares.

On the inside of this card, I added a printed sentiment.


\

A couple of my grandchildren received these cards. I hope they liked them!

I have a die that cuts an entire border of bunnies--just their heads and front paws. I cut out the border and then cut the bunnies apart so I could use them on these cards.


I used some circle dies to cut some apertures in my top panel and then positioned a bunny in each one.

If you look closely, you can see that I have popped the bunnies' ears up with tiny foam squares.

My front sentiment was heat embossed, and an inside sentiment was computer-generated.


The inspiration for this card began with the wood-grained oval. It was in my card parts, and I felt I just had to use it. I also had these flowers sitting there from my hydrangea card that I featured in my last post. They, too, had to be used.


I cut a wide, lacy strip to place beneath my oval. Then, the oval was popped up on foam squares.

My flowers all have Nuvo Drops in their centers.

The sentiment was stamped with Versafine ink and a few enamel dots were added to a couple of the top and bottom corners.

Inside, this card also has a computer-generated sentiment.


I just ordered a couple of new Easter dies today, so my brain has already moved on to next year's cards. A day doesn't go by that I don't think about the next cards I plan to make. 

Thanks so much for stopping by, and remember to laugh--a little or a lot--every day.
Cheryl


Monday, April 5, 2021

Let's Craft and Create Challenge #170: Anything Goes or Add Flowers...

 I LOVE the month of April in Minnesota. The weather turns warm enough to forego jackets, the threat of snow is minimized, if not completely gone, and the flowers begin to bloom. 

Let's Craft and Create has chosen "Add Flowers" (or alternatively, Anything Goes) as a challenge theme this month. This challenge fits my love of April to a t, so I created an Easter card that is chock-full of flowers.

I started with a gorgeous sheet of hydrangea-patterned cardstock that I had in my stash. I'd been saving it for just the right project, and I decided this was it!

I wanted to use as much of my 12" X 12" sheet as possible, so I made an angled tri-fold card. There's probably a better name for it, but I can't think of it at the  moment. I marked my 6" X 12" piece at the 3" point on the left side and cut a straight line from there to the upper right hand corner. Then I scored it vertically at 4" and 8" to create a 4" X 6" tri-fold card.


On the front of my card, I added a fancy oval (Spellbinder's) that had been stamped with my Easter sentiment. The oval was popped up on foam squares.

Then I die-cut a slew of flowers out of white cardstock and lightly inked them with a blending brush, The flowers were molded with a stylus, glued together and adhered to my oval. The final touch was to add some Nuvo Drops to the center of each one.


On the third section of my card, I added a die-cut circle, complete with a computer-generated sentiment, and another flower.


I adhered some coordinating DSP to the back side of my middle section because it shows when the card is closed. Then I adhered some narrow strips of silver cardstock to the top edges that were visible when the card is closed. I felt this added a finishing touch. 

A couple more flowers were added to the top of the backside of the middle panel. To give a tiny bit of relief from the explosion of hydrangeas on this card, I added a couple of white butterflies (stickers from Dollar Tree).

Now I hope you'll join in the fun of creating with flowers. Of course, you can enter with an "Anything Goes" project, too. We're happy to see all of your creations, and there's a prize up for grabs, as well. Check out what the Design Team has made to inspire you at Let's Craft and Create.

Thanks so much for stopping by, and remember to laugh--a little or a lot--every day.

Cheryl

Friday, April 2, 2021

To a sweet chick...

 I had a die-cut chick and a couple of flowers sitting on my work surface and decided they had to be used on an Easter card. Here is what I created:

I die cut my sentiment twice and layered them together before adhering it to the card. 


I popped my chick up on foam squares and added a tiny punched butterfly to the top of his shell.

My flowers didn't have any stems, but I had a grass border die that cut some long grass, so I used it for my stems as well as a bit of a grass base for my flowers. Some Nuvo Drops were added to the centers, along with two more butterflies to finish my card front.


This Easter card went to my oldest granddaughter, so the inside sentiment is very fitting. It was created on my computer.

I made this card very quickly with scraps and die-cuts that were already on my work bench. Love when that happens!

I wish you all a very happy Easter, if you celebrate, or a wonderful weekend if you have other plans.

Thanks so much for stopping by, and remember to laugh--a little or a lot--every day.
Cheryl