Wish List

Friday, April 28, 2017

Tea cup cards...

Each year I send my aunts a Mother's Day card. I have three aunts, and had only one Mother's Day card in my stash, so I needed to make two more. I decided on a simple design (ID #47201) from the Silhouette Design Store. I thought this card would be cute with a real tea bag tucked inside for them to enjoy.

I pretty much let the DSP and the card design do the work for me. I simply added a sentiment and a flower cut with some dies (possibly Impression Obsession, but I'm not sure).


The design included a faux tea bag/tag on the inside of the card, which I've allowed to hang free. I plan to write a little note on the card beneath it.

I stamped the little scalloped border on the tag to maybe suggest some tea in the cup. I really should have stamped this border in brown.


I also made envelopes for these cards, as they turned out to be a little different in size from the usual card.

Here you can see how I often make envelopes from DSP that I probably won't use for any other purpose. I've got a couple of big stacks of assorted patterns/colors, and it's the perfect weight for envelopes.  And I like that the inside of the envelope is a pretty surprise.


Here's a final look at both teacup cards--for two beautiful ladies in my life.

Thanks so much for stopping by, and remember to laugh--a little or a lot--every day.
Cheryl

Tuesday, April 25, 2017

Merry Monday Christmas Card Challenge #245...

When I saw that this week's challenge over on the Merry Monday Challenge Blog was to use kraft paper on a card, I couldn't resist. I had just received a little gingerbread man die in the mail and wanted to cut him out - what better paper to use for him than kraft!!


Here's the smiley little guy on the front of my card. Isn't he cute? I cut him twice - once out of kraft and once out of white. Then I inserted the white pieces into the cutouts on the kraft die-cut. I did use a ProMarker to color the bow tie red before I inserted those pieces. The pieces were all held in place by a little tape on the back.

This little die is one of the unbranded ones found on eBay.


Here's a look at my entire side-step card. I had a terrible time photographing the trees. I used some free plaid papers from a card-making magazine, and they have that "magazine sheen" that reflects the light. The paper was actually very thin, so I adhered it to some kraft cardstock, using a glue stick, before I cut out my trees.

The card base, trees and sentiment stamp and die are all Sizzix dies.

On the inside of my card, I stamped a sentiment and a candy cane border. I can't recall what company made the sentiment stamp and the border stamp is an unbranded one.

It feels good to add this card to my Christmas Card Box. It looks very lonely in there, but I will be adding more in the weeks ahead (I hope).  There's still time for you to play along at Merry Monday and make a card, too. C'mon and join in the fun!

Thanks so much for stopping by, and remember to laugh--a little or a lot--every day.
Cheryl

Quick get well card...

I am trying to replenish my stash of cards while I also try to get all the summer birthday cards made. And in my family, that's a LOT of cards. We have so many birthdays in June, July and August that I figure there must have been electrical blackouts in the Midwest during certain years which resulted in everyone staying home and "entertaining" themselves during the months of  September, October and November. he he

Anyway, enough of my rambling and back to replenishing my card stash. Here's a quick card I made with a die my sister kindly gave me. It's one of the unbranded dies that are so popular now.

If you look closely, you'll see that only the butterfly is glittery. I added some double-sided adhesive behind the butterfly portion of the die-cut and then burnished some clear glitter into the open spaces. It actually looks really pretty IRL.


Here's a little closer look at the die-cut. I'm not sure why I often seem to get a blurry portion on my pictures. I guess I need to work on my camera settings.


I had just a little strip of my patterned paper left, so I decided to use a border punch (not sure of the brand) and make a decorative piece for the inside. I backed it with a piece of pink CS so that the pink would show through the punched holes. There's still lots of room to write a personal note.

I had a call today from some friends in Germany who will be coming to stay with us for 10 days in May. We are looking forward to their visit, but I've got lots to do before they get here! I may have to quit making cards for awhile and get my cleaning face on!!

Thanks so much for stopping by, and remember to laugh--a little or a lot--every day.
Cheryl

Friday, April 21, 2017

Simple pop-out card...

Today I'm sharing a simple pop-out card that I made for my stash. It was definitely QAS (quick and simple)!

I first embossed a panel for my card front using an older Cuttlebug embossing folder. I'm not sure it is even still available. I cut a couple of banners with an unbranded die I got off of eBay and switched the star cutouts around for a little interest. I just used a little piece of Washi tape behind each star to hold it in place.

I glued some little baker's twine bows at each end of my banners.


I used my glitter pen on one of the central "happy" words and then heat-embossed the "birthday" in white on black cardstock.

You can't really see it, but my black banner is attached with a single layer of foam tape.


As a little surprise on the inside, I created a double pop-out, that I hope looks like a couple of gifts. I'm not sure about those bows! Maybe two on each gift is too many...

My inside sentiment is from a Stampendous birthday set.

 That's my card for today. I'm looking forward to a warm, sunshiny day tomorrow. I hope to get outside and do a little yard/flower bed clean up. I've also got a few tulips blooming that are destined for a vase inside!

Thanks so much for stopping by, and remember to laugh--a little or a lot--every day.
Cheryl


Tuesday, April 18, 2017

14th birthday card...

I am still working on the many, many birthday cards that I need to make for family members and friends over the next few months. One of my grandsons will be turning 14 this summer, and here is the card I made for that occasion:

As a starting point, I used Design ID #67299 from the Silhouette Design Store. But since that design is actually for a "40th birthday card," I had to do a bit of redesigning for my flip panel. I removed the 40 and welded a 14 to my frame instead, before cutting it out.

The balloons are not part of the cutting file. I punched them out with a Stampin' Up punch, added a "shiny" spot with a white marker, and then adhered them to my card. The strings were hand-drawn with a black pen.


I thought my grandson would get a kick out of us asking him, "wanna party?" It was one of those extra stamps in a set that I had not yet used. I thought it fit well on this card. My dotted line in the decorative strip was made with a Paper Smooches die from the "Dots and Dashes" set.

That's it for me today. I will keep soldiering on with the birthday cards, hoping to get them all made way ahead of time. So far I have all the cards I need through the middle of June. Just 3 1/2 months worth yet to make!

Thanks so much for stopping by, and remember to laugh--a little or a lot--every day.
Cheryl


Saturday, April 15, 2017

Easter treats...

I've been busy making Easter treats for the grands who will be coming over tomorrow to have Easter dinner with us. I just got a new unbranded die off of eBay for a small milk carton container and decided to use it.
For each little container, I had to make two die-cuts and adhere them together. It's very easy, and they go together in an obvious way - no instructions or tutorials needed! I added a piece of cellophane packaging material on the inside to enclose each window, and cut the little circle embellishments with some assorted dies and punches. These went together SO quickly! I'm sure you can tell that I put them together pretty fast by the looks of my wonky ribbon bows.

Here's a peek at the backside, where I've added a tiny tag with their name. If you're interested in this die, here's a link to one company that sells it on eBay. You'll find a number of other companies that sell it by doing a search for "cutting dies box."

I also made these treat covers for some Kit Kat candy bars. I just made up this cover in my head. Nothing fancy, just a little more Easter-y than looking at the candy wrapper. The bunny is  Darice die, the butterfly and grass are Fiskars punches.


Here you can see how I've sandwiched the candy bar in my little holder. I think I cut a piece of cardstock to 3" X 10". I scored this at 4 3/4" and 5 1/4 " to give me the 1/2" base in the center. I used a Spellbinders #8 label die to cut the fancy edge at the top, punched a hole and added a ribbon.

I also added a couple strips of double-sided tape with my ATG gun to one side to hold the candy bar in place. It worked perfectly, and the candy seems quite secure.

I will be busy cooking tomorrow and celebrating with family. We are promised a nice warm day with sunshine. The TV weather people had better be right for a change!

If you also celebrate this holiday, I wish you a blessed Easter!

Thanks so much for stopping by, and remember to laugh--a little or a lot--every day.
Cheryl

Monday, April 10, 2017

Easter is nearly here...

Coming April 1-11, 2017
I am trying to finish up my Easter preparations this week. My cards have been made and sent, and this is one of them. I'm going to enter this into Darnell's (DJKardKreationsApril Fool's Boo Boo Hop/NBUS Challenge #11 that goes until April 11. Whew! I just made it.


I don't have an April Fool's card (one with a mistake on it) to share with you. Not that I don't make mistakes - I certainly do, and a lot more often than I'd like! I just threw all my awful mistakes away a while ago when I did a cleaning and rearranging of my craft area. I decided there was no way to fix them, and I didn't want to look at them any more.

This card does, however, include some NBUS supplies. One is the stamp I've used. I picked it up at a thrift store and had not used it before this card.

The oval wreath die-cut is also NBUS in the sense that it was cut with my sister's die (unbranded, from eBay) when we last got together, so I've never used it before. I cut it twice - once in a light, yellowish green and once in purple. I cut the flowers from the purple one and glued them on top of the flowers in the green one. I glued the entire wreath to an oval piece of white cardstock on which I had stamped my sentiment.

My scalloped curved border is a Spellbinder's die. My stamped sentiment here is from a My Sentiments Exactly Easter set.

Another fun little project this month was to make a couple of decals for my son-in-law's Jeep. He loves his Jeep and has named it "Jolene." He wanted me to cut a couple of vinyl name decals to apply to the sides of his Jeep, which I gladly did. Here's a photo of how they look:

He was pleased with them, and it was a lot of fun to help him out. One of the easiest things to do on my Silhouette is cut vinyl!

Thanks so much for stopping by, and remember to laugh--a little or a lot--every day.
Cheryl

Wednesday, April 5, 2017

Let's Craft and Create Challenge #124 EASTER/APRIL SHOWERS/SPRING...

I cannot believe it is already April 5! And not only is it the fifth day of April, it is also time for our next challenge over on the Let's Craft and Create challenge blog.

This month we're all about Easter or April Showers or Spring. Take your pick! Some of you may even be able to combine more than one of these ideas into a single project. You can find lots of inspiration here from the talented members of the LCC Design Team.

For my contribution, I've created a card and some cute little Easter tags.

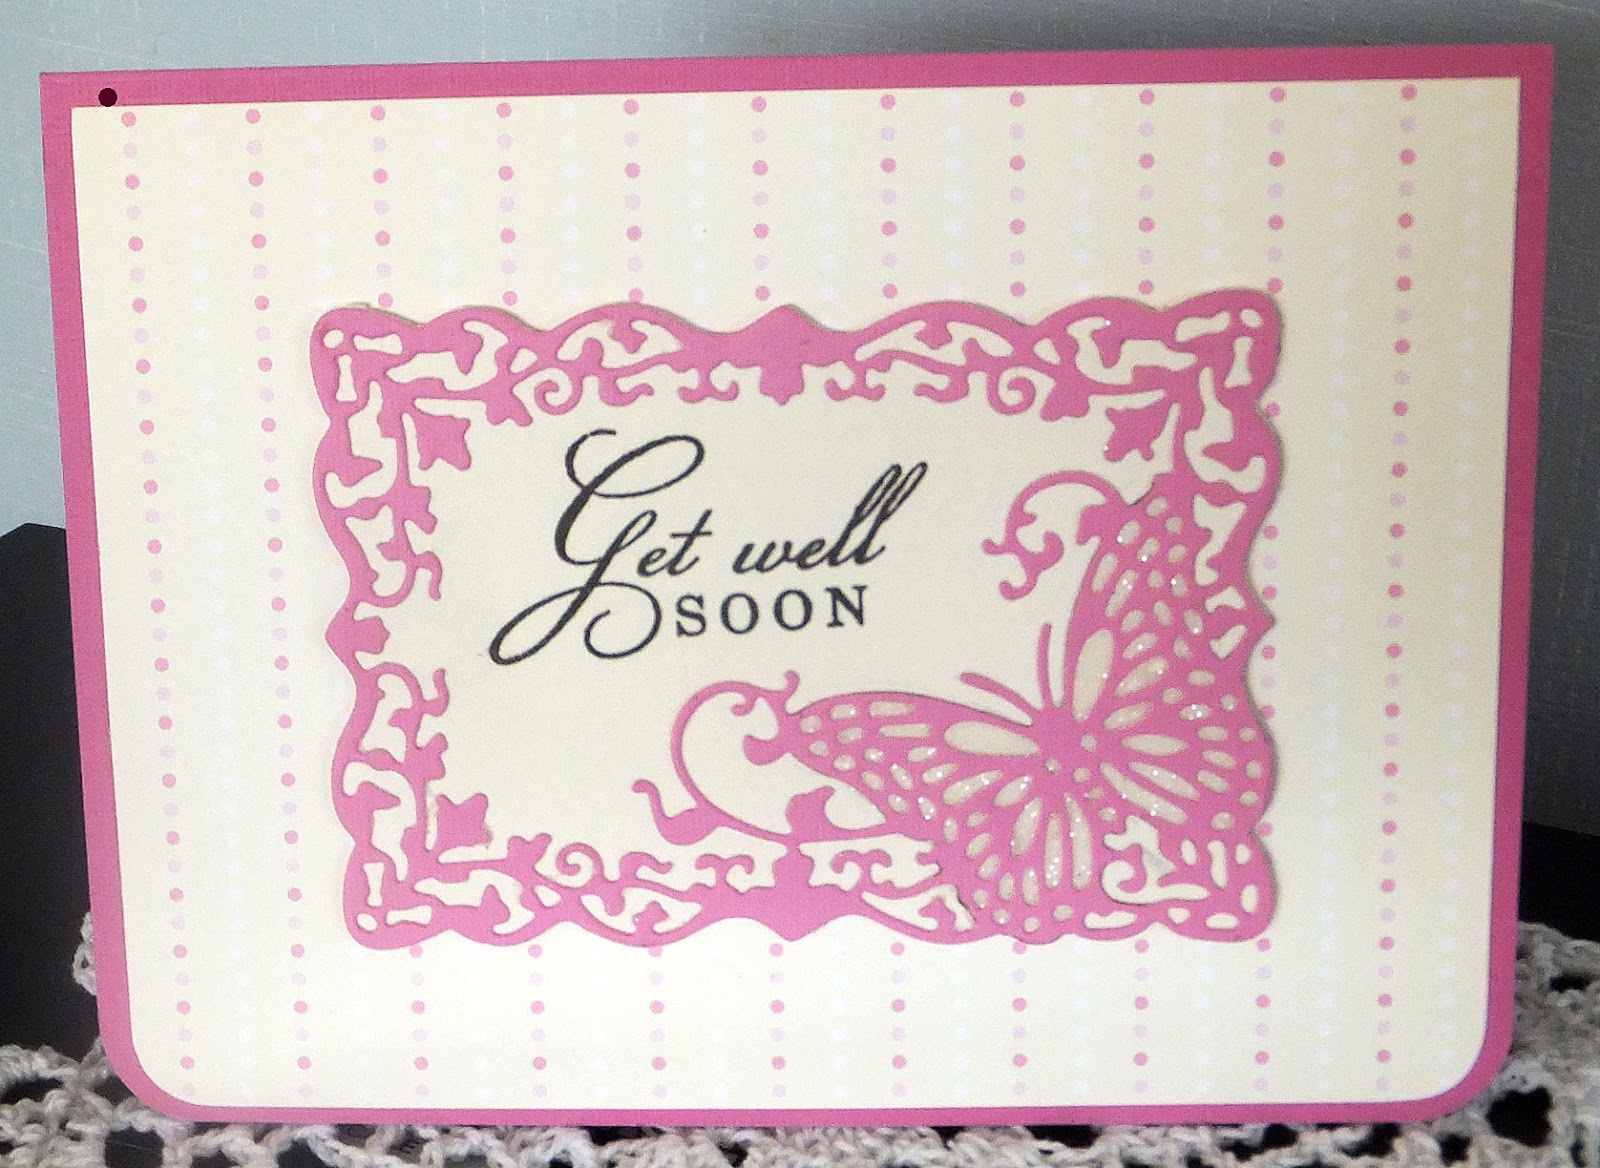
I found a paper packet of tiny floral prints that I thought would be just right for Easter. I also liked that it wasn't the usual "all pastel" print. The darker background gave my card a bit more of a dramatic look.


To showcase my sentiment, I cut a circle and stamped it with an older stamp that I purchased at a thrift shop.

I also punched some sprigs of leaves with a Martha Stewart punch and an EK Success punch. Finally, I cut some small egg shapes with my Cricut.

My fancy edge along the outside of my circle was actually made with a die that cuts a straight piece of paper lace. So how did I get it to curve so nicely around my circle? See the photo below.


The die I used is one of the unbranded dies that can be found on eBay.

You can see in the lacy die-cut where I have snipped (circled) between each section to allow me to bend it as I adhered it onto the back of my circle. It took 2 1/2 die-cuts to fit all the way around. Luckily, these 2 1/2 cuts fit exactly!


I used a stamped sentiment from My Sentiments Exactly for the inside of my card. You can see that I also added two more pieces of my lacy die-cut to add a little decoration and dimension.

My second project was to make some Easter gift tags. I opted to make a "double" tag by combining a classic tag shape along with a small round tag.

The little round tag (Sizzix die) is not adhered to the larger tag (Cuttlebug die), so it can move freely.  The grass was made with a Fiskars border punch and the little bunnies were made with a cute set of Impression Obsession dies.

You can't see it in the photo, but I used my glitter pen to add some sparkle over the lettering of each sentiment before I added a couple of gems or pearls. The sentiment circle was then popped up with foam tape onto the round tag. So easy, and they look so fresh and spring-like. I actually made 10 of these little cuties, and they will go on Easter gifts for my 10 grandchildren.

I hope you'll head over to Let's Craft and Create and check out the rest of the gorgeous creations from the Design Team. I know they'll inspire you to join us in this fun challenge.

Thanks so much for stopping by, and remember to laugh--a little or a lot--every day.
Cheryl


Monday, April 3, 2017

One more chickie Easter card...

Just a quick post today so I can share one more cute little chickie card with you.

This card is the same format as the one found in this post. The only difference is, I've used a different chick!


This little chick in an eggshell is another print and cut design (ID #76589) from the Silhouette Design Store. I've done nothing to the image except add some glossy accents to the eyes and pop him up on foam tape. Is he not the cutest little guy?


The inside of my card is super simple. I used a My Sentments Exactly stamp for my sentiment and added a tiny butterfly (Fiskars punch).

A narrow matted strip of my DSP finished it off.

Tomorrow I will get my Easter cards in the mail along with any gifts for grandkids who are far away. It always feels good to get things in the mail before a holiday! Now I have to start thinking about a menu and grocery shopping.

How are you coming along with your Easter preparations? Do you entertain family or friends, or will you be the guest in someone else's home?

Thanks so much for stopping by, and remember to laugh--a little or a lot--every day.
Cheryl


Saturday, April 1, 2017

Sweet little Easter chick...

I've been busy making Easter cards and this is one of them. My "Happy Easter" is an old rubber stamp  that I took apart and now use in my stamp positioner. Not sure of the brand. I heat embossed it and then added some grass and a butterfly (both Fiskars punches) to my frame.


This cute little chick is a print and cut image from the Silhouette Design Store (Design ID #76267).  There are a number of these cute chicks to choose from, each one a little different, but all looking very sweet and Easter-y. I printed out eight of this one onto a piece of cardstock, and then the Silhouette cut them all out for me. I'm always amazed at how precisely it cuts.

I added some Wink of Stella to the pink stripes on the egg and some Glossy Accents to his eyes.


On the inside of my card I stamped an Easter sentiment from My Sentiments Exactly and added another punched butterfly and a matted strip of my DSP.

We had a beautiful day here today. I finally uncovered my rose bush. It looks a little worse for wear, but I'm hoping it will come back once the ground warms up. The lilac bush is budding and will be in bloom before long. We have a little table underneath it where we can sit and enjoy its lovely fragrance.

Thanks so much for stopping by, and remember to laugh--a little or a lot--every day.
Cheryl