Wish List

Wednesday, December 31, 2014

A lovely Christmas surprise...

A few days ago, I received a lovely Christmas surprise in the mail. I am a faithful follower of Helen's blog at "It's All Fiddlefart," and she was incredibly kind to remember me at Christmas with a beautiful card and, not one, but TWO handcrafted Christmas ornaments!
Her card was absolutely gorgeous! I had admired it when she posted it (or a similar one) on her blog. So much detail! So much love and care packed into its creation. It's even prettier IRL, and I keep going to my card basket to pull it out and look at it. This one is going in the "save forever" box as a reminder of this kind and generous online friend.

Also included in my little gift package was this adorable gingerbread man to hang on my Christmas tree. Isn't he the cutest? He makes me smile just to look at him. He'll have a place of prominence on our tree from this point forward.


Finally, Helen also included one of her bottle cap nativity scenes. Through the comment section on her blog, I had admired her ability to create these lovely little scenes in miniature, and wondered how she could make such tiny figures so perfectly.

After I took this photo, I was amazed at how the teensy little star she had added in the background seemed to glow with a light all its own.

This ornament will also have a special place on our Christmas tree. It will remind me to follow Helen's example and practice random acts of kindness and generosity.


Thank you, Helen, for this fabulous surprise. It truly made my day! I hope that you and all your loved ones have a spectacular 2015 and that this kindness is returned to you many-fold!

Thank you so much for stopping by, and remember to laugh--a little or a lot--every day.
Cheryl

Saturday, December 27, 2014

Sweet birthday wishes...

My sister-in-law had a birthday in late December (happy birthday, Paula!), so while I was making some last minute Christmas cards, I also made her a card.

I had just a small piece of the cherry-patterned paper left and wanted to use it. I really LOVE this paper. I made this card very similar to the cards I shared in this post.


The cherries were again cut from my Preserves cartridge and the doily was made with a Prima die.


I used some sparkly self-adhesive letters for the word "Sweet." The rest of the sentiment was heat-embossed onto a scrap of the alternate side of the DSP.


On the inside of the card, I used the piece that was the cut-away on the end of the sheet of cardstock. I'm not sure what you call this half-inch strip, but many 12" X 12" papers have them, and they are often a coordinating pattern, as was this one.

With just the tiniest pieces of the DSP left, I still couldn't bear to throw them out, so I made a little coordinating tag.


I noticed that my tag die didn't cut the cardstock as straight as I would have liked, but I finished the tag anyway. The border across the bottom was made with a Fiskars punch.


I also cut a small doily, snipped a couple leaves from one of my foliage die-cuts and added two melted pony beads for the cherries.

I didn't actually use this tag, but will hang onto it to remind me to look for some more cherry-patterned papers!

We finally had some snow in Minneapolis last night - about 6 inches where I live. That's just enough to cover the ground and make everything look clean and fresh again. It didn't snow so much that it's hard to shovel, thank goodness.

I hope you are safe and warm, wherever you are, and enjoying some crisp winter weather of your own.

Thanks so much for stopping by, and remember to laugh--a little or a lot--every day.
Cheryl


Tuesday, December 23, 2014

A peek into my Christmas...

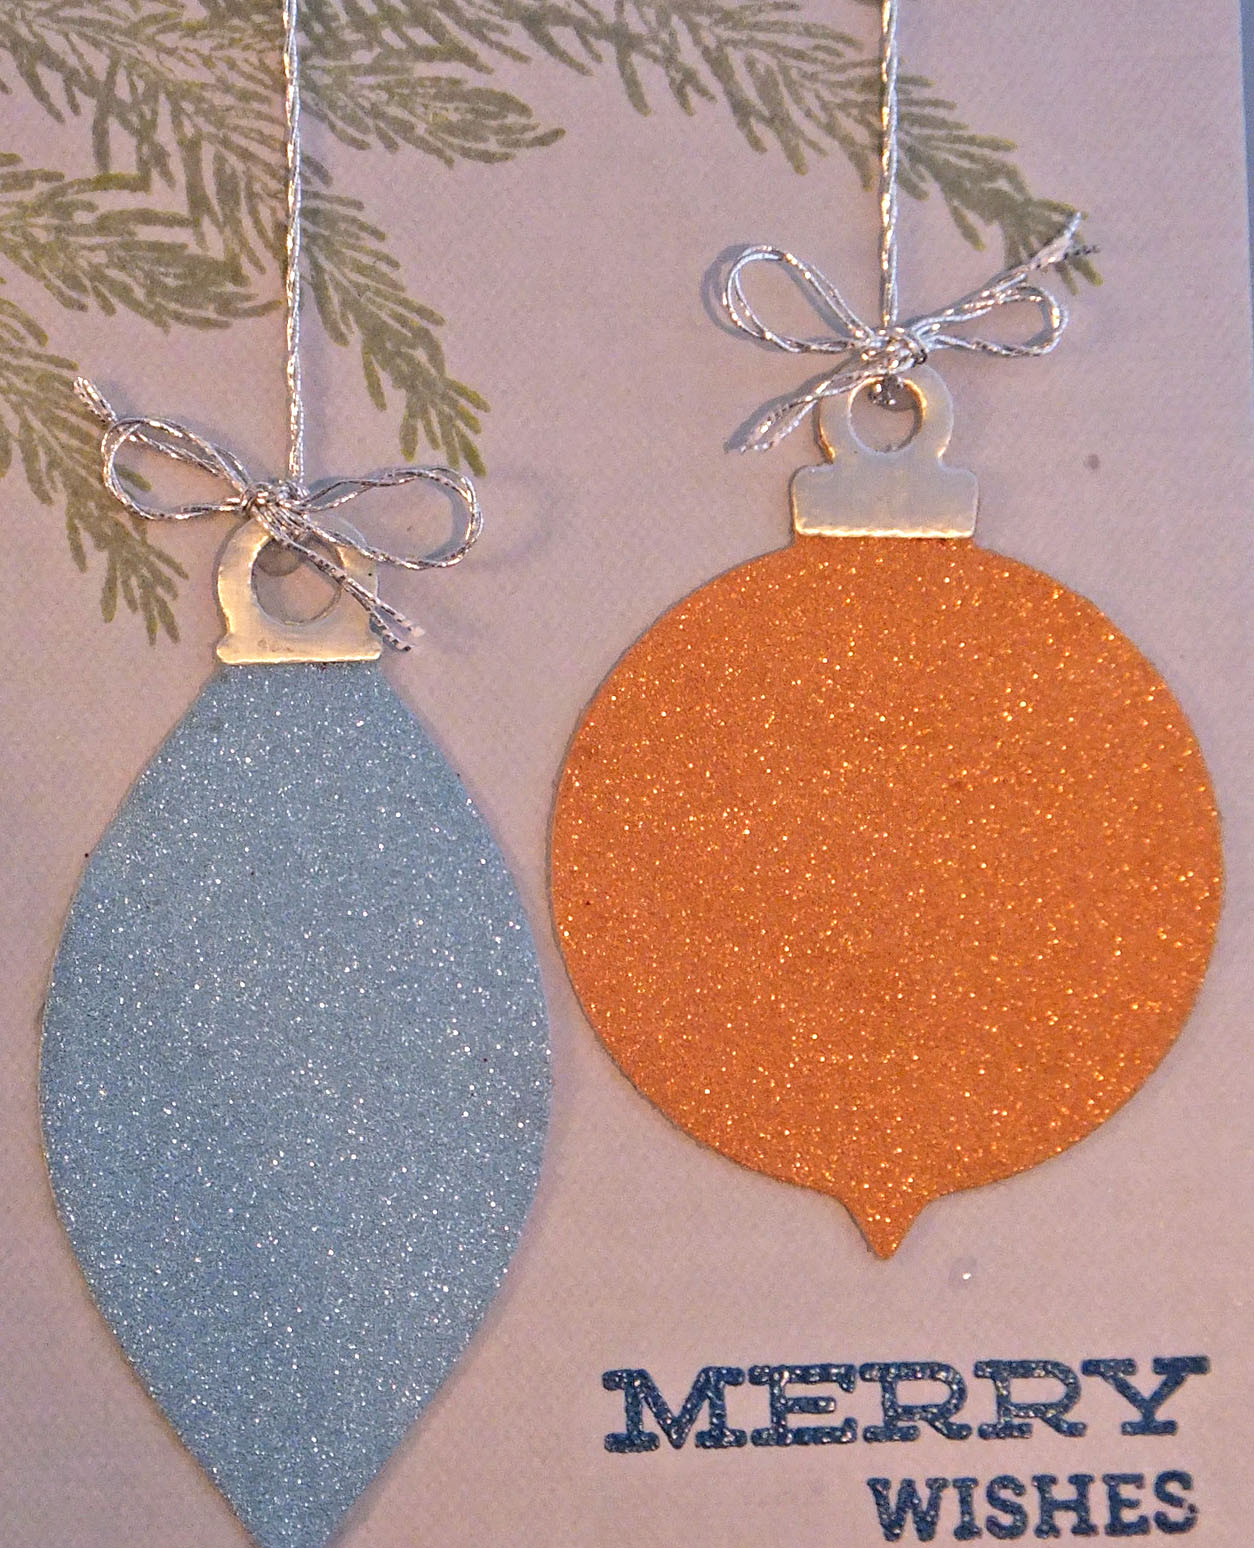
As my last post before Christmas Day, I thought I would share a little peek into my Christmas. First up, is a gorgeous card that was sent to me from a friend and fellow paper-crafter in Germany.
Isn't this a gorgeous card? My friend Nadine used a CottageCutz die - "Winter Wonderland Deer" - for her lovely little winter scene. I love how she tied a tiny piece of coordinating ribbon around the deer's neck!  She used a Darice embossing folder for her snowflake mat.


Here's a little closer look at those deer in the scene that Nadine created. This card is quite simple in design, but so very lovely!


On the inside of the card, she added a white mat with a beautiful punched and embossed border at the bottom. This was perfect for a personal note. I have deleted her note to maintain her privacy.


I have three sisters and they are all incredibly talented. I have shared several of my sister Michelle's cards on my blog, but today I wanted to share some of my sister Debra's talented creations. Years and years ago, she was doing a lot of ceramics and painted these for me:
Aren't they cute? And so beautifully painted! I set them out every Christmas, and they remind me of my sister Debra and her wonderful artistic ability.

Another year, she also gave me these cuties:
I love their muted colors and how earnestly they are singing those Christmas carols. They are also set out every Christmas and remind me to sing loud like no one's listening (and frankly, no one usually is!).

Another favorite Christmas decoration is one that I purchased in Heidelberg, Germany, a few years ago. My grandchildren love it, and beg to light the candles long before Christmas is even here.
These Christmas pyramids are available across Germany at Christmas time, and you will often see life-sized versions in the Christmas markets. The heat from the candles causes the paddles at the top to turn, which in turn causes the center displays to turn, as well.

The little scenes in the center are of the nativity story - the wise men, the shepherds, etc. We will light the candles on Christmas Eve and then again on Christmas Day.

One of the last things I made for Christmas were my truffles (made using my mother's recipe). They are one of my favorite Christmas treats. Very rich, very delicious and VERY fattening!
Add caption


They are made with semi-sweet chocolate, bitter-sweet chocolate, heavy cream and crème de cacao. They are then rolled in chocolate sprinkles. Yum!


Finally, here is a peek at our Christmas tree - yes, it's a real one - and all the gifts piled beneath it.
I wish all of you a blessed Christmas and healthy and happy New Year!

Thanks so much for stopping by, and remember to laugh--a little or a lot--every day.
Cheryl

Sunday, December 21, 2014

Christmas ornaments...

For one of the last Christmas cards I made for 2014, I used one of my oldest ornament dies. I'm not even sure what brand of die it is...possibly Quickutz or Lifestyle Crafts.

I had a glossy blue pre-made card base that I used for this card. I simply added a pale blue mat on which I stamped some fir tree branches. I then added the ornaments cut from glitter paper and a little glossy silver cardstock for the ornament tops.


I added the silver twine and a white lacey border die-cut (Marianne Creatables) at the bottom.

The "Merry Wishes" sentiment was heat-embossed with some blue embossing powder.


On the inside, I stamped the sentiment and added the lacy border die cut to the bottom of another pale blue mat.

So sorry for the dark photos. I just can't seem to get any good photos lately. It's been so cloudy, dark and dreary that even my little photo box doesn't seem to help much!

This card honestly look better IRL.

Thanks so much for stopping by, and remember to laugh--a little or a lot--every day.
Cheryl

Friday, December 19, 2014

Santa-ish gift card holder...

I am giving my brother a gift card for Christmas and wanted a nice - but masculine - holder for it. I went back to this post and decided to make a similar box and dress it up like Santa.


This is such a fun little box to make and takes hardly any time at all.

I made the buckle using an old Cuttlebug scalloped square die. I cut out the two center sections with my craft knife, leaving a narrow piece down the middle over which I could loop my "belt."

The two black buttons were melted pony beads - just the right size and shape for Santa's buttons.

I added a scalloped strip down the middle. I could have made this white, but opted for the red because it's such a small item, and I thought it might be best to keep it one color. Next time, I think I'll try some white, though, with a little fun flock on it.


To get to the gift card inside, you just have to slip off the belt and lift the top cover. Notice that I used a small 1" circle punch to create a little divot in the center of the cover to make it easier to open. I love the way the gift card just pops right up.


You'll find detailed instructions for this little box  here on Splitcoaststampers. It truly only takes minutes to make and can be decorated to fit the occasion.

Thanks so much for stopping by, and remember to laugh--a little or a lot--every day.
Cheryl

Tuesday, December 16, 2014

Peace on Earth...

After mailing or hand-delivering a total of 80 Christmas cards for family and friends, I realized that I still had a few people that I wanted to connect with via a card over the holidays. That meant I needed to pull my Christmas cardmaking supplies out and get busy. One of the cards I came up with was this:
I decided to create a quiet, wintery scene using some distress inks, masking off the snowy hills, the sky and the moon as I began to add some color.

For the snow I used some light shading with Evergreen Bough distress ink, which is really more of a teal than a green. For the sky, I used Broken China and Dusty Concord. The trees were stamped with an old wood mounted stamp from Inkadinkadoo called "Stand of Pines."


I added some sparkle to the trees and to the star under the sentiment with a glitter pen I think you can see the sparkle in the picture at left.

The whole scene was matted with some dark purple cardstock. In fact, the cardstock I had on hand wasn't quite dark enough, so I used my Dusty Concord distress ink along the border that would show before I adhered my main panel.


The inside was simply done with a stamped sentiment matted on some more of that inked up purple cardstock.

I had fun making this card, but realized that I ought to invest in some sponge daubers so that it's a little easier to blend my background colors. I've been using makeup sponges and smaller pieces cut from a larger sponge. There were  couple of times when I thought I might have to start over, but with a little elbow grease, I managed to blend the colors to my satisfaction.

Edited to add: As I was writing this post, I meant to enter it into the Merry Monday Christmas Challenge #139 - Winter Wonderland. Somehow as I neared the end of my post, I completely forgot to link it up, so I am doing it now.

I also made a completely different Christmas card, but I'll save that one for another post.

Thanks so much for stopping by, and remember to laugh--a little or a lot--every day.
Cheryl

Monday, December 15, 2014

No snow in Minneapolis!

We Minnesotans are used to having lots of snow at Christmas. We expect to have snow in December, which is why we our family plans a sledding party every Christmas Eve afternoon. But this year, we may well have to change those plans because we currently have NO SNOW! It has been above 50 degrees (Fahrenheit) here the last three days, and the little snow we did have is now gone. In fact, it was misty and rainy over the weekend, which has further melted any snow in the shaded areas.

We're expecting a little snow tonight, but the weather forecasters on TV say that it will be less than an inch where I live - definitely not enough for a sledding party! We'll need a good 3-5 inches in order for our sledding party to be back on the schedule. With that in mind, I thought I'd share the following card:


I used my Marianne Design Creatables die called Pine Trees Horizon. I cut my label shape with a QuicKutz die, then laid my Pine Trees die-cut on top of it and cut it to fit.


"Dreaming of a white Christmas" is a Penny Black stamp that has been heat-embossed. If you look carefully at the gray and white DSP behind my label, you'll see that I've added some Liquid Pearls to the centers of the snowflakes for a little extra dimension.


I also used a glitter pen to add a little sparkle to my pine trees. Not sure this was a good idea, but once it was done...well, there was no going back.


For the inside of the card, I used another Penny Black sentiment stamp and also added some snowflakes, which were heat-embossed with some sparkly silver embossing powder to mimic the silver sparkle on the trees. I think I was a little "snowflake happy" when I added these. Just two or three would have been plenty. Funny, how hindsight is 20/20.
Thank you so much for stopping by today, and remember to laugh--a little or a lot--even if your Christmas plans are also changed for lack of snow!
Cheryl

Friday, December 12, 2014

Lunch box makeover for a little girl...

My daughter called me not too long ago and wanted to know if I would be willing to get out my Mod Podge and fancy up a tin lunch box for my granddaughter. I had done a similar, smaller lunch box for her a few years ago and packed it full of handmade doll clothes for her Fancy Nancy doll. My granddaughter is now in first grade and insists on using this little doll clothes "suitcase" to take her lunches to school. "If I buy a bigger plain metal lunch box, Mom," my daughter asked, "would you be willing to 'bling' it up for her?"

No hemming or hawing from me...of  course I'd be willing!  Besides, I hadn't done any Mod Podging in a long time and could use the practice. A final reason was that I knew it would be fun.


This is what I started with - a nice, shiny tin lunch box.


First I had to rough up the parts I wanted to cover so that they weren't so smooth and slick that they wouldn't hold the paper. I used some fine grit sandpaper and just went over all the necessary sections lightly. This only took a few minutes, after which I wiped it clean with a tack cloth.


Then I started applying my selected papers. First I cut the paper to size. Then I brushed on a thin layer of Mod Podge and applied the paper over that, smoothing with my fingers and sometimes using my brayer to try to get out all the bubbles. After it dried for about 15 minutes, I applied a layer of Mod Podge over the top of the paper.


As I applied each new layer of paper or embellishment, I brushed on a layer of Mod Podge under the embellishments and then over them as well as over the entire papered surface. On the front and back of the lunch box, there are at least seven layers of Mod Podge.

Here is the final result with some coordinating pieces of ribbon, lace and tulle added to the handle for "flair."  My paper rickrack was made with the envelope punch board. My granddaughter's initials were cut with my Cricut using the Nate's ABCs cartridge. Cut at 3/4", they perfectly matched the size of some rhinestone initials I had on hand.


Here's a little better look at all that "flair" on the handle.


This picture is a little dark, but the top, bottom and ends are covered with a coordinating paper and some more of the paper rickrack.

To help make it more durable, I sprayed all of the Mod Podged areas (after masking all the edges) with a finish spray by the same company. It will help to keep it from becoming tacky.

I hope my granddaughter likes her new, girly lunch box. I sure had fun making it!

Thanks so much for stopping by, and remember to laugh--a little or a lot--every day.
Cheryl

Thursday, December 11, 2014

A merry Christmas card exchange...

Good morning! A while ago, Patti from Cherish Each Precious Day offered to organize a Christmas card swap, and I jumped at the chance to join her and five other ladies in creating cards that we could exchange with each otherI've never been part of a swap before, so this would be a new experience for me. 

Patti kept in contact with the group as she received the cards from each participant, teasing us by telling us how wonderful they all were, but not sharing any details. She then invited us to take it one step further, and do a blog hop with our swap cards. This would also be a new experience for me! 

The big day has finally arrived and we are all ready to share our cards with you. This blog hop is just for fun...no prizes, but we hope that you are inspired by something that you see today! 

Here is my swap card:


This little poinsettia die from Marianne Creatables is awesome! So quick to cut and put together. You can see here that I also used the Martha Stewart medium pine branch punch for a little more "greenery" around my flower.


I added some more of those MS branch punches on the inside of the card. The greeting was heat embossed and I embossed three lines across the top for some added detail.


As an extra bonus with my Christmas cards, I decided to created some coordinating tags. The poinsettia is the perfect size for tags, too!


Now, you can hop along with us, and see what the other folks created!

Sally McDonald     Debbie Seyer     Sue Drees    

 Cheryl Winget (you are here!)


Thanks so much for stopping by, and remember to laugh--a little or a lot--every day!
Cheryl


Monday, December 8, 2014

A design using my Gypsy...

I don't often design special cuts on my Gypsy, but every once in a while, I like to experiment.

This is my most recent attempt at a new design. I used George to create a frame and then welded a snowflake to the frame at one end.  The snowflake came from the Winter Wonderland cartridge. This fancy frame makes it so easy to put the card together. As you can see, not much else is needed.


To complete the card, I masked off the frame and then covered the snowflake with spray adhesive so I could sprinkle it with white glitter. When it was dry, I sprayed the backside of the entire snowflake frame and adhered it to the DSP, which was then adhered to the card base.

You can see in the photo at right that I also added a silver sequin to the center of the snowflake.  I used seven little flat-backed gems to finish it off.


On the inside I added a strip of the DSP and also the center cutout from my snowflake, which looks like a smaller, more delicate snowflake. I glittered this one as well, and added a tiny gem to its center.


I am slowly making progress on my Christmas preparations, but with six children and their spouses and 10 grandchildren, there is a LOT to do. I am done with my shopping, but not my "making." I am making some gifts and some gift containers, and it all takes a lot of time. At some point, I need to do some baking, too, and get my house ready for company. I'm blaming my "behindedness" on our 7-week trip out West. Sounds like a pretty good excuse, don't you think?

I hope your holiday preparations are well in hand and you have time to just sit back and enjoy the festivities, however you celebrate.

Thanks so much for stopping by, and remember to laugh--a little or a lot--every day.
Cheryl


Friday, December 5, 2014

A couple more Christmas cards...

I wanted to share with you one of my Christmas cards for this year that I really like.

I have always wanted a fairly large poinsettia stamp, and in August of this year I purchased a used set of Flourishes stamps called Poinsettia and Pine from Julie Kerber of Out to Impress. The set includes a wonderful poinsettia stamp that I used for the card below.
I stamped the poinsettia twice on vellum with Versamark ink and then heat embossed it with some white embossing powder. I fussy cut the first poinsettia as is, but cut only the top petals for the second poinsettia. I then layered the two with a little clear dimensional double-sided tape in between.


The strip of colored cardstock under the poinsettia is actually glitter paper. I think you can see some of the sparkle in this photo.

I used my Swiss Dots embossing folder for the white mat.


The inside is simple with just a strip of the glitter cardstock at the bottom to finish it off. This card was so quick to pull together, but I love it. I'm going to try it in some more colors, too. I'm thinking about some hot pink. What do you think?


My sister has also been busy making her Christmas cards, and here's one of them.
Isn't it beautiful? She used the Memory Box Snowflake Ornament die for her ornaments. She dry-embossed a string line for each and added a silver bow and a heat-embossed sentiment to complete the card front. I'm sure she can whip these out in no time. This card would be beautiful using other colors of glitter paper, too, for the ornaments. I'm thinking purple, red or maybe hot pink. I'm going to have to beg her for a few of these die-cuts for next year's cards. We love trading die-cuts! It's such an easy way to share what you have.

In fact, I'm thinking that a die-cut exchange with a group of papercrafters would be super fun! Maybe with Easter cards in mind?? If you're interested, let me know. You'll find my email link on the right side of the page under "Contact."

Thanks so much for stopping by, and remember to laugh--a little or a lot--every day.
Cheryl