Wish List

Tuesday, May 30, 2017

Four step pop-out card...

I recently made this card and envelope for my son-in-law. I started out by creating the "It's PARTY Time!" panel on my Silhouette. I even printed the words It's and Time with a Silhouette sketch pen.

For the inside of my card I used Silhouette Design ID #58161 which features the four-step pop-out. I also cut HB2U (not sure which font I used) for the steps.

I'm still learning how to design images with my Silhouette, so I tried my hand at making an arrow. After it was cut, I HAD to use it on a card, right? So I decided to use it to point to the "U" for emphasis.


My balloons were made with a punch, and I hand-drew the strings. My little bow was made with an unbranded die.


I added this fun Stampendous birthday sentiment on the right hand side.


This is a look at the card from the top. The strange thing about this particular Silhouette cutting file, is they expect you to use the stair-step pop-out by itself as a card. That seems a bit weird to me, so I made a card base and attached the pop-out to the inside. I think it seems much more finished this way. My card base did end up being 5" X 6" to accommodate the pop-out, but that's ok.

Over the Memorial Weekend, we had a great trip to North Dakota in our little RV. She performed admirably and was more than comfortable for us. We're really looking forward to a longer trip later this summer.

Thanks so much for stopping by, and remember to laugh--a little or a lot--every day.
Cheryl

Thursday, May 25, 2017

A birthday card for a boy (or anyone who loves baseball)...

This card was very quick and easy. I first used my largest circle die as a guide to draw an arc on my front mat. Then I had an arrow die (unbranded) that actually cut out my little chevron pieces for the red stitching.

My short blue banner, along with the "Happy Birthday," were also cut with unbranded dies. For a final touch I added some blue dots. They're actually not enamel dots. They're the little circles that are left when you use two different single hole punches. I simply glued them onto my card and added some Glossy Accents on top of them for a raised, dimensional look. They look just like enamel dots, don't they? And they match my blue mat exactly, because that's the CS I punched to create them.


My inside sentiment was computer-generated. I just happened to have a vinyl baseball sticker in my stash, so I added it to the inside, along with a couple of pierced arcs to represent its path of travel.

This card is going to be added to my daughter's stash of birthday cards. She has blessed us with three grands, and she likes to have cards on hand for them to give to their friends whenever they're invited to a birthday party.

Thanks so much for stopping by, and remember to laugh--a little or a lot--every day.
Cheryl

Monday, May 22, 2017

Pretty butterflies...

I was messing around with my Brushos dye crystals the other day, but didn't like the colored panel I ended up with. However, when I decided to cut some butterflies out of this panel, I LOVED them!

My pretty butterflies and the word "hello" were cut with unbranded dies. If you look closely, you'll see that I cut a second "hello" in blue to give a hint of a shadow.

My lacy edge was cut with a Marianne Designs die called border stitch lace.


Here you can see the fabulous dimension my butterflies have.

I gave them each a body of rhinestones. I didn't have any yellow rhinestones, so I just colored some clear ones with an alcohol marker. It works perfectly!

I left the inside of my card blank except for the strip of pink CS that provides a background for my lacy edge.

This is such a simple card, but I think the butterflies make it really special. You can be sure I will be getting those Brushos out again to make more color combos for butterflies.

We are busy getting our RV loaded and ready to take off for North Dakota on Thursday. It will be the inaugural run for this particular RV, and we're very excited to get it on the road. Hopefully, later this summer, I'll have some time (and a bright, sunny day) to take some photos of the inside and share them with you. It's very small and compact, but it has everything we need.


Thanks so much for stopping by, and remember to laugh--a little or a lot--every day.
Cheryl

Friday, May 19, 2017

A Golden Wedding Anniversary card...

Today's card is another one that was intended just for my stash, although my sister said if I hung onto it for a few years, I could give it to her. LOL

I had just a smidgen  left over of a Zen doodle design that I had found online. I ran it through my laminator with some gold foil to give it a touch of elegance.

Add caption

It's nearly impossible for me to photograph the gold foiling so that you can clearly see it on the design, but it's there and it's so pretty!

The gold glitter washi tape added even more sparkle to my card.

I cut some leaves using a Memory Box die and sandwiched them between my fancy Spellbinders oval and a pierced label die (unbranded).


My sentiment was heat-embossed with gold embossing powder with a tiny piece of my die-cut adhered below it.


On the inside of my card, I used another gold CS mat. I also foiled my sentiment, although you wouldn't know it by looking at this photo.


This isn't a good photo, but at least you can see that the sentiment is actually foiled!


As it turns out, one of our guests from Germany was going to be helping his parents celebrate their 50th wedding anniversary this fall. I asked him if he'd like to give them this card, even though they don't speak English. He said he'd LOVE to, and that he'd interpret it for them. So, it will now be given to someone in Germany whom I've never met, and I couldn't be happier. It's always fun to have my cards used and appreciated.

Thanks so much for stopping by, and remember to laugh--a little or a lot--every day.
Cheryl

Monday, May 15, 2017

The sweetest little teddy bear...

I made this card a short time ago for my stash. No baby to welcome to the family . . . yet. I don't think any of my children will have more babies, and it's still too early for grandchildren to be starting families. I do have hope for more babies from my nieces and nephews, though.

Isn't this teddy bear so cute. The photo doesn't even truly capture its cuteness. It is made with an unbranded die, as is the little scalloped trim at the top and bottom of my card.

After cutting out my teddy, I embossed it and then inked it through the die.

I happened to have this DSP sitting on my desk, so I decided to use it and let one of the circles dictate where my little bear should sit.

The stamped sentiment is from My Craft Spot, and the heart is a Recollections punch to which I added some Glossy Accents.


On the inside of my card, I added a couple more scalloped borders, another stamped sentiment from the same stamp set and an additional punched heart.


I did pop my little bear up on a single layer of double-sided foam tape. I think you can just barely see that in this photo.

My company has left after 10 busy days with us. I was so tired when they finally drove off at 10 a.m. this morning, that I laid right down and took a one-hour nap! And now it's not even yet 10 p.m., and I'm tired again!

We are busy getting our RV ready for the first outing of the year over Memorial Day weekend. We will be traveling to North Dakota where we will visit family, attend a high school graduation, and also stop to honor the graves of my mother and father.

I actually did get my flower boxes planted over Mother's Day weekend, even though we still had company then. And my little seedlings were blessed with a nice shower this morning. Love when it happens in that order!

We've had some glorious, sunny days here in Minnesota, and I hope you have, too, in your neck of the woods.

Thanks so much for stopping by, and remember to laugh--a little or a lot--every day.
Cheryl

Friday, May 12, 2017

Sympathy card for my stash...

I made this sympathy card for my stash since I was down to only one card in that category. I really don't like making these cards under pressure to get them done quickly, so I always try to keep at least two on hand.

This card uses some branded dies, unbranded dies and some upcycled CS.  The soft gray patterned CS is actually the inside of one of those cards we all get in the mail from charitable organizations when they're soliciting donations. I save the ones that have any sort of usable areas.

The lattice opening was made with an unbranded die. I love the look of it.


My butterfly is a two-piece unbranded die. The bottom solid shadow piece was cut out of vellum, and the lovely butterfly itself was cut from silver CS. The shadow was also originally behind the antennae, too, but I cut that part off. I wanted only the wings shadowed.

I added the strip of tiny pearls to give a little dimension to the body.


My stitched oval is a My Creative Time die and my Stampendous sentiment was stamped and heat embossed with silver EP.


I added a stitched panel (unbranded die) on the inside of my card and, once again, heat-embossed my sentiment (Technique Tuesday).

I love heat-embossed sentiments on the inside of my cards. They just add a tiny bit of class, I think.

It is late on Friday night as I type this. I am looking forward to buying some flats of flowers tomorrow and getting them all planted in my window boxes and flower beds. It never feels like summer has really started until I get my flowers planted.

To all you moms, aunts, grandmas and women who play an important role in any child's life, I want to say, "Happy Mother's Day!"

I have informed my DH that I will NOT be cooking on Sunday. I think for one day, my family members can treat me, for a change. Should be interesting!!!!


Thanks so much for stopping by, and remember to laugh--a little or a lot--every day.
Cheryl

Wednesday, May 10, 2017

Hello, there...

I was looking back through my card photos from earlier this year and realized I had not shared this card with you. It was made as a Valentine, but I think it could be used as a general "thinking of you" card, too, if the inside sentiment was omitted.

The three stamps that I used (owl, mailbox and sentiment) were all from a Recollections Valentine set. I found this fun arrow paper in one of my 6 X 6 paper stacks. I'm not sure of the brand, but I thought the arrows were particularly good for a Valentine, since Cupid is almost always depicted with a bow and arrow.


I added some googly eyes to my little owl, giving him lots of character. I'm not sure there are any owls with golden wings, but I thought he needed a little color other than brown!


The inside of my card was very simple, using another sentiment stamp from the set. I thought the sentiment seemed a bit incomplete since it didn't include the word "DAY," but I used it anyway. :)

I always have a hard time coming up with Valentines that are not too girly or lovey-dovey. My grandsons are getting to the age when I need to tell them I love them in more subtle ways sometimes. I think this little stamp set helps create those kinds of Valentines.

I finally got a few flowers planted outside. I'm hoping to be able to share a few photos of my flowers here on the blog from time to time. Not that my flowers are that spectacular, but I like to have a sort of record of them for those cold winter months. Then I can go back to those photos and dream of warmer weather.

Thanks so much for stopping by, and remember to laugh--a little or a lot--every day.
Cheryl

Friday, May 5, 2017

Let's Craft and Create Challenge #125: Make your own background...


Let's Craft and Create

I can hardly believe we are nearing the end of the first week in May already. And that means it's time for a fun new challenge over at Let's Craft and Create. This month the design team has done a fabulous job of creating all kinds of backgrounds for their cards and other projects. You really need to hop over there and take a look.

For my part, I have created two cards; I simply couldn't decide on just one handcrafted background!

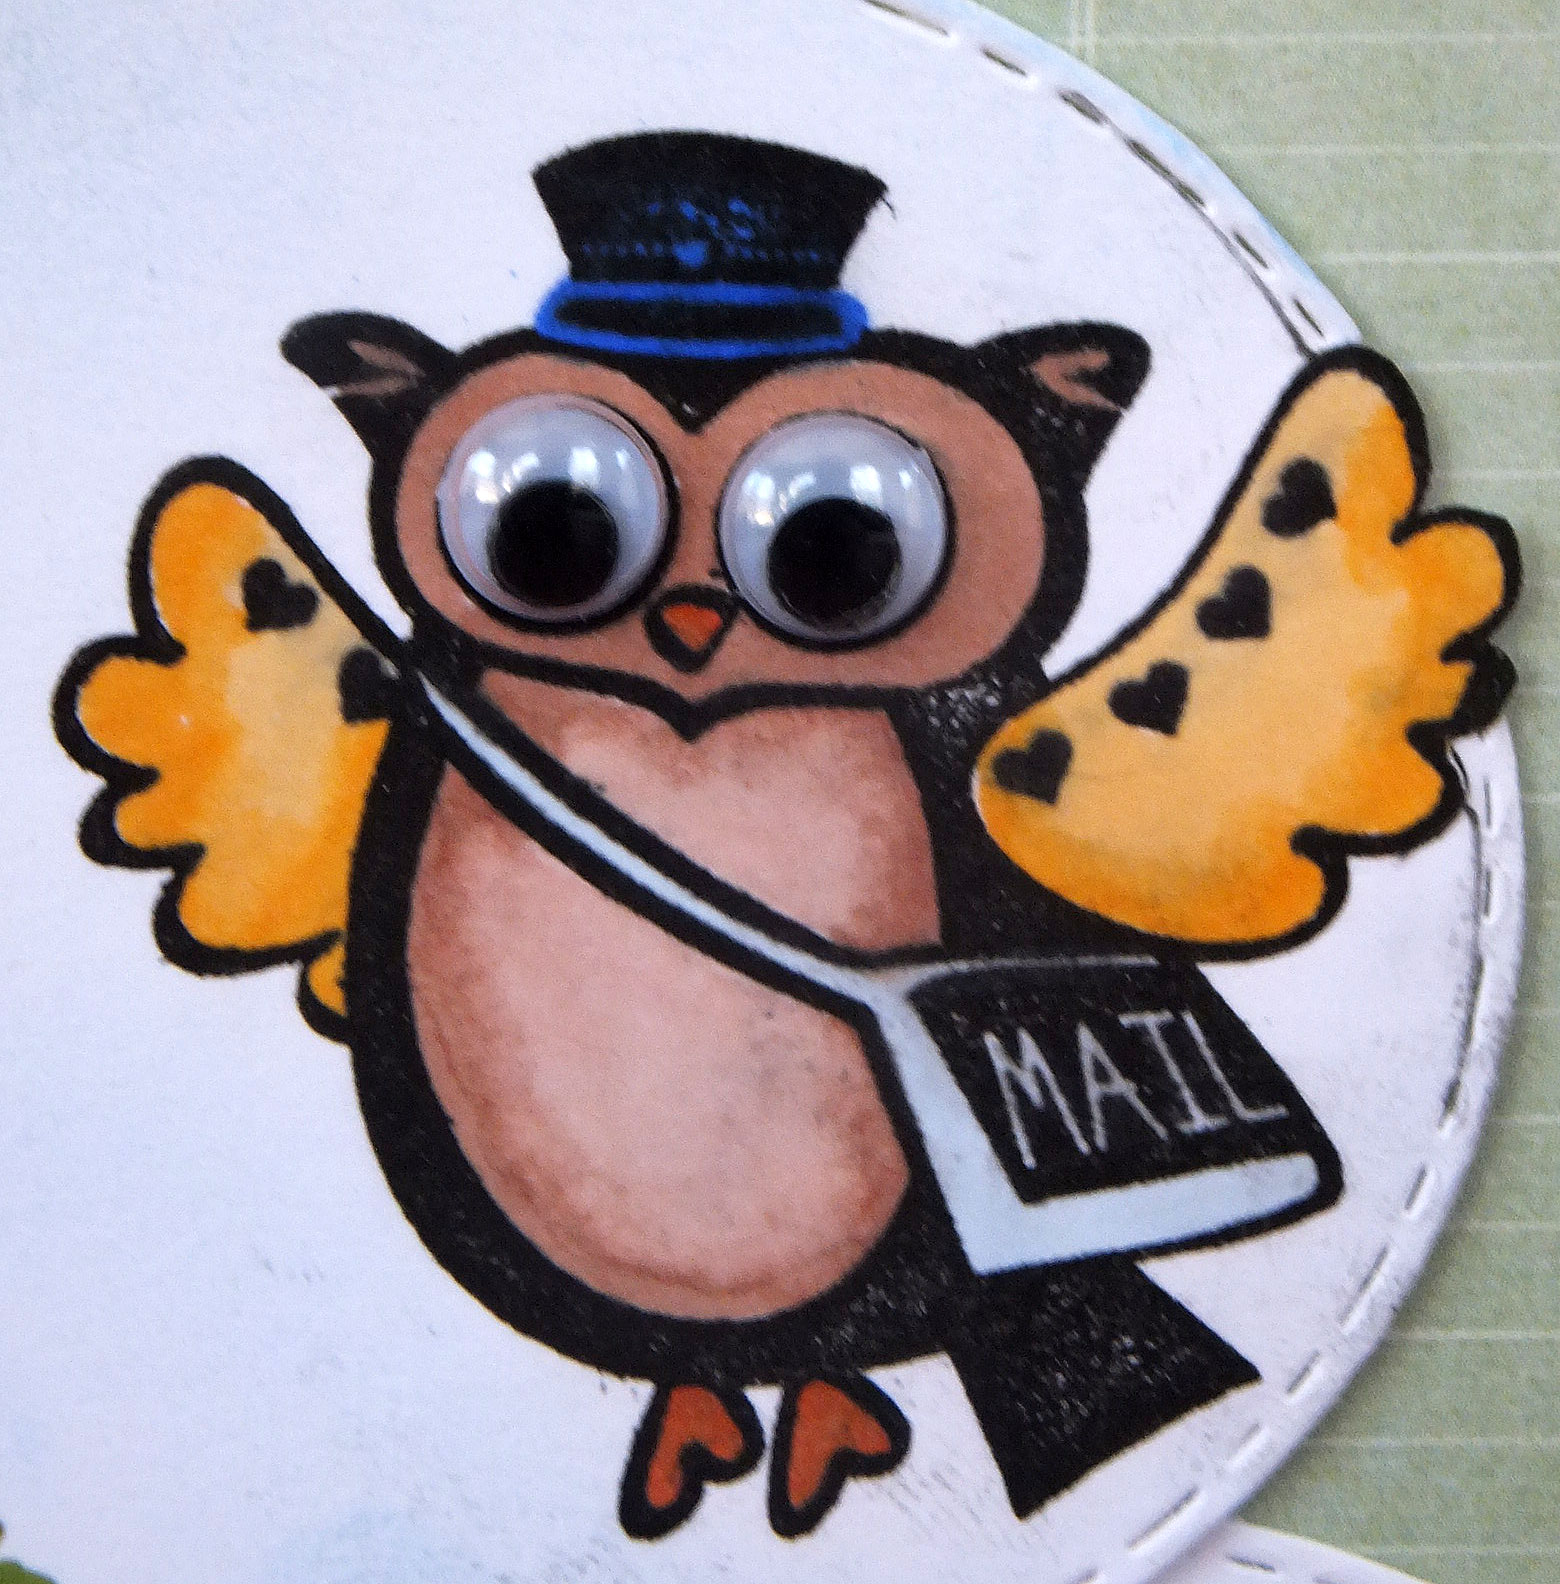
For this card, I first used some Post-It tape along the fold line of my card so that I could lay it flat while I inked and not get any of that ink on the backside of my card. I rotated a strip of cardstock around the center of my card front and applied some Mustard Seed Distress Ink with a finger dauber to make the sunny rays. My image is a digital stamp from Bugaboo Stamps, which I've colored with ProMarkers and adhered with foam tape.

What I love about making this kind of background is it is very quick, but still looks impressive.


I've added a tiny tag (Sixxiz stamp and die) and a little red bow to the stem of my flower.


Did you notice that little wooden ladybug in the corner of my image panel? My sister and I bought some of these a few years ago, and I've been looking for an excuse to use at least one of them. Isn't it cute? They're self-adhesive, too, which is nice.

I left this card plain on the inside so that their is plenty of room to write a personal thank you note.

For my second card, I wanted to use a collection of bug stamps that I got at the thrift store where I volunteer. When I got these stamps, I thought they would be fun for my grandson to use when he comes over and wants to "get crafty with Grandma." But they also work well for grown-up cards like this one.

Once again, I taped off the back of my card, and then began to stamp five or six different bugs randomly on the front of my card. My cross-stitch banner is an unbranded die. I created the sentiment on the computer using a Harry Potter font.

On the inside of my card, I decided to stamp an entire line of ants, something we all contend with at one time or another.

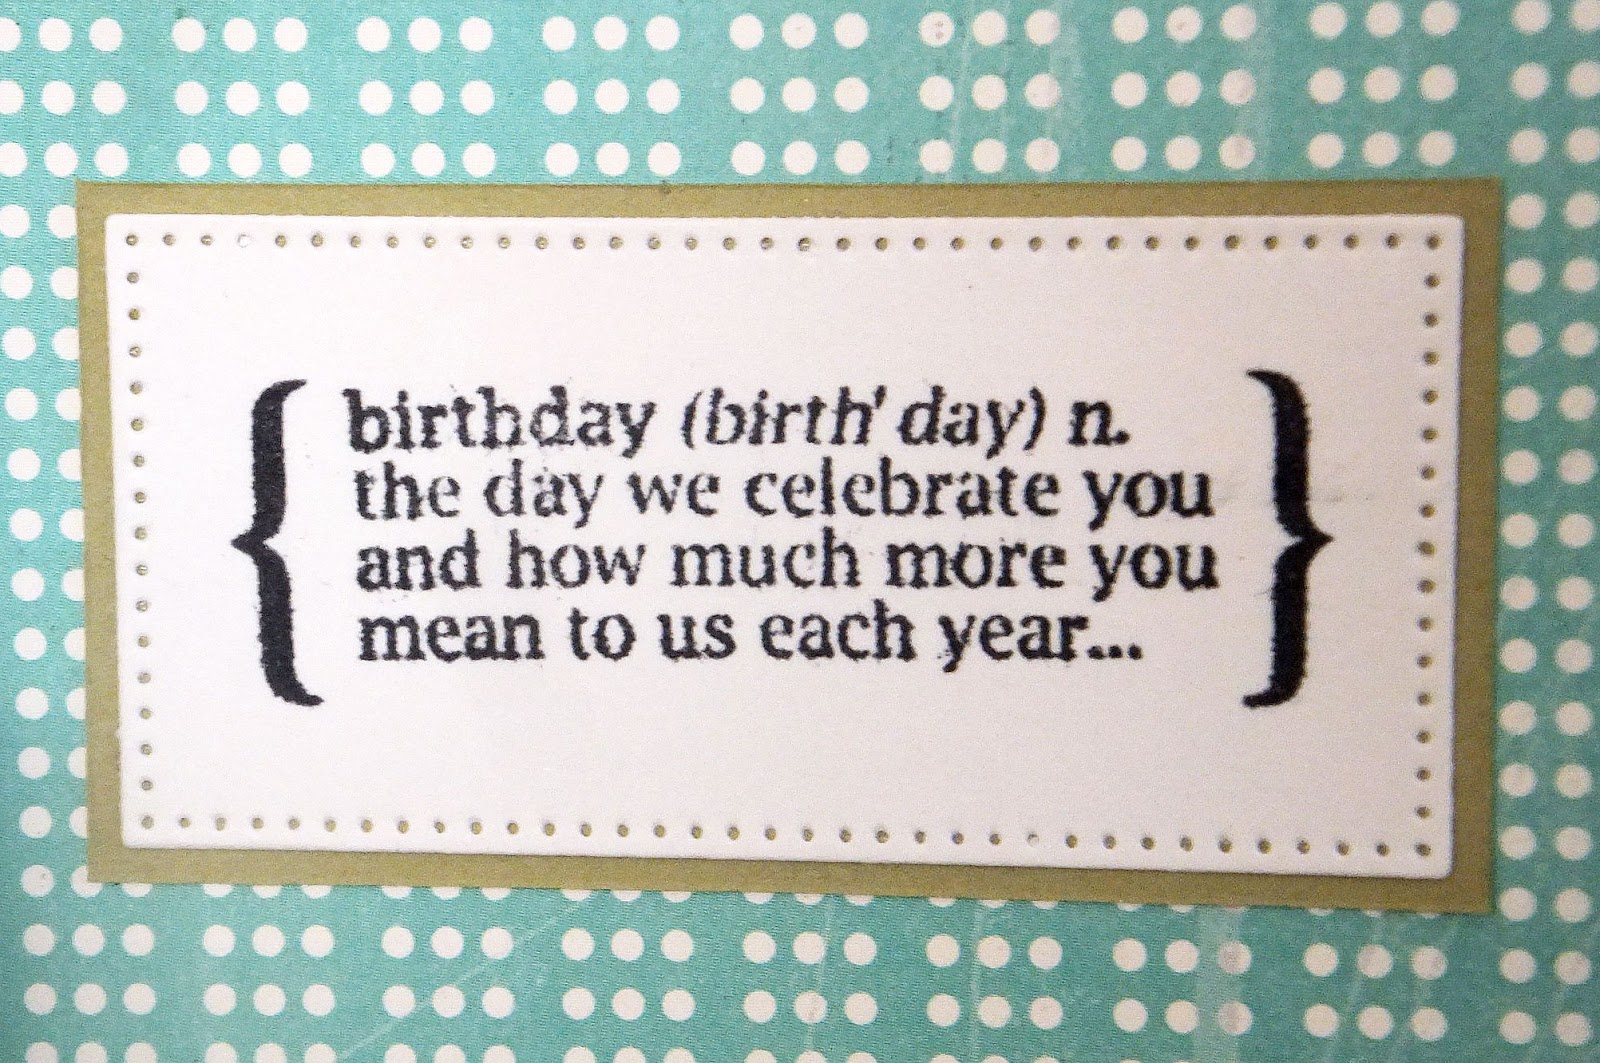
My stamped sentiment is from My Sentiments Exactly.

This challenge was so much fun that I actually created a third card with a foiled background, but I'll share that one with you in another post.

I really hope you'll head over to Let's Craft and Create and look at all the other wonderful projects. Then join in the fun and add a link to your creation. Just remember, it needs to feature your very own uniquely created background.


Thanks so much for stopping by, and remember to laugh--a little or a lot--every day.
Cheryl

Tuesday, May 2, 2017

Another CAS birthday card...

I had this stamped scalloped panel sitting in my card parts box for quite awhile, and when I had just a small piece of the pretty floral DSP left, it was time to put the two together.


My lovely rose was created with a multi-layered stamp from Altenew. It's so much fun to stamp these flowers--especially now that I have a stamp positioner!


The little strip of DSP above my sentiment was the only piece left. I used a border punch to give it a more interesting edge. I think the border punch is by Martha Stewart, but since I'm not under oath, I won't swear to it.

I'm not sure where the sentiment stamp came from either. Possibly Woodware.

I had a couple of surprise visitors today who stayed for several hours. They didn't say much, and even managed to take a nap (at least the Mallards did--with their heads tucked under their wings).


I took both of these pictures from my front doorway. My visitors didn't seem the least bothered to have me there. In fact, I had to make a noise to even get them to look up for the camera.

I love visitors like this--except when they help themselves to my flowers. Whenever I see a tulip beginning to open up, I rush out and pick it for a vase inside before my bunny friends can eat it.

Thanks so much for stopping by, and remember to laugh--a little or a lot--every day
Cheryl