Wish List

Wednesday, August 28, 2019

When there's just one scrap of paper left...

I had been using a sheet of pretty patterned paper and ended up with one smallish piece left. In fact, this piece was just big enough to cover a card front, and I didn't want to put it into my "scraps" pile. The only solution, of course, was to make a card with it. And that's just what I did!


I found some coordinating solid-colored CS and went about making a Mother's Day card--because that's what the patterned paper made me think of.

For my flower, I tried something I had often seen but never attempted. I cut out the layers (unbranded die set) inked the edges, and then crumpled each individual layer into a ball.

I carefully unfolded them and glued the layers together with some Nuvo Drops in the center.

The leaves are an EK Success punch.


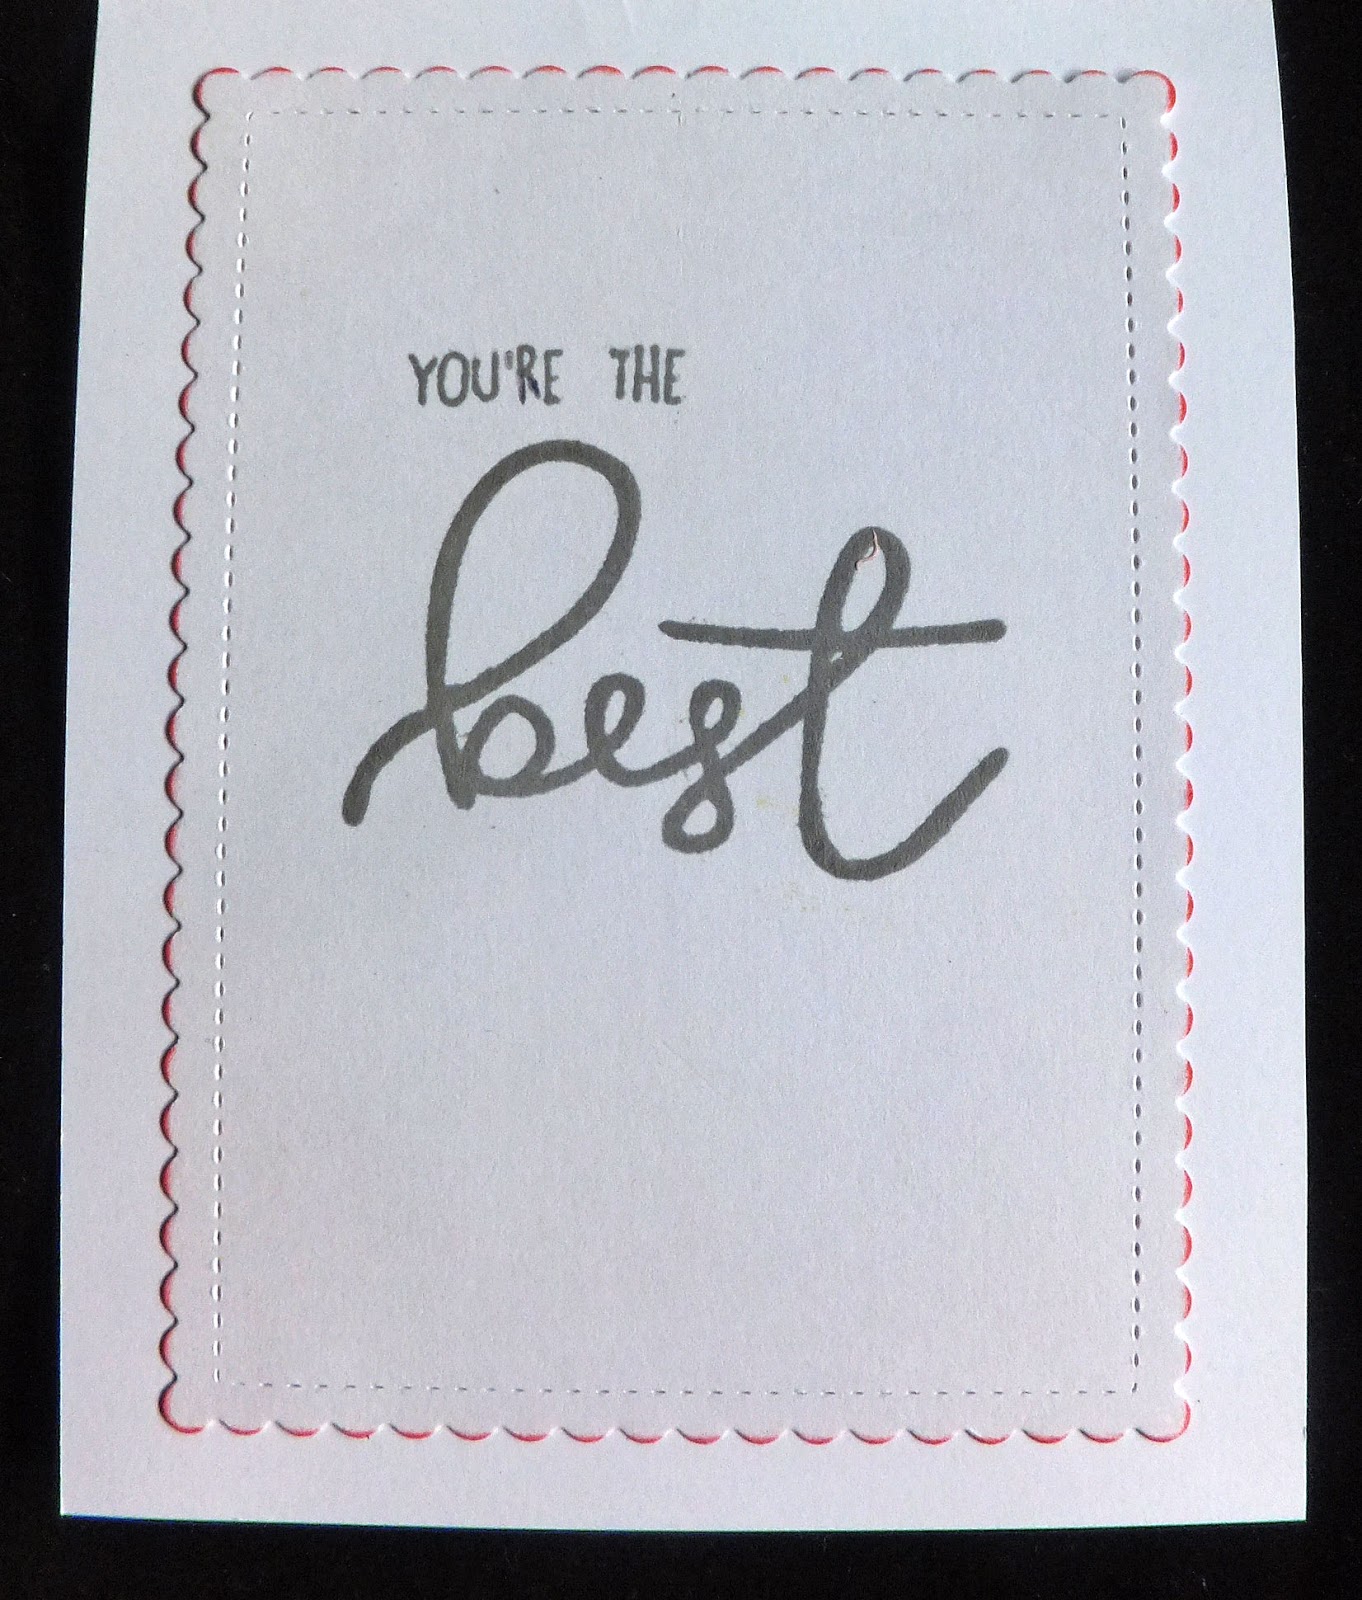
I had no more of the patterned or the solid pink CS left, so I cut a scalloped sentiment panel for the inside and just touched the edges of the scallops with a pink ink pad to give it a tiny bit of color.

This card will be put away to donate to the thrift store to sell next Spring. I like having some made up ahead of time, because those special days seem to creep up and surprise me.  

Thanks so much for stopping by, and remember to laugh--a little or a lot--every day
Cheryl

Friday, August 23, 2019

Tri-fold shutter card...

It's been a lo-o-o-o-ng time since I made a tri-fold shutter card. My granddaughter's 14th birthday was earlier this month, so I decided to make one for her.

First, I needed to refresh my memory on exactly how to do it, so I looked up this tutorial on Splitcoaststampers. Love that site for all its tutorials and cardmaking advice.

This is the card all folded up. I decided to use some unbranded dies on this card--the girl die in her cute outfit (paper-pieced) and a set of 6 cat dies. My granddaughter's family has four cats, so I figured my cat theme was pretty appropriate. I cut the cats out of white CS and then used my ProMarkers to color them. I also did a little ink sponging on some of them.

This photo shows all the panels and the Happy Birthday banner (a die-cut from my sister) in the center. I left the right hand circle blank so that we would have a spot for a personal note and to sign our names.

The papers that I used came from a really old 6" X 6" pad. I won't bother sharing the manufacturer, because I'm certain it is no longer available. It's that old!


This is what the card looks like from the top when it's opened.  It's actually not hard to make at all and looks pretty impressive when it's done.


This was my favorite cat on the card. I have to practice in order to perfect my tiger stripes, but I was OK with how my first try at this turned out.


Last night we were invited to our friend's home for dinner. We had some delicious Indian food and a lovely visit. As a hostess gift, I was able to go down into my stash of cards and pick out an assortment of six of them. Then I used my envelope punch board to make an envelope-style box, tied a ribbon around it and added a tag. It's so nice to be able to share the results of this hobby with others!

Thanks so much for stopping by, and remember to laugh--a little or a lot--every day.
Cheryl

Monday, August 19, 2019

Nautical-themed cards with one that's neverending...

August 20 is my grandson Patrick's birthday--hope you have a happy day, Patrick!--and I made him a neverending card with a nautical theme. I also made one for another occasion, just so I could enter into the current (pun intended) challenge over on the Twofer Card Challenge Blog.

Crafting friend Shirley of Glittered Paws inspired me to also join in the challenge over on The House That Stamps Built, a Repeat Impressions Blog.


The dies I used on this card are unbranded. I did a bit of shading to create clouds behind my little sailboat. I also added some shading in a darker blue for the water and then put a portion of a scribble line die over the shading.

My little seagull was cut from white CS and I shaded the tail and wingtips with a bit of gray ink.


This is what is revealed with the first "opening" of the card.  Once again I used some ink blending to create my water and added some white gel pen to indicate the waves. I used an alcohol marker to color in my sand. After I did that, I poured a bit of rubbing alcohol onto a piece of terry cloth, raised the nubs of the cloth a bit and then gently pressed it against my brown coloring. It created the textured look of sand.


Here is what is revealed with the second "opening." I used the D'Vine Swirls embossing folder by Cuttlebug for my blue CS. The anchor die is from the same set as the sailboat.


Here is the final reveal of my neverending card. I left the bottom rectangle blank so that we have somewhere to write a personal note and sign our names.


If you want to see the card in action, here's a little video:

Finally, here is my second nautically-themed card. Just a quickie, thinking of you kind of card that is blank inside.


For the ocean waves on this one, I cut a piece of cardstock with one of those old decorative edge-cutting scissors that had a big scallop pattern. Who knew they would still come in handy! After masking off the edges of my rectangle, I used this scalloped piece of CS as a stencil to add three shades of blue ink for my waves. I used a torn piece of cardstock to create my clouds in the same way.

The red dots on this sailboat and the blue ones on the previous card were made with Nuvo Drops.

I want to say a special thanks to Lynette at My Stamping Addiction for sharing with me the instructions for making the neverending card. She also gave me a sample so that I could see how it all went together. Thank you, Lynette!

Thanks so much for stopping by and remember to laugh--a little or a lot--every day.
Cheryl

Friday, August 16, 2019

Ink blending fun...

Ever since I got some blending brushes (makeup brushes, really), I've been having fun blending inks in all kinds of ways on my cards. For this post, I'm sharing some ink blending over stencils. I love how this looks on cards.


This card is my favorite. The stencil really lends itself to ink blending in a spectacular way. I only added an enamel dot to the center, a black mat and a die-cut "Thank You" to finish it off. The inside was left blank.


This card actually looks better IRL, but it just didn't turn out as nice as the first one. I don't think my ink blending was as smooth as on the first card, and I think I used the wrong number of different inks--either more colors or fewer would have had a better result. Once again, I added just the enamel dot in the center, a black mat and the same die-cut "Thank You."


I lost my sunshine by the time I took this photo, so it's a little dark. I tried a new stencil, placing it directly onto the front of the card base.

The sentiment was cut from some purple glitter cardstock, but it looks almost black in the photo. I backed my sentiment with a vellum mat to give it a bit more definition. The sequins are some clear ones from my stash.

All of these cards were so much fun to make. I will definitely be on the lookout for more stencils. I'd like to get some pretty doily or lace stencils and give them a try.

If you haven't tried the makeup brushes yet for ink blending, I highly recommend them.


So have you seen the home insurance commercial on TV about "Cheryl's she-shed" being struck by lightening and burning down? Every time it comes on, my husband looks at me and laughs. I am always telling him that I NEED a she-shed. And since my name is Cheryl, I should get a "she-shier she-shed" like the woman in the commercial. My current crafting space is a dark little unfinished corner of our basement. I'm not ungrateful for it, believe me! But I do covet the cute little she-sheds I see online from time to time.

Thanks so much for stopping by, and remember to laugh--a little or a lot--every day.
Cheryl

Tuesday, August 13, 2019

What happens when you're 10...

My grandson turned 10 years old today (Happy birthday, Oliver!), and this is the card I made for him:


Oliver has a big, happy personality, so I tried to make his card to match. I know that kids like to manipulate cards, too, so this one has a twist and pop mechanism on the inside. The number 10 was cut out with my Silhouette. I cut the numbers three times and layered them for some extra dimension.


Here's a peek at the inside.

All the sentiments on this card were computer-generated. The fourth sentiment in the pop-up part was included because we sent him some money for his birthday. It seems all kids want nowadays is electronics, and I have absolutely no idea what they would choose.

I found a little banner stamp in my stash--I think it was from Michael's dollar bin--and used that above each sentiment. Then, I colored it in with alcohol markers, using the colors from the DSP on the front of the card.


This Happy Birthday banner was one I die-cut at my sister's house when I visited there a couple of weeks ago. Because the letters are simply cut into the little flags with single lines, they're a little hard to see on this cardstock. That's why I outlined the letters with a gold metallic pen. It looks better IRL.


Ollie is my youngest grandchild. It's so hard to believe that they are ALL now in double digits. In fact, it won't be long and we'll start attending their high school graduation ceremonies.

Well, I need to go outside and pull some of my plants into the garage. The TV weather people are saying it could storm here this afternoon. They've even forecast the possibility of hail.

Thanks so much for stopping by, and remember to laugh--a little or a lot--every day.
Cheryl


Friday, August 9, 2019

Reworked Christmas card...

When I was visiting my youngest sister a couple of weeks ago, she gave me a pile of partially made Christmas cards that had been included in a stash of cardmaking supplies which she had purchased from someone who had decided to give up cardmaking.

The cards needed some serious TLC, so I went to work on one of them. Here's the result:


All I kept from the original on this card was the card base (with two holes punched at the center top) and the stamped sentiment. The sentiment panel had to be squared up, as did its dark green mat.


I found this dark red DSP in my stash. I only added some gold metallic highlights to the centers of the flowers. I thought this tied in nicely with my gold ribbon.

In the original card, the two holes had been used to create a faux bow, so I did that again, but with a different ribbon.


I stamped a red poinsettia and a dark green sentiment on the inside, using my stamp positioner.

I thought this turned out to be a rather nice CAS Christmas card after I was done with it. Hopefully, I'll have a few more of these "reworked" cards to share with you between now and Christmas.

Thanks so much for stopping by, and remember to laugh--a little or a lot--every day.

Cheryl

Monday, August 5, 2019

Let's Craft and Create Challenge #150: enTWINEd (use twine) or Anything Goes option...

Today is the start of challenge #150 at Let's Craft and Create, so dig out some of that twine you haven't used in forever and create something fun.

I decided to use some twine as a kite tail on a birthday card. I'm always trying to come up with ideas for masculine cards, and I thought this layout would work for that purpose.


I made my kite from two 1" squares and two 1" X 2" rectangles of DSP. I cut them diagonally, each piece making two triangles, and glued four of the pieces onto some brown cardstock to create my kite. I kept my triangles spaced apart a tiny bit to create the illusion of the kite frame.


I used a circle mask to create a partial circle of clouds. Once I had my mask in place, I created the clouds by using a makeup brush to lightly sponge some pale blue ink against a torn piece of cardstock. Note that the cardstock was purposely torn into a sort of scalloped edge which helped create the fluffy look of clouds. I kept moving and changing the angle of my torn cardstock until I had the look I wanted.

My baker's twine was taped to the back of the kite before the kite was adhered to my card front with foam dots. The tail is kept in place on the card with tiny amounts of glue in a just a few places.

The little bows were hand cut, and I gave them each a red Nuvo Drop "knot." They also help hold the tail in place.


The sentiments on the front and inside of my card were computer-generated. I used the "Fresh Start" font for the black words and "Adios Amigos" for the red words. "Adios Amigos" is a fun font that fades out certain parts of letters. I thought it worked well on this card.

Now I hope you'll head right over to Let's Craft and Create to see what the rest of the design team has created. I think you'll be inspired to join in on the fun. Who knows? You may be our next prize winner!

Thanks so much for stopping by, and remember to laugh--a little or a lot--every day.
Cheryl


Friday, August 2, 2019

Gatefold shutter card...

Last month was my DH's birthday, and I decided to make him a gatefold shutter card. I love the interactive element of these cards.


This is the front of my card. It doesn't close tightly as there is a lot going on inside. I could have added a belly band, but decided against it, as I really wanted to add the four hats.

My DH almost always wears a hat whenever he leaves the house, and one of his hats looks surprisingly like the hat die-cut. After cutting my hats, I inked the edges and colored the bands with different markers to coordinate with my DSP.

My sentiments--here and on the inside--were computer-generated.

Here's a little video that shows what happens when you open the card:


Isn't that fun? He sort of snorted at me for showing his age behind the shutter mechanism. And, yes, he robbed the cradle when he married me. LOL

The noise you hear in the video is a plane going over our house. We don't live far from the airport, and when I have the windows open, it can get a little noisy at times.

I happen to have an unbranded die set that cuts out the shutter elements for me, but these can easily be created by hand. I've made shutter cards in the past and have always cut everything out myself without dies. Just do a search for "gatefold shutter card tutorial" and you're sure to pull up several.

This is a photo of my shutter fully open. My die set happens to cut a round shutter shape, whereas most of the videos will instruct you to create a diamond shape as your shutter opens.

I hope you'll give this card a try. It really is fun to make. I think I'll make a few Halloween cards using this technique with the work "Boo!" behind the shutter.

I had a great time last week visiting my sisters. We all four attended a family wedding (my oldest sister's grandson was married), and then I spent some personal time with my two younger sisters. I even got to spend an entire day in my youngest sister's crafting space, using some of her dies to make some cuts to bring home.


Thanks so much for stopping by, and remember to laugh--a little or a lot--every day.
Cheryl