Wish List

Friday, March 31, 2023

Slimline cards for Easter...


I had a stamped, colored and die-cut crocus in my card parts, as well as  a single iris left over from those I had used on the cards in my last post.  I decided to feature them on a couple of slimline cards. I like making this card size occasionally, just to keep my cardmaking interesting.

I believe I had stamped the crocus with a very light, neutral ink so that I could try my hand at no-line coloring. 

The strip sentiments were some that I printed out last year and kept with my Easter supplies. They are both popped up on foam tape.


think  I used alcohol markers and colored pencils to color the crocus, but I'm not 100% sure. Whatever I used, I like how it turned out. I need to try to duplicate it!


I still need some practice on coloring these irises. I think I'll look for a photo online, print it out and keep it with my die set so that I have something to guide me.


I just love using the pierced designs to jazz up my backgrounds. This one is sized for slimline cards and is really handy to have, because it can be used for smaller cards, too.

The white butterflies were from a pack of them that was purchased at the Dollar Tree. I have finally used them all up on my Easter cards.


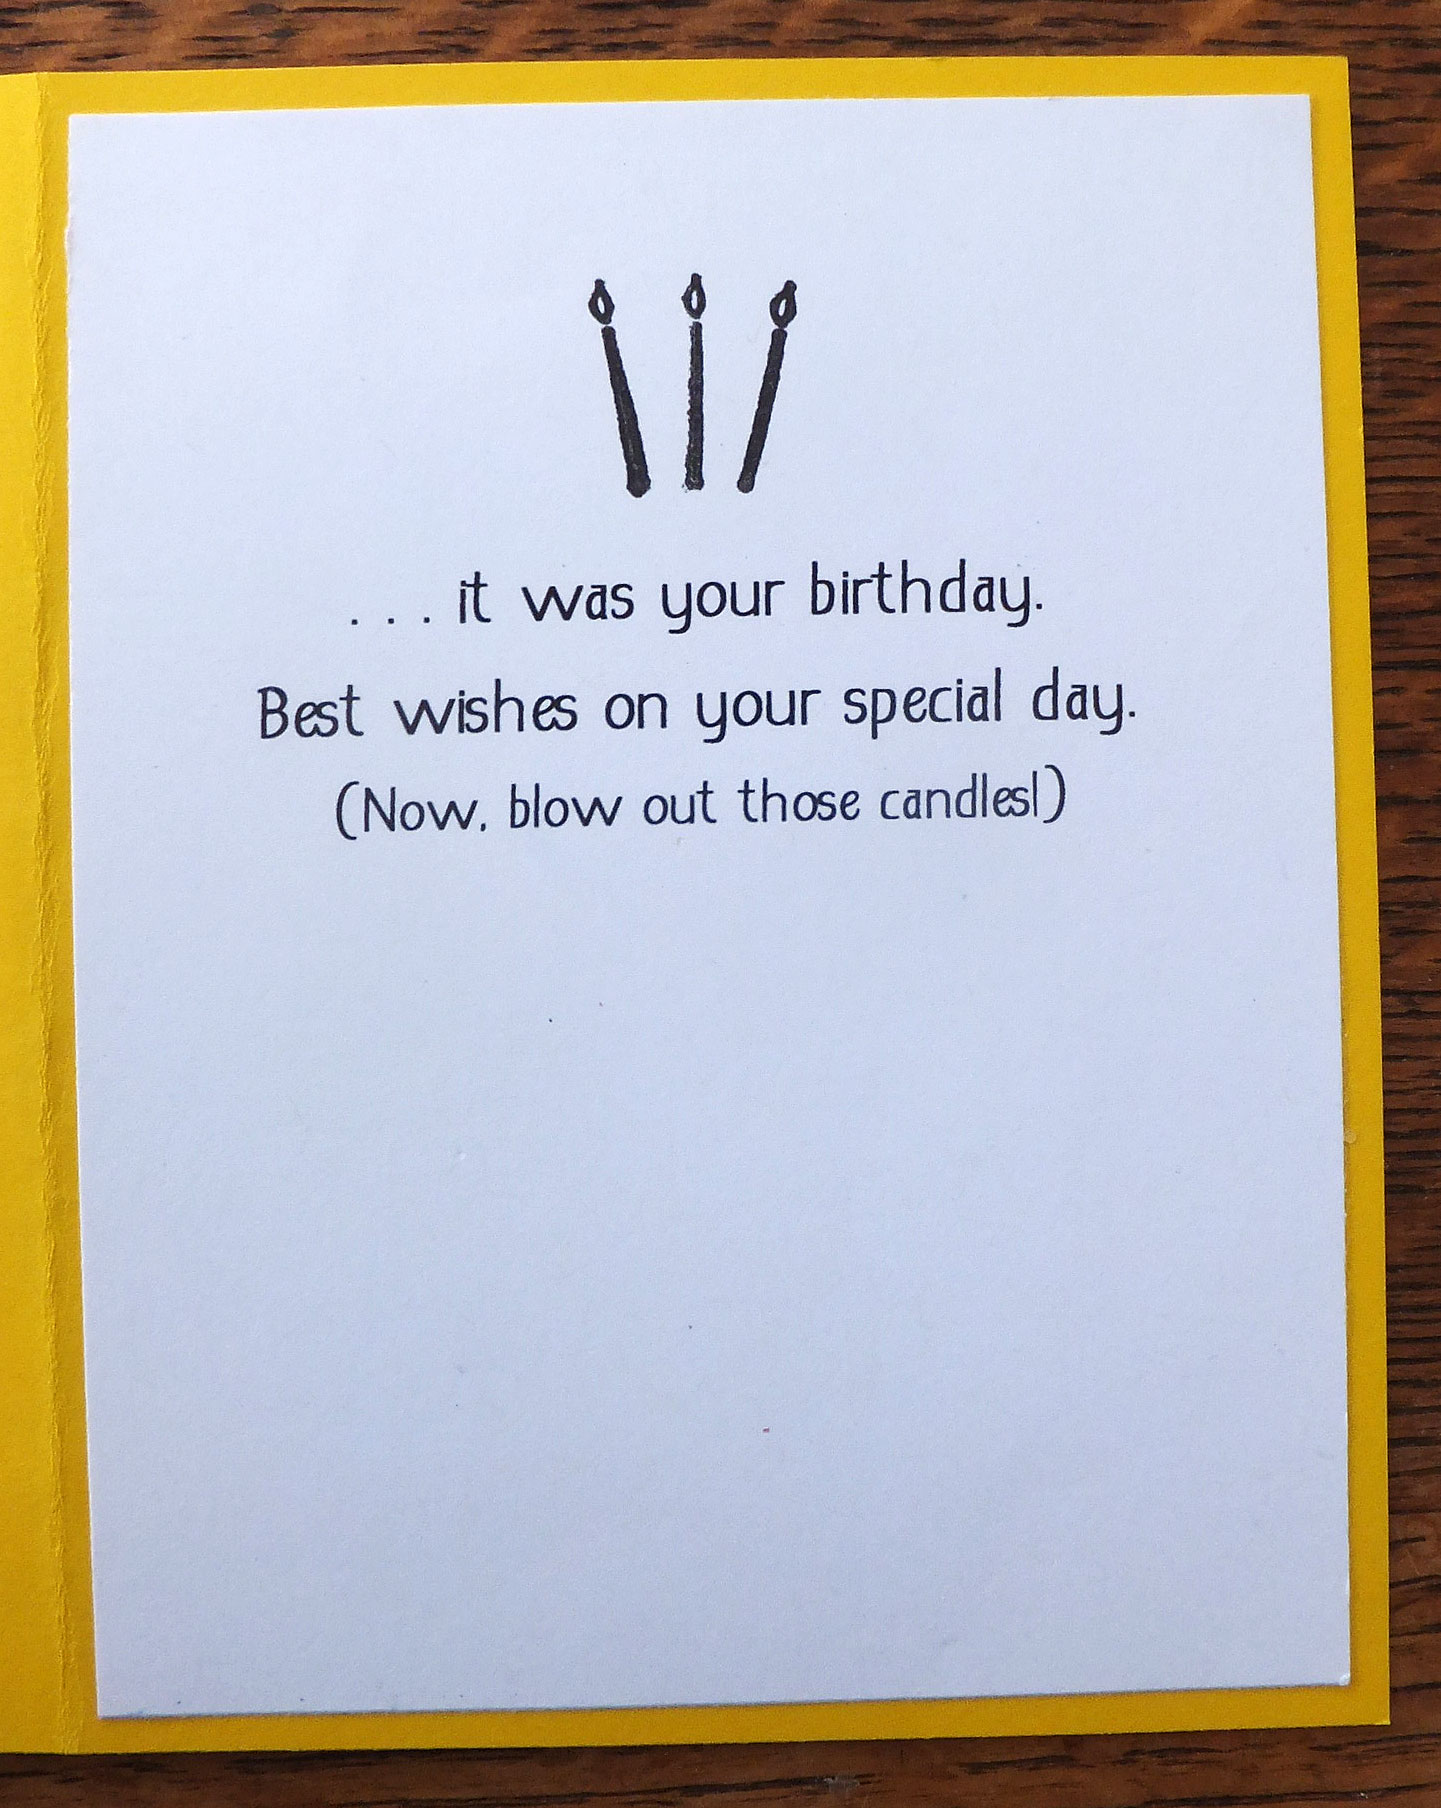
This is how my sentiment looks on the inside of each card. I used another strip sentiment, glued directly to the CS, but I also added some stamped splatters for a little color in the background.

We have yet to reach 50 degrees here in Minneapolis, and I am so tired of cold weather! I am still wearing my wool coat when I take Mickey out for a walk. He sure doesn't mind it, though. In fact, he loves the cold and will stay outside for hours. I wonder if he'll change his mind when summer temps reach the 90s.

Thanks so much for stopping by, and remember to laugh--a little or a lot--every day.

Cheryl


Tuesday, March 28, 2023

Easter irises...


Not long ago I purchased an iris die set and decided to use it to make some Easter cards. I cut all the pieces (flower heads, stems and leaves) out of white cardstock and then colored them with alcohol markers. You'll notice that there's a difference in how my irises are colored because I'm still experimenting on what colors work best. I don't have a complete set of markers, so I have to work with what I have.

I adhered the irises directly to a white, stitched oval (from my card parts) and then popped the oval up on foam tape.

On this card, I added a strip of metallic silver cardstock down each side of the DSP.  I thought about adding a silver bow, but in the end left it as is. The only other addition was the strip sentiment--I had printed a bunch of Easter themed ones with my computer--which I popped up on foam tape.


I wasn't sure I cared all that much for the silver strips on the first card, so for this one I added some die-cut lace to each side and a little silver bow to my irises. I liked it a lot more than the first one.


I printed some sentiments for the inside with my computer. When I'm making duplicate or similar cards, I'll often print sentiment panels (four to a sheet of CS) with my computer. I have a file all set up in MS Word that makes it very easy for me to do this. Then I can quickly cut them apart into 4" X 5 1/4" panels for my card interiors.

Mickey has nearly recovered from his Kennel Cough, so we're almost ALL healthy in this house. Now if the weather would only warm up so we could spend a little more time outside.

Thanks so much for stopping by, and remember to laugh--a little or a lot--every day.

Cheryl

Friday, March 24, 2023

Some Easter cards at last...

 I mentioned in my last post that I was making some Easter cards for my five grandsons with the "Happy" shaped card die set that I had. Here's one of them:

They're pretty plain, with just a bunny peeking out of the center of the "a," but I think they wouldn't want a lot of frippery on them.


I created the bunny by cutting the center hole of the "a" out of white cardstock and stamping it with a tiny animal face (Peachy Keen stamps).  Then I cut the ears from a die set of different holiday headbands for gnomes. They were the perfect size! I just added a tiny bit of color and gray shading with a couple of alcohol markers.


Here's a peek at the inside of the card. The sentiment is from a set of Easter stamps that I've had for a while.


This is the card laying on top of an A2 envelope. You can see that it fits perfectly.


This is another Easter card that I made using an A2 size lattice die tht is great for using over wild, flowery cardstock patterns. The flower on this one was fussy-cut from a leftover piece of the cardstock and the leaves were die-cut from some green cardstock

And another card that was created the same way.


This time the flowers in the patterned cardstock were either too big or too small to fussy-cut and use on the front. I happened to have this old Spellbinder's flower die, though, and it matched the coral flowers in the design really well. I did fussy-cut the leaves from the left-over scraps instead of die-cutting them.

The center diamond shape has been popped up on foam tape.

I didn't add any gems or other embellishments to this card. I thought it had enough going on already!


The inside of each card was stamped with an Easter sentiment.

These were fun and fast to make. I made four of them in about an hour.

Poor little Mickey has Kennel Cough. It's a highly contagious respiratory infection that is passed from dog to dog. We think he probably picked it up at the dog park. My hubs has been taking him there because he loves to run and play with the other dogs. It's painful to listen to him cough, but we just have to let it run its course.

Thanks so much for stopping by, and remember to laugh--a little or a lot--every day.

Cheryl


Tuesday, March 21, 2023

A couple of big HAPPYs and some candles...


I finally got a die-set that cuts a HAPPY-shaped card. I've used it here for making birthday cards, but it can be used for so many other occasions. In fact, I'm looking forward to using it for "Happy Graduation" cards this spring. I'll be adding a little mortarboard to those instead of a birthday hat.


I love being able to add a little something extra like the birthday hat, which was die-cut using an ancient Provocraft die. The wird "birthday" was stamped, cut out and then popped up on foam tape. To keep the tape from being sticky on the backside whee it shows through, I doused it with some talcum powder.


I used the shadow die to make a panel for the inside, too. There's plenty of space for a sentiment and to sign a name.


This is a HORRIBLE photo, but I think you can still get the idea. I used the dies to make a more feminine card. You can see that I've cut the letters from glitter cardstock, and I've added only a little bow for decoration. I'll be using this die set a lot, so I'll get better photos of future cards.

Now for some candles...

This computer-generated sentiment had been sitting in my card parts for a very long time, so I had to make a card with it. I matted the sentiment and popped it up on foam tape. 


Then I grabbed a white oval (also in my card parts) and started die-cutting and adding my candles. I chose colors that were in my background DSP. 

Three of the candles have been popped up on narrow pieces of foam tape.


I even had a little candle stamp, which I used to stamp three candles on the inside. 

All these cards were really fun to make. They've all been donated and sold, so I'll have to make some more.

Right now, I'm using the "HAPPY" die set to make some Happy Easter cards for my teenaged grandsons. I'll be sharing those with you soon.

The hubs and I are doing great, given our recent bout of COVID. We're nearly done with the Paxlovid and feeling very much back to normal. We'll test in another couple of days to make sure we're now negative for the virus.

Thanks so much for stopping by, and remember to laugh--a little or a lot--every day.

Cheryl

Friday, March 17, 2023

Happy St. Patrick's Day...

 I only made one St. Patrick's Day card this year and this is it.

This was sort of an experiment. I used my smallest four-leaf clover die and cut clovers out of several different green cardstocks and DSPs. I would have liked a smaller clover die (and I could have cut some with my Silhouette), but I was in a hurry and used what I had on hand. I also used a border die to create a border with a fancy edge.


I tried placing my clovers behind my border, but then you couldn't really tell what they were.

After I had most of them in place, I adhered a final clover in the center, popping it up on foam tape and giving it a bit of shine with some Wink of Stella.

By the way, if you find your Wink of Stella pens going dry, open it up, add a few drops of rubbing alcohol to the barrel, give it a good shake, and you'll get more mileage out of it.


The inside sentiment, along with the shamrock, was computer generated.

Will you be celebrating St. Paddy's Day? We definitely will not. My husband and I are suffering from what we thought were bad colds, but when we did a COVID test, it turned out positive! We are now quarantining in our house with no visitors allowed. We are starting Paxlovid today, so hopefully that will speed up our recovery. We are so very thankful that we have had all the shots and boosters.

We have no idea where we picked it up. We were in church last Sunday and visited with people there; we also went to two movies last weekend (the first movies we have gone to in 3 years!). We think the most likely place was the movies, so if and when we go again, we'll definitely be wearing our N-95 masks. 

We'll be staying home for the next 5 days and then wearing masks for five days after that.

Thanks so much for stopping by, and remember to laugh--a little or a lot--every day.

Cheryl


Tuesday, March 14, 2023

Two cards for Tuesday...

 Sometimes a pretty paper is just too darn pretty to cover up with embellishments and sentiment panels. That's how I felt about the gorgeous cardstock used on this card:

I loved the rich colors of the dahlias on this paper. The birthday sentiment and the gold metallic butterfly were in my stash. I backed the sentiment with the same kraft cardstock that was used for my cardbase. 


As you can see, I've added a few gold sequins for some sparkle.


I added a stamped sentiment on the inside, and that finished my card.

But I still had a good-sized piece of this pretty paper left, so I made another card.


I used the same approach for this card, adding a die-cut sentiment and a few red gems.


I opted not to add a butterfly to this card, but in looking at these photos, I think maybe I should have.

These cards were both donated to the thrift store and they sold pretty quickly, so I think someone thought they were ok.


The inside featured a stamped sentiment. 

I have found it difficult to find anniversary sentiment stamps. I have a couple of them, but it would be nice to have more variety. Of course, I can always print sentiments on my computer, but I really like being able to just stamp a sentiment on the inside of my cards. If you have any ideas of companies with great anniversary sentiments, please let me know.

Thanks so much for stopping by, and remember to laugh--a little or a lot--every day.

Cheryl

Friday, March 10, 2023

Two Get Well cards...


This card is super simple. I used a corner edge die to create the scalloped, v-shaped edge on my white panel.  I then ran it through my Big Shot, using a pierced design background die. and adhered it to my card front after I had covered the front with some purple plaid DSP. 

Finally, I adhered the die-cut sentiment and a few sequins.


I stamped the inside of my card with two different sentiments. I didn't like how far apart I had stamped them, so I added three sequins to fill the space between them.


I used another pierced background die on the white panel for this card.


The sentiment was in my card parts and I simply backed it with some spring green cardstock.

I cut the leafy cluster from the same cardstock and added it above the sentiment. I was going to leave it at that, but then I decided I needed a little more color. Of course, I went for purple. I die-cut a flower, sponged the centers of each layer and also added a little shading on the edges of the petals. 

The flower center is a tiny brad. How long has it been since you used a brad on a card?


A simple, stamped sentiment on the inside finished my card.

Are you ready to lose an hour of sleep this coming weekend when we switch to Daylight Savings Time? I really don't mind it, because it means the sun sets later in the day. I like having more daylight in which to run errands, do yard work or go out for dinner. In fact, I'm especially looking forward to going out to dinner at some of the restaurants that have outdoor seating--once it warms up and the snow melts!

Thanks so much for stopping by, and remember to laugh--a little or a lot--every day.

Cheryl

Sunday, March 5, 2023

Let's Craft and Create Challenge #193: Anything Goes or Add Buttons...


February seemed to fly by in a nano-second and here we are, at the 5th of March already! I am anxious for Spring to arrive, though, so I'm okay with speeding through the days of melting snow and muddy yards. 

To take my mind off all the outdoor clean-up that awaits us once the snow melts, we have another challenge at Let's Craft and Create that is definitely a fun one. How long has it been since you've used buttons on your cards? It's been ages for me, so I was so happy to see the "Add Buttons" option for this month's challenge.

I have some button dies that I really love. I purchased them when I first started seriously making my own cards, but they haven't gotten much love in the last few years. I used them on today's card, and it was so much fun, I need to make a few more button-themed cards. The "thread" in my buttons is some blue and white baker's twine.

Isn't this a fun baby boy card? I did not use any sort of template or specific measurements. I had a scrap of blue patterned DSP from which I die-cut my pocket and used a larger portion of it for the front of my little overalls. That left just enough to make two straps.

I inked around the edges of my pocket, straps and the top of the overalls to add a little dimension. My neckline on the white shirt was created with a circle die. I then used two graduated circle dies to create the neck ribbing and glued that to the edge of the semi-circle cutout.


My sister sent me a few little stamped frogs like this one to use with my pocket dies. I colored him up with alcohol markers, fussy cut him out and added a couple of googly eyes before gluing him onto my pocket. 

The pocket and the frog have been popped up on foam tape.


On the inside of my card, I added a panel on which I had stamped a congratulations sentiment and a tiny die-cut pacifier. 

Now it's your turn to join in the fun by making a card with a button (real or die-cut) or two. If buttons aren't your thing, you can always enter under the "Anything Goes" umbrella.

Be sure to check out the inspiration from the design team over on the Let's Craft and Create site.

I can't wait to see what you make!

Thanks so much for stopping by, and remember to laugh--a little or a lot--every day.

Cheryl


Friday, March 3, 2023

A little wine makes everything better...


I haven't used this stamp set in a long time, so it needed to see some ink. This card layout also gave me a chance to use my wine glass die. I cut it from vellum and then colored the wine on the backside with an alcohol marker.

The sentiment panel was popped up on foam tape. I also had to put a teeny, tiny, skinny piece of foam tape underneath the wine glass stem. I even managed to place it so that it doesn't show. Whew!

The stamp set allows you to stamp different words into the space where I've stamped "wine." Some of the other word options are hug, coffee and chocolate.

Each card got a few sequins for some bling.

I added a computer-generated sentiment to the inside, turning these into birthday cards.

These were both donated to the thrift store and they've already sold, so I guess someone thought they were just the right birthday greeting. 

Our granddaughter, who lives in New York City, is in town with her boyfriend, and they popped over for a visit tonight. It was so much fun to see her and meet her boyfriend for the first time. He's as wonderful as she is, so I've decided he's a "keeper." I think maybe our granddaughter has decided that, too. Ahhh, young love!

Thanks so much for stopping by, and remember to laugh--a little or a lot--every day.

Cheryl