Wish List

Tuesday, June 28, 2022

Wedding card in pink...


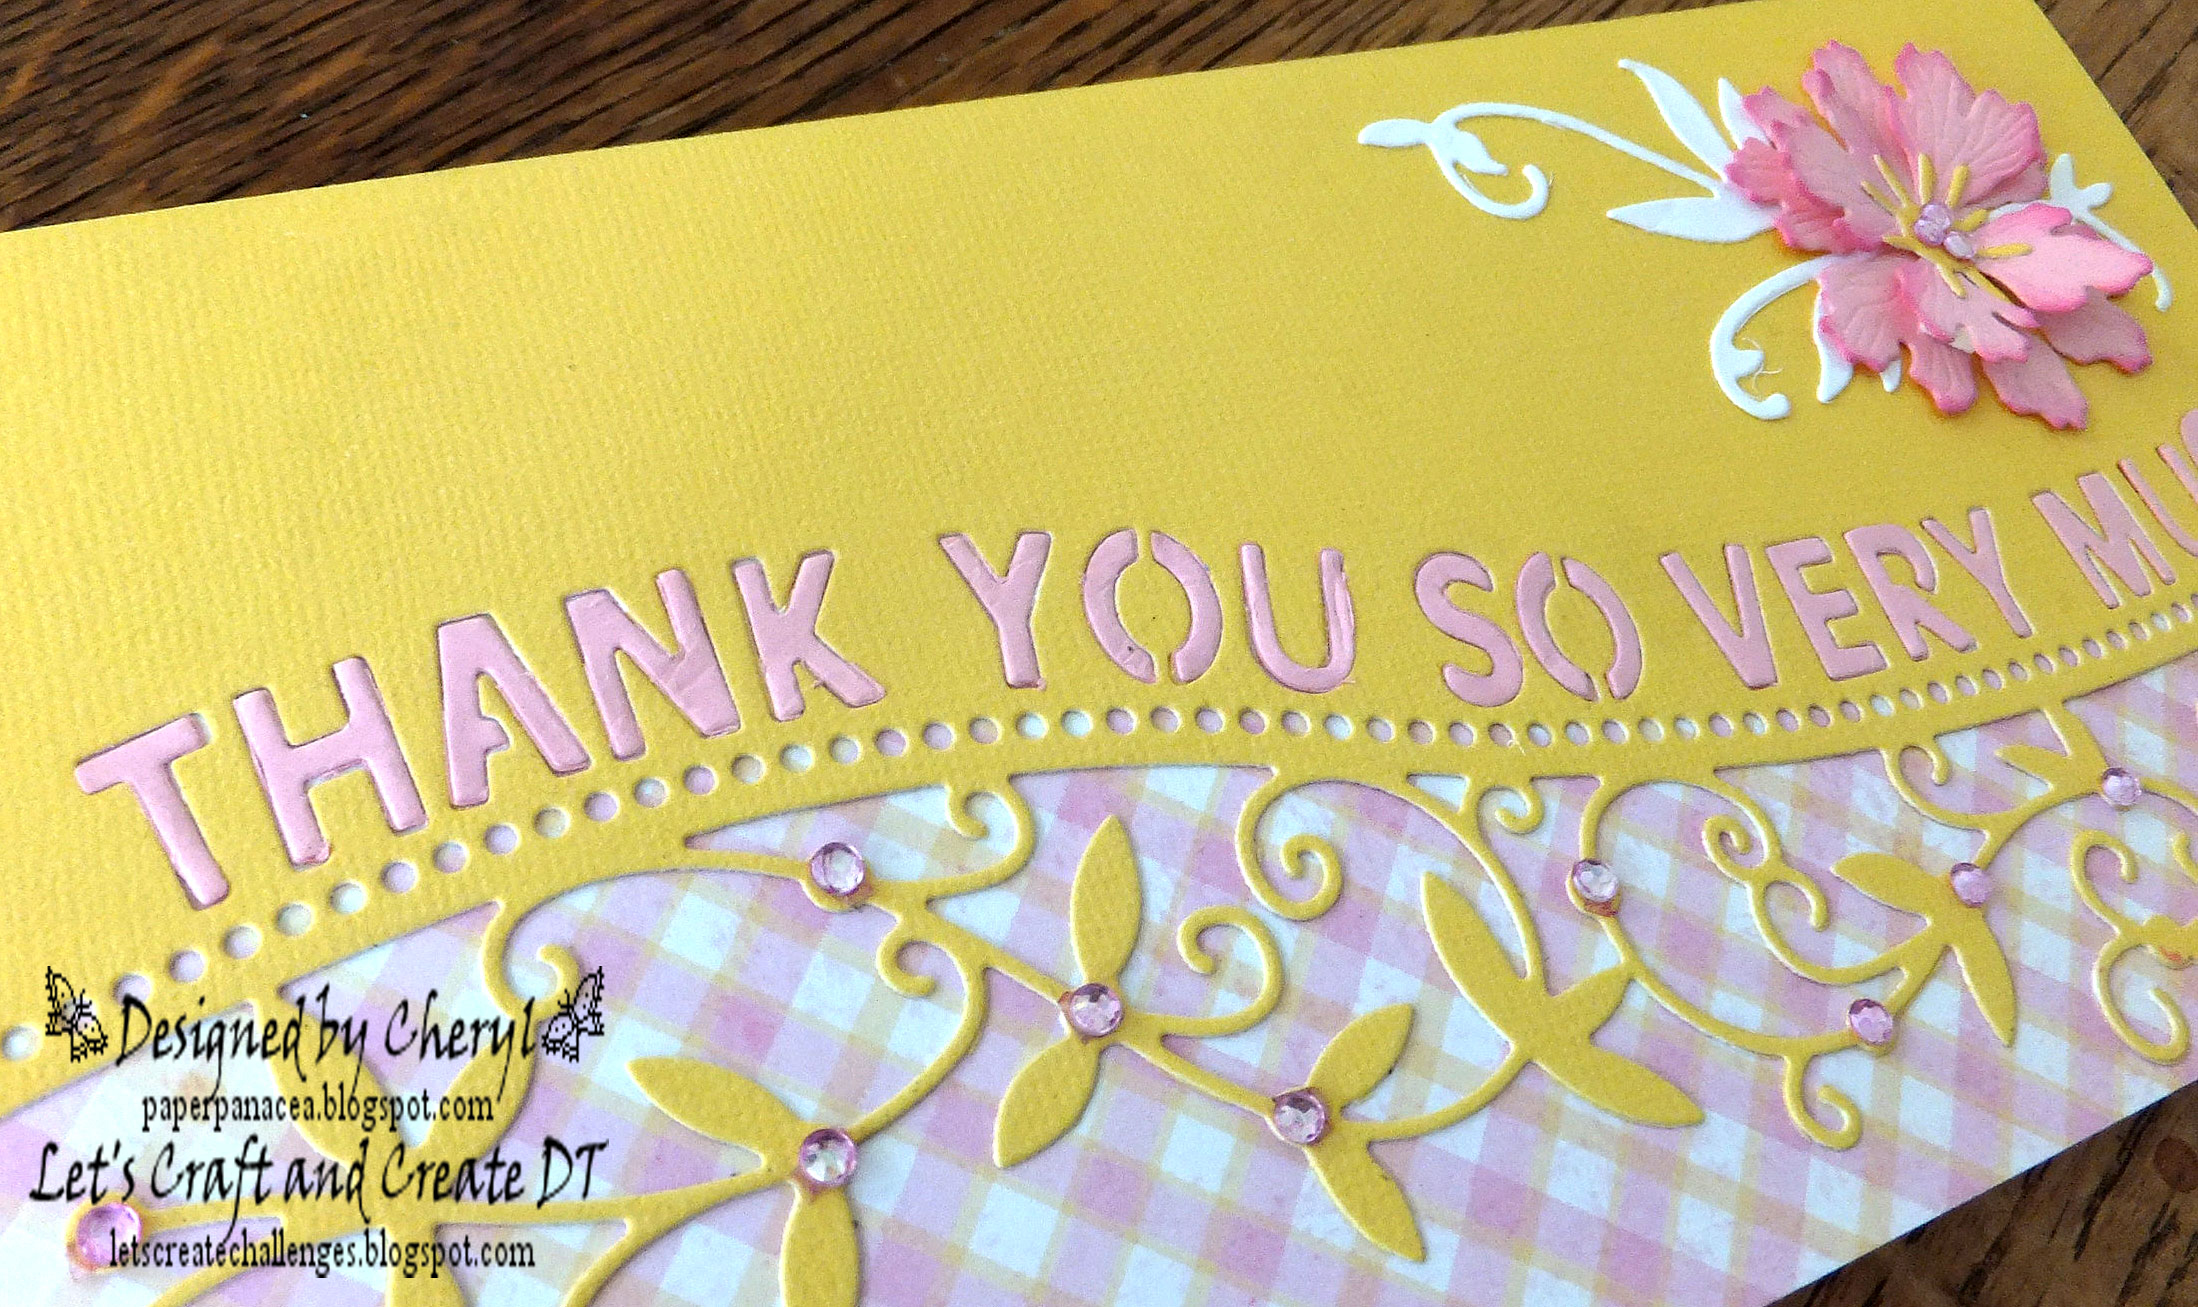
I had this bride and groom die, a couple of pink flowers and some pink DSP lying on my desk. I looked at them and thought, "Why not? Summer weddings often feature the color pink, don't they?" So I went to work and came up with this card. 

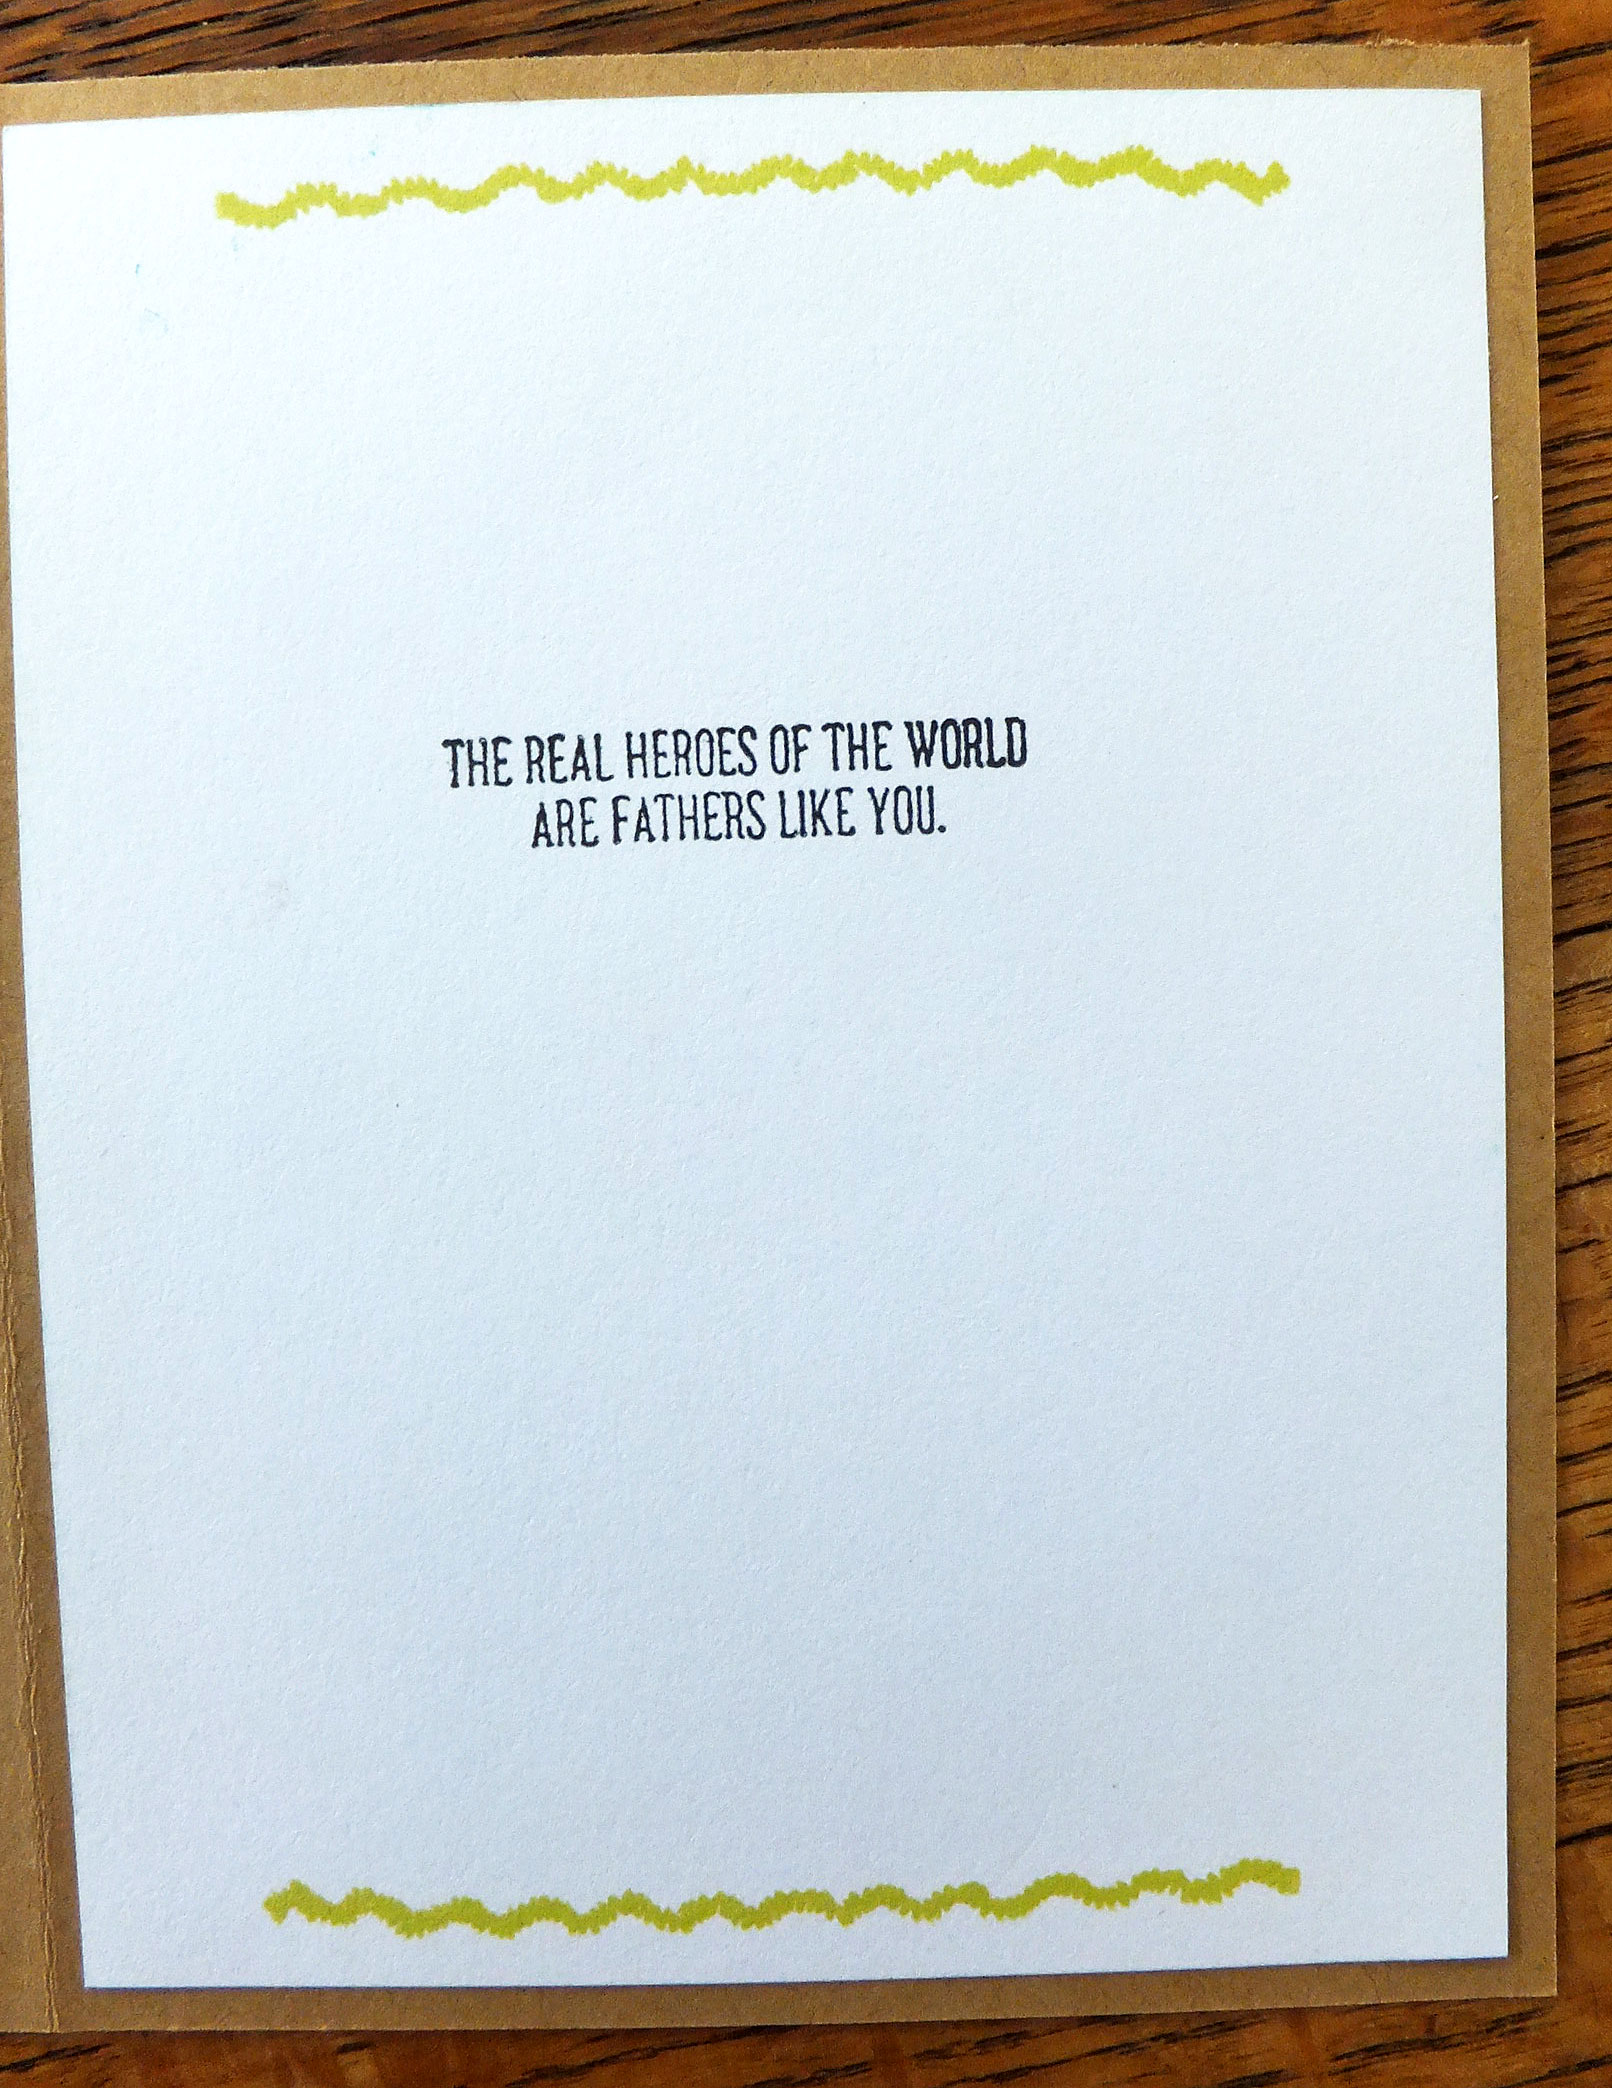
The wedding die-cut was adhered to my DSP, the sentiment was stamped and then I decided to add the flower, along with some leafy fronds.


I added some white Nuvo Drops to the center of my flower. I also cut a tiny little flower for the bride's hair and added a Nuvo Drop to it, as well.

In this picture, the pinks of the flower and DSP don't look like they match at all! They really did look much better IRL.


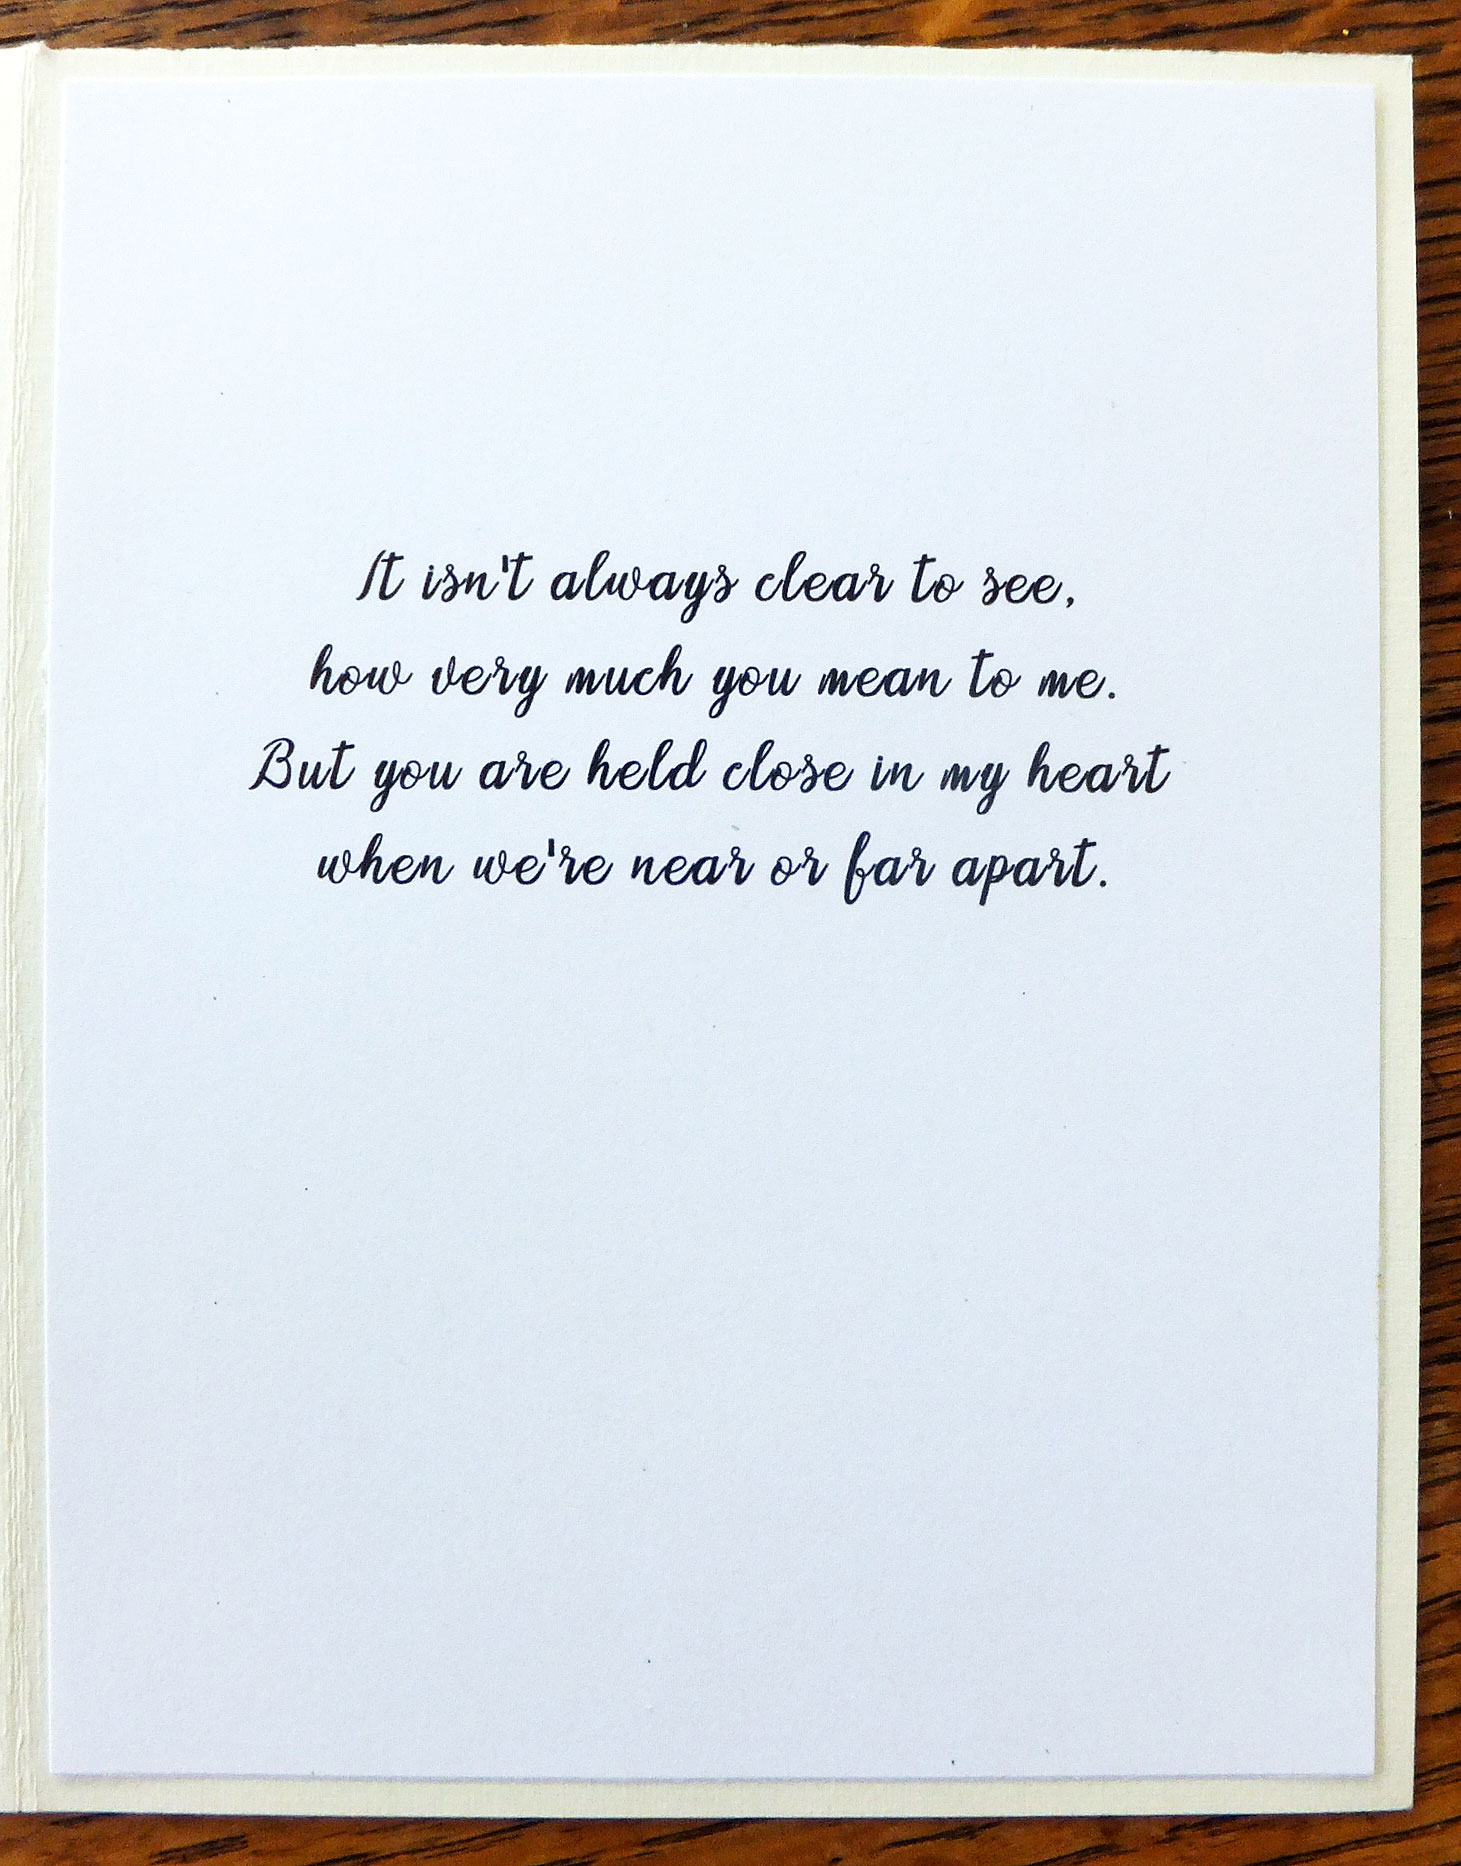
I figured the inside should be just as pretty as the outside, so I added some DSP there, too. The sentiment was stamped onto a Spellbinder's fancy oval die-cut, and I added another flower just for fun.

This card was donated to the thrift store. It's the season for weddings, so I can hardly make enough wedding cards for them to sell. I plan to make a couple more this week--in colors other than pink.

Last night we celebrated my daughter's 47th birthday at a local seafood restaurant. My goodness, how did that happen?? The years have absolutely flown by! I remember when she was just a little girl--about two years old--and she didn't like wearing clothes. Every chance she got, she took all her clothes off. Luckily, she grew out of that phase fairly quickly. She has grown into a beautiful, accomplished woman, raising three children and working as an Associate Dean at a local university. If you're interested, here is her bio on the St. Thomas University website.

Thanks so much for stopping by, and remember to laugh--a little or a lot--every day.

Cheryl

Friday, June 24, 2022

Under the weather?...


I had run out of get well cards at the thrift store so I neeed to make some more. I decided to make a few like this one, as long as I had all my supplies out. 

I used a pre-made card base and added a die-cut panel. Before adhering the panel, I used my cloud stencil to create a few rain clouds on it. I also have a rain stencil, so I determined where I would place an umbrella and then inked in some raindrops around it. I also did a bit of light ink blending around all four edges of my panel.

The unbrella was made with one of my older die sets. The  umbrella's canopy was popped up with a foam square. I put a small bit of glue under the left and right points of the canopy and the bottom of the handle to secure them directly to the panel. To finish the front, I stamped a sentiment onto a small rectangle, matted it and adhered it with some foam squares.

For the inside I printed a sentiment with my computer and matted it with the same blue cardstock I had used to mat the sentiment on the front.

I have known several people lately who have contracted COVID. Thank goodness they were all vaccinated and recovered fairly quickly. I think the crazy spreading of this virus is one of the reasons that get well cards have been in such demand. 

We are going to an outdoor Jazz Festival this weekend. It should be fun, and I am looking forward to relaxing in a park while listening to some great music!

Thanks so much for stopping by, and rmember to laugh--a little or a lot--every day.

Cheryl


Tuesday, June 21, 2022

I always knew we would get old...


I saw this sentiment on Pinterest, and I just had to use it on a couple of cards. It made me smile because it's SO TRUE!  I used my computer to print it out a couple of times, and matted each rectangle with some coordinating cardstock.

I chose a piece of heavy-weight, patterned cardstock to make my first card base. It was one of those patterns that had me scratching my head, wondering how I could use it. I actually really liked it for this card, especially after adding my sparkly balloons, which are popped up on foam squares.

This card base was made with another piece of heavy-weight cardstock. It had some fun, glittery colors on it that I could also use for my balloons. I didn't have the right shade of orange glitter card, so I just colored a piece of yellow glitter CS with an alcohol marker. It worked like a charm! The strings on my balloons are a pieces of sewing thread that are anchored behind my sentiment, which is also popped up on foam tape.

On the inside I added three more balloons, this time using regular cardstock and gluing them directly to the sentiment panel The strings were drawn on with a black pen.

The sentiment here is also computer-generated.

These were such fun cards to make, so I know I'll make more of them in the future and donate them, as well, to the thrift store.

The heat wave we've been experiencing in Minneapolis (reaching 101 degrees yesterday) has been so hard on my plants. I've been watering them, but the poor things are really stressed out. I hope it lets up soon.

Thanks so much for stopping by, and remember to laugh--a little or a lot--every day.

Cheryl

Sunday, June 19, 2022

Happy Father's Day to all the dads out there...


This card was a CASE of crafty friend Patti Gilliam's card on her blog Cherish Each Precious Day. You will find her card here. I didn't have the right stamps to make her exact card, so I printed the sentiment with my computer and then used some layering tree stencils to create the forest. This card was for my husband, and when he opened it, he said, "I really like that blue forest!"

On the inside, I stamped a simple "Happy Father's Day" with some dark blue ink.

I made one of these for the thrift store, too, and it sold immediately. They were so much fun to make, and I hope I remember to make a few more of them next year.

My grandson Patrick is having an awesome time at the Olympic Training Center in Colorado Springs. He is one of only two 14-year-olds chosen in a group of 40 to attend a special camp there. They're training hard, but also playing hard. Some members of the Denver Broncos football team are there as well. The swimmers get to eat lunch with them every day and they also spend time with them during breaks shooting hoops, playing "horse," etc. I'm sure he'll have lots of stories to tell when he gets home on Tuesday.

I just want to wish all of the dads out there a very happy Father's Day. I am missing being able to call my dad up today and tell him I love him. He was from the "old school" and it was hard for him to say "I love you" out loud. When I would tell him that, he would say, "And I you." That used to make me laugh.

Thanks so much for stopping by, and remember to laugh--a little or a lot--every day.

Cheryl


Friday, June 17, 2022

A few Father's Day cards...


For this ocean-themed card, I used a die-cut net that my sister had sent me. She actually sent me a few of these and they are so handy to have on hand for cards like this.

The background DSP looks like ocean water, don't you think? The letters for DAD are dimensional stickers, as is the shell. I die-cut the anchor and added some twine for the rope.


The sentiment on the inside was computer-generated.


My sister came to my aid once again, as the black die-cut in the background is also from her. She sent me a few of these and I've been gradually using them up. 

The typewriter was made with a die set that I've had for a while but haven't used much. I have some tiny sentiment stamps and found one that would fit on the paper in the typewriter.

The bottom sentiment was created with my computer and popped up on foam tape.

The sentiment on the inside of this card was stamped and said, simply, "Happy Father's Day."


I had one of these hat die-cuts in my stash, so I had to use it on a card. The band on the hat had a greenish tinge to it, so I found some DSP with that same  hue in the pattern. The sentiment panel is popped up on foam tape with the hat glued directly to it.


I found the inside sentiment in one of my stamp sets and decided to use it on this card. The font is a little too small, but I liked it so much that I used it anyway. I stamped a short squiggly border at the top and bottom to add some color to the panel.


There are two different layering die-cuts on the front of this card to create the plaid look. I cut "DAD" three times from navy blue cardstock and stacked the letters for extra dimension. The strip sentiment was stamped and popped up on foam tape.

The inside is stamped with "Happy Father's Day."

I'm not sure how many dads enjoy a latte, but I made a couple of these cards anyway and donated them to the thrift store. Once again, I used a background die-cut that my sister gave me. It's glued onto a dark green card base (even though it looks black in the photo).


I used vellum for the "steam" coming out of the top of the cup. Can you see it in the photo at right? I should have cut it twice and layered it so that it showed up a little more. Oh well, lesson learned.

I thought this would be a fun card in which you could tuck a Starbuck's gift card for a coffee-loving dad.

The front sentiment was printed and popped up and the inside said, "Happy Father's Day."

All of these cards and many more were donated to the thrift store.

Thanks for sticking with me through all of these photos. I hope your eyes didn't glaze over!

And now, remember to laugh--a little or a lot--every day.

Cheryl

Tuesday, June 14, 2022

A cutting die from my sister...

My sister accidentally ordered the same die twice (I've done that, too!), and she was kind enough to send the extra one to me. Thanks, Michelle!  It's a great die and is perfect for making quick cards.

The die cuts a little pocket with flowers and foliage coming out of it. Here's the card I made:


I cut the entire thing out of white cardstock and used my alcohol markers to color each feature. I also used a white gel pen on the stitch lines of the pocket. The DSP behind my die-cut was cut from a sheet that looks like a watercolored background. The sentiment was printed with my computer and adhered with foam tape. Sorry for the dark picture. It was a dreary day when I took it.


I cut extra flowers and foliage and added them to the pocket, giving the die-cut lots of dimension. I also added some tiny, colored gems to the flower centers.

The button on the pocket was colored with a gold metallic marker.


I happened to have some pre-printed sentiment panels for A2 cards. I'm not even sure where I got them - possibly from the thrift store. I thought one of them would work well for this card. I added an extra flower as an embellishment.


Our 14-year-old grandson Patrick is in Colorado Springs, Colorado, this week at the Olympic Training Center there. He will have an intense week of training to improve his swimming skills (which are already amazing!). We're very proud of him and hope he has a memorable week.

Thanks so much for stopping by, and remember to laugh--a little or a lot--every day.

Cheryl

Sunday, June 12, 2022

Pretty peonies and a sympathy card...


 Not long ago, I picked this bouquet of peonies from the plants beside our front steps. They are so full and pretty. I can't resist bringing bouquets of them into the house. We added two new peony plants this year, and I am looking forward to having even more flowers from which to make my bouquets next spring!

I also had to make a sympathy card recently, as our son-in-law's father passed away. He was a lovely man whom we had gotten to know over the years. We even stayed with him and his wife in Vermont when we were on an East Coast trip. We are so sad that he will no longer be with us, and I wanted to let his wife know how much we cared.

I started out by stamping my image onto a white slimline panel, using a light-colored ink. I had tried stamping it with black ink, but I didn't like the result. I thought the lighter ink was much better. Then I laid down a base of color on the flowers and leaves with alcohol markers.


I used colored pencils to add more shading, depth and detail. Some pale blue chalk was smudged around the edges of the flower spray, and at the last minute, I used a gel pen to add the light gold you see at the base of each tiny gold flower.

The sentiment was stamped onto the lower righthand corner, and the panel was added to a lilac cardbase.


Another sentiment was stamped on the inside, leaving lots of room for a personal message.

We are still working on getting our yard in shape. I planted more annual flowers recently, and my husband planted another grape vine. I love being able to use the grapes to make grape jelly in the fall.

Thanks so much for stopping by, and remember to laugh--a little or a lot--every day.

Cheryl

Tuesday, June 7, 2022

Ink-resist baby card...


I have a selection of ink-resist papers from Stampin' Up in my stash. I cut some pieces from one of the sheets and inked them with some pretty pastel inks.

The middle piece was cut from plain white CS and dry-embossed using the Swiss Dots embossing folder.


I had a few baby-themed stickers in my stash and used two of them on this card--the purple heart and the buggy. The little plastic hearts were selected from some that my sister sent me. They have texture and tiny scalloped edges and are very cute IRL.


The sentiment on the inside was stamped. It's from the very first "welcome baby" stamp set I ever purchased.


While I was in the mood for making baby cards (and using up some more of those stickers), I made two more.

The little baby jumper sticker is made from felt. I love the rickrack trim and the two tiny buttons.


For this card, I used a Martha Stewart border punch for the scalloped heart trim across the top. I added a couple of scored lines to give it more dimension.

The oval was inked along its edges before I added the bear sticker, die-cut bow and stamped sentiment.

These last two cards had stamped sentiments inside that were exactly the same as the first card I shared with you today.

My seeds for green onions and zucchini have finally sprouted. We are desperately trying to keep the rabbits from eating all the new shoots. They can be so destructive! They are even eating the new shoots off of our climbing rose bush. We have tried scattering moth balls around and sprinkling hot pepper sauce on the plants. If you have any tried and true methods for keeping those critters from eating your garden plants, please let me know.

Thanks so much for stopping by, and remember to laugh--a little or a lot--every day.

Cheryl

Sunday, June 5, 2022

Let's Craft and Create Challenge #184: Anything Goes or A Penny for your Thoughts (use a sentiment)...

The alternate challenge this month at Let's Craft and Create was an easy one for me: A Penny for your Thoughts (use a sentiment). I almost always put a sentiment on the front of my cards, but this time I decided to look through my dies for a sentiment that could also work as part of the design of the card. I found a rather large border die that would be perfect! The border design includes the sentiment, a dotted line beneath it and a series of leafy flourishes below that.

I happened to have some pink and yellow plaid paper on my desk, so I set that aside to use as a background for my die-cut card front. Then I used my border die on the front of my yellow slimline card base.

Once cut, the front of my card base was glued to the plaid cardstock with some spray adhesive.


I used the border die to cut the phrase "Thank You So Very Much" from pink cardstock, too. Then I glued the pink letters into the letter spaces on the yellow cardfront. I also added some pink gems to the leafy flourishes beneath the sentiment.


Finally, I die-cut a flower twice, inked its edges, and added a yellow center and some of the same gems I had placed on the leaf flourishes. The petals of the top flower have been raised with tiny foam squares placed underneath them. I love the dimension this adds.

I also cut a white leafy flourish, using an old die that I have had for years, as a base for my flower.


The inside of my card had a simple sentiment stamped with pink ink.


Now it's your turn. There is some amazing inspiration on the Let's Craft and Create site. The projects made by the Design Team are outstanding! Don't forget to check out this month's prize giveaway, too.

Thanks so much for stopping by, and remember to laugh--a little or a lot--every day.

Cheryl

Friday, June 3, 2022

A few Father's Day cards...

 I have been making lots of Father's Day cards, as they are selling well at the thrift store. Here are three more of them:

I had a retro, die-cut automobile in my card parts, so it was time to put it on a card. I cut a stitched oval, inked its edges and glued the car to it. The oval was added to the card front with foam squares. 

Then I die-cut the letters for DAD several times and stacked them to add some dimension. The rest of my sentiment was printed with my computer and popped up on foam tape.


This photo gives you a little better idea of how everything has been popped up.


My inside sentiment was also a card part, left over from making Mother's Day cards. I decided it worked just as well for a dad, so I used it on the inside of this card.


This card was super quick and easy. I first used a background die on a light blue panel of cardstock to create the look of stars in the sky. Then I did some ink blending around the edges of the top and sides. Finally, I added a double-sided adhesive sheet to the back side and then rubbed clear glitter into the tiny holes for the stars. 

To finish, I die-cut my street scape, added some yellow CS behind the windows and adhered it to the bottom of my blue panel before adding it to my cardbase.

The sentiment was stamped, die-cut and popped up on foam tape.


The inside sentiment was done with my computer. Easy, peasy!


This was another quick card. I did some ink blending on a light blue piece of CS to create a sunset (or is it a sunrise?). I also ink-blended my "lake" beneath my sky. I stamped some foliage on the right hand side, masking off my water, then I glued my black die-cut across the panel where the sky and water meet.

I used a wave stencil to add some motion to my water and finished it off with a few marks made with a white gel pen.

The entire panel was matted with black and glued to a white card base.

The sentiment was printed and popped up on foam tape.


I used a stamp set to create the inside sentiment.


This week I am pet-sitting for my daughter's dogs and cats. It's not a hard job, but it does require that I stay at their house so that I can let them out in the night or wee hours of the morning, as needed. I don't mind helping out, but it definitely cuts into my crafting time. 

We're also finalizing the design for our new kitchen. I can hardly wait for them to get started! It'll be a great excuse to forego a lot of cooking and to patronize the local restaurants. I'll also have an excuse to not clean the house. "What's the use?" I'll say. "It'll only get dusty and dirty again with all the workmen here."

Thanks so much for stopping by, and remember to laugh--a little or a lot--every day.

Cheryl