Wish List

Tuesday, January 30, 2024

Making more cards with AI images...

There are so many images available online from others who have been experimenting with AI programs. I have also tried my hand at creating a few images, so I thought I'd share some cards using some of those images.

These are both bookbinder style cards, using a free image that someone shared online, offering it up for others to use on their projects.

The yellow paper beneath the ribbon is actually DSP.  I added some gems to the centers of the flowers and popped up the sentiment.

This card was made exactly the same way, but with a different sentiment stamped on the inside.


These two cards were made with an image that I created on Bing.com/Create, an image-generating program.  The sentiment was printed with my computer and popped up on foam tape.


After I printed the pictures onto white cardstock, I cut them out with a wonky-stitched square die.


I punched out a couple of the balloons for each image (my punch just happened to be the right size), and popped them up on foam squares.


In this photo, you can see that the blue sparkly balloon and the gold balloon are both popped up.

If you look closely, you can also see that I've added some Glossy Accents to the eyes.


I added a couple of punched balloons on the inside, too, with another computer-generated sentiment.


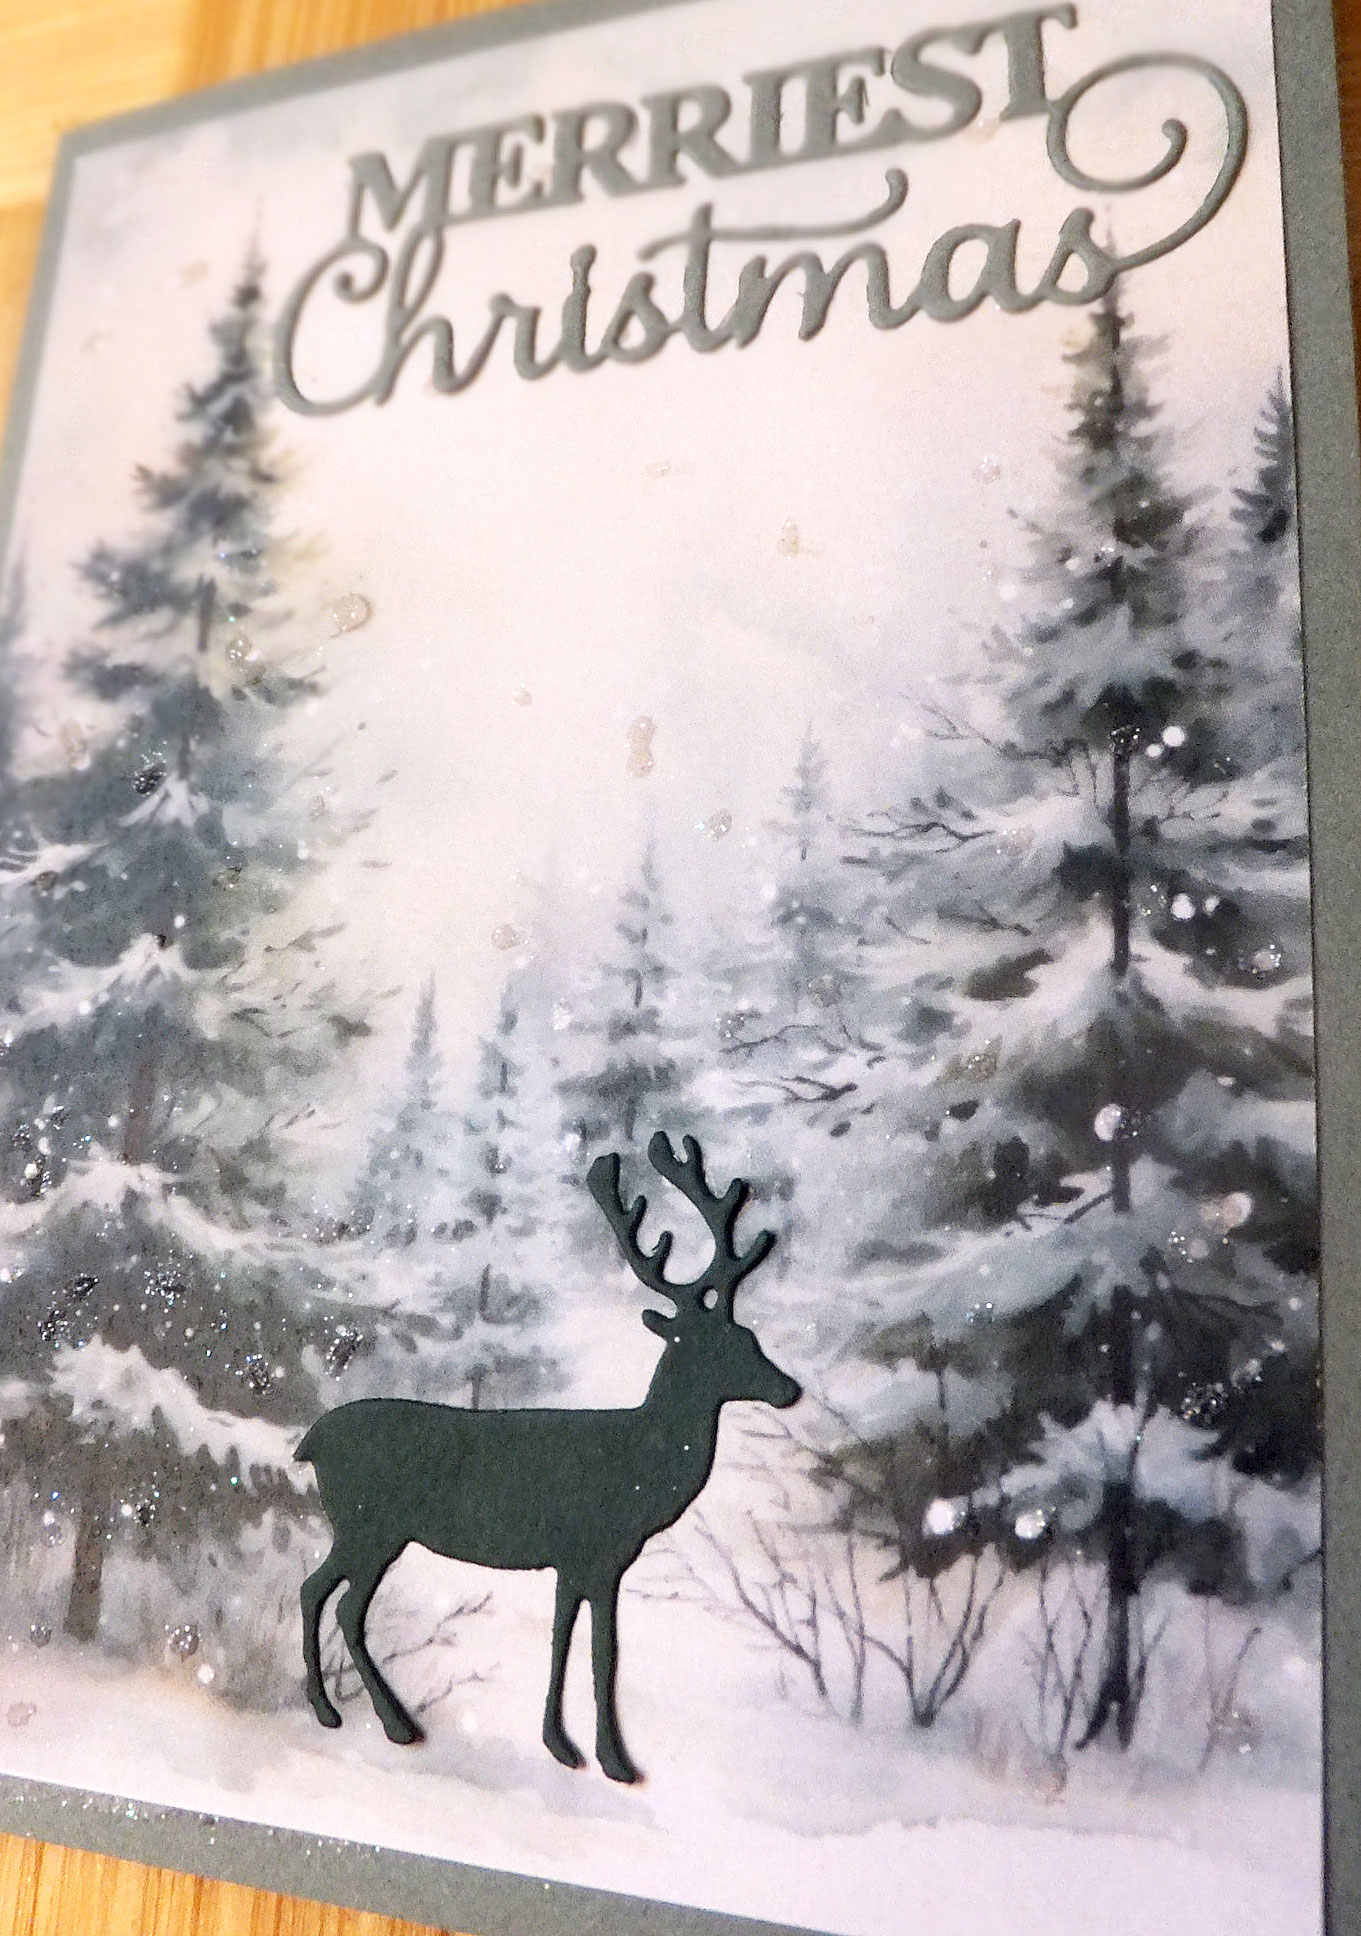
Finally, I made these two cards out of a single image that was offered online to anyone who wanted to use it. I simply cut it down the middle and added each half to the front of a card.

The sentiment was stamped and cut out with a die. It was then attached to the front of the card.

I also dry-embossed a couple pieces of pale pink cardstock and added them to the inside of each card.


This is how the inside of the card looks, with its stamped sentiment, when it is opened.

While AI is fun to use to create images like these, I understand that it is also being used for nefarious purposes. I hope the powers that be figure out a set of controls to keep it from being used for ill.

Thanks so much for stopping by, and remember to laugh--a little or a lot--every day.

Cheryl


Friday, January 26, 2024

Notes of thanks...


I had a couple of 8" X 8" papers that had this pretty design on one side. Although you can't really see it in the photo, it has some glitter in the design. I cut off the patterned area so that it would fit on a slimline card.

The sentiment is heat embossed and popped up on foam tape with a little adhesive-backed gem on each side.


The only other embellishments I added were a couple of little butterflies. This angled photo shows how I prop up their wings with a little piece of foam tape.


The other side of the 8" X 8" paper was plain, so I cut it to fit the inside of the card where I stamped a thank you sentiment.


I don't remember where I saw this layout, but I liked it, and it was a great way to use up some scraps left over from making Christmas cards. The scripty, die-cut sentiment went really well across the center panel.

And here is the sentiment I stamped on the inside.

While I can't send each of you a thank you card, I still want you to know how much I appreciate it when you visit my blog. And a special thanks to those who leave a comment. I always look forward to reading them.

So, THANK YOU for stopping by, and remember to laugh--a little or a lot--every day.

Cheryl

Tuesday, January 23, 2024

Flowers and butterflies...

It's always nice to think about flowers and butterflies when the temperature is below 0 degrees outside. We're warming up a bit now, but last week was a bonified Minnesota cold spell. To get my mind off of it, I made a few cards with flowers and butterflies.

This slimline card was made with a special slimline frame die. After cutting it out in a green patterned DSP, I also cut the flowers from pink and blue CS. 

The sentiment was stamped directly onto the card base. I made sure it fit perfectly between the two flowers.


I adhered each flower around the center and then popped up each petal with a piece of double-sided foam tape.


I have a few very nice thank you stamps now, and this is one of them.


This card features another slimline frame die with butterflies. This card is a little bigger than the first one because I already had the card base cut and folded and I didn't want to cut it down anymore.


To add color to my butterflies, I slipped a piece of copy paper underneath each wing and used my blending brushes to add color.

Each butterfly did have an attached body, but I cut off the top (head) and bottom (tail) and then adhered a separate body cut from silver metallic CS. This also helped secure the butterflies in place.


Once again, just a simple stamped sentiment on the inside.


For this card, I stamped, colored and die-cut a cluster of flowers. I first used the coordinating stencils to color the flowers, but I wasn't satisfied with the result, so I used my watercolor pencils to add more depth and detail.


The embossed panel underneath the flowers is vellum. I love the look of embossed vellum! I have some 1" wide double-sided tape, and I used that to adhere the vellum. I just made sure that I not only covered the entire back side of the vellum with the tape, but that I also overlapped the pieces. That way it doesn't show at all.

The sentiment was popped up on foam tape.


Here is the stamped sentiment I added to the inside.


I made this card because I was tired of seeing the striped piece of DSP laying on my desk. I used an angled scalloped border die for the bottom. I cut the edge again out of white and glued it on top of the striped edge and finished it off with a couple narrow stitched strips of yellow CS.

The "thank you" sentiment was stamped with Versamark and heat embossed with blue EP.


These butterfly dies are some of my favorites. I love the stitched detail on them.

I added some double-sided foam tape underneath their wings and an enamel dot in the center of each.


Keepting with the blue and yellow theme, I stamped the inside sentiment with blue ink.

*****

This weekend is shaping up to be a busy one. We're going to a dance performance at the University of Minnesota on Thursday and out for a special dinner on Saturday. Then, of course, we'll go to church on Sunday.

Thanks so much for stopping by, and remember to laugh--a little or a lot--every day.

Cheryl


Friday, January 19, 2024

Using some rub-ons and a masculine card...

 I was given some rub-ons and thought I'd put them to good use on some cards to donate to the thrift store.

The flowers and butterflies on this card are all rub-ons. They were so colorful and really dressed up the front of the card. I added the die-cut sentiment, which was cut multiple times and stacked for dimension. I also added some gems to the centers of the flowers.


On the inside of this card I stamped a simple sentiment (I added the ellipsis with a pen) at the top so that the sender had lots of room to write a lengthy note.


I used some floral DSP for this card that coordinated nicely with another rub-on butterfly. "Hello" and its shadow were die-cut and adhered directly onto the card front.


The little "stars" were also rub-ons. I added a gem to the center of each.


On the inside of this card I added a stamped sentiment and one more tiny rub-on.


I recently bought some vertical sentiment dies. I used one of them on this masculine card and really like them for applications like this. 


All the printed papers on this card came from the same (very old) paper stack. The center panel on the card front was a small piece that I cut from one of the sheets, matted and popped up on foam tape. 


A sentiment was stamped on the inside. I did my best to center it under the front of the card, which was about an inch narrower than the back.

*****

The intensely cold weather that we have had lately prompted me to buy a new winter jacket. My old one was really getting worn looking and had a missing button and a hole in one of the pockets. I certainly could have sewn a button on and mended the pocket, but the wool was wearing so thin in areas that a couple of little holes had developed. It was time for a new one! I received it in the mail this week and wore it for the first time yesterday.

It's a down-filled 3/4 length jacket that has both snaps and a zipper closure. It is so warm and I really love it. But now, of course, the weather is warming up and is supposed to be above freezing next week. Go figure! Oh well, I'm certain there is more cold weather yet to come.

Thanks so much for stopping by, and remember to laugh--a little or a lot--every day.

Cheryl

Tuesday, January 16, 2024

Pretty Gingko leaves on a card...


This die that cuts a cluster of Gingko leaves is one of my favorites, especially for making sympathy and get well cards. I've showcased it here in a couple of different ways.


This card is quite simply designed. I glued the die-cut to a textured piece of paper, which was glued to a card base.


I stamped a sentiment, cut it out and popped it up on some foam tape. The only embellishement was a few turquoise gems.


This second card used up a scrap of striped paper that was sitting in my stash, begging to be used.


The sentiment was stamped with Versamark and heat embossed with white embossing powder.

Once again, I added some gems for embellishment.


I stamped a sentiment on the inside of both cards.

I did a little research on Gingko leaves, as I knew there was a history of their use in medicine. I found that the medicinal uses of Gingko can be traced back to the Chinese herbal database known as the Materia Medica, which was written about 2800 B.C. The leaves were used for brain disorders, circulatory disorders and respiratory diseases. 

They must have a pretty powerful effect on the human body. I only want the sight of them on my get well cards to help someone feel better!

Thanks so much for stopping by, and remember to laugh--a little or a lot--every day.

Cheryl

Friday, January 12, 2024

Stack, cut and shuffle...

 In trying to use up some of my old 6" X 6" paper pads, I decided to use the stack, cut and shuffle technique to create some cards.

First, I cut a 3 3/4" X 5" panel from three different, but coordinating, patterned sheets. I stacked these panels and then cut them--all at once-- into three polygons. Once that was done, I shuffled the patterns and adhered them to three mats.

After gluing the matted pieces to a card base, I cut a large sentiment and its shadow and popped them up in the center. As a final touch, I added three tiny flowers that I had in my stash.

I made the second card into a birthday card, once again popping up the die-cut sentiment. This time, I embellished the card front with three enamel dots.

My third card was a get well card. This time I used the card base in the portrait orientation, popped up the sentiment and added some Nuvo Drops for embellishment.

After I had completed these three cards, I had some pieces left of each pattern, so I die-cut the pieces into strips of different widths, glued them at an angle onto a piece of copy paper, cut it to size and made this card:

This became another birthday card with a large sentiment that was stamped, matted and popped up with a couple of leafy sprigs beneath it.

In order to get the right color of ink for my sentiment, I had to use two different ink colors, blue and green, stamping them one at a time on top of each other until I had the right shade. Thank goodness for my stamp positioner, which enables me to stamp in exactly the same spot every time!


I used the same process to get the right color of ink for my inside sentiment, too. And I added the last of my strips here, along with a tiny sprig, for a little embellishment.

This was a fun process for using up some paper and creating some cards. Have you ever tried it? If you haven't, I definitely recommend giving it a go.

Thanks so much for stopping by, and remember to laugh--a little or a lot--every day.

Cheryl

Tuesday, January 9, 2024

Playing with AI images...


 This is a Christmas card I created using a friend's AI (artificial intelligence) image. I sized the image, then printed it out. 


After matting the image with some red cardsstock, I adhered it to my cardbase.

For finishing touches, I added some glitter to the snow and I die-cut and glued on a sentiment.


On the inside I stamped a Christmas sentiment.  


I was impressed with my friend's AI image, so I decided to try to create one myself. I used the Bing Create program and here's what I came up with:

This is my first card for Christmas 2024. The snowy tree background is the AI image I created. I added the die-cut sentiment and deer.


I also added a tiny bit of glitter to this image by dotting on some glue and then sprinkling glitter over it and allowing it to dry.

It's actually very pretty IRL.


Once again, I added a stamped sentiment on the inside.

I've printed out eight more of the AI background image and will make more Christmas cards with them for next year.                                                                                                                                          


As I was writing this post, I decided to quickly create another AI image just for fun. My request to the program was a "messy craft room with a frazzled 70-year-old crafting lady at work." Here's the image that the program came up with:


Want to give it a try? Go to www.bing.com/create and type in your insstructions for the image you desire. Or find another AI program that works with your computer. It's fun to see how AI interprets your instructions.

Thanks so much for stopping by, and remember to laugh--a little or a lot--every day.

Cheryl