Wish List

Tuesday, November 28, 2023

Whimsical cards...

 I'm always looking for ways to use my frog die. I think he's so cute! Here's a card I made recently that features him:

The word "relax" is a big chipboard sticker that had been in my stash for a long time. In fact it had detached from its plastic backing and was no longer sticky, so it was definitely time to use it. I decided to create a birthday card with the sticker and the die-cut frog that was popped up on dimensionals.


Of course, I had to give him some googly eyes. And a crown. After all, he's celebrating a birthday!


To decorate the inside, I added a strip of the leafy-patterned DSP and a couple of die-cut leavese that mimic those in the patterned paper.

To finish it off, I stamped a sentiment.


These two cards were made with DSP and scalloped circles from a card kit. 


On this card, the cupcake, the Happy Birthday stamp and the decorative brad on the sentiment banner were all from the kit.


The smaller scalloped circle and the cupcake were both popped up on dimensionals. I added some Nuvo Drops to the dotted design on the circle.


I added a stamped sentiment and a few of the kit's scalloped circle punch-outs to the inside.


This second card was made very similar to the previous one, however I used a couple of gems instead of the cupcake punch-out and the brad.


Once again I added Nuvo Drops on the dots in the design of the top scalloped circle.


I gave the inside of this card the same treatment as the cupcake card. These were fun and quick to make. 

I have found I like working with card kits, but I rarely use the contents the way the instructions suggest.  I try to get more cards than the kit intends so that I have more to donate.

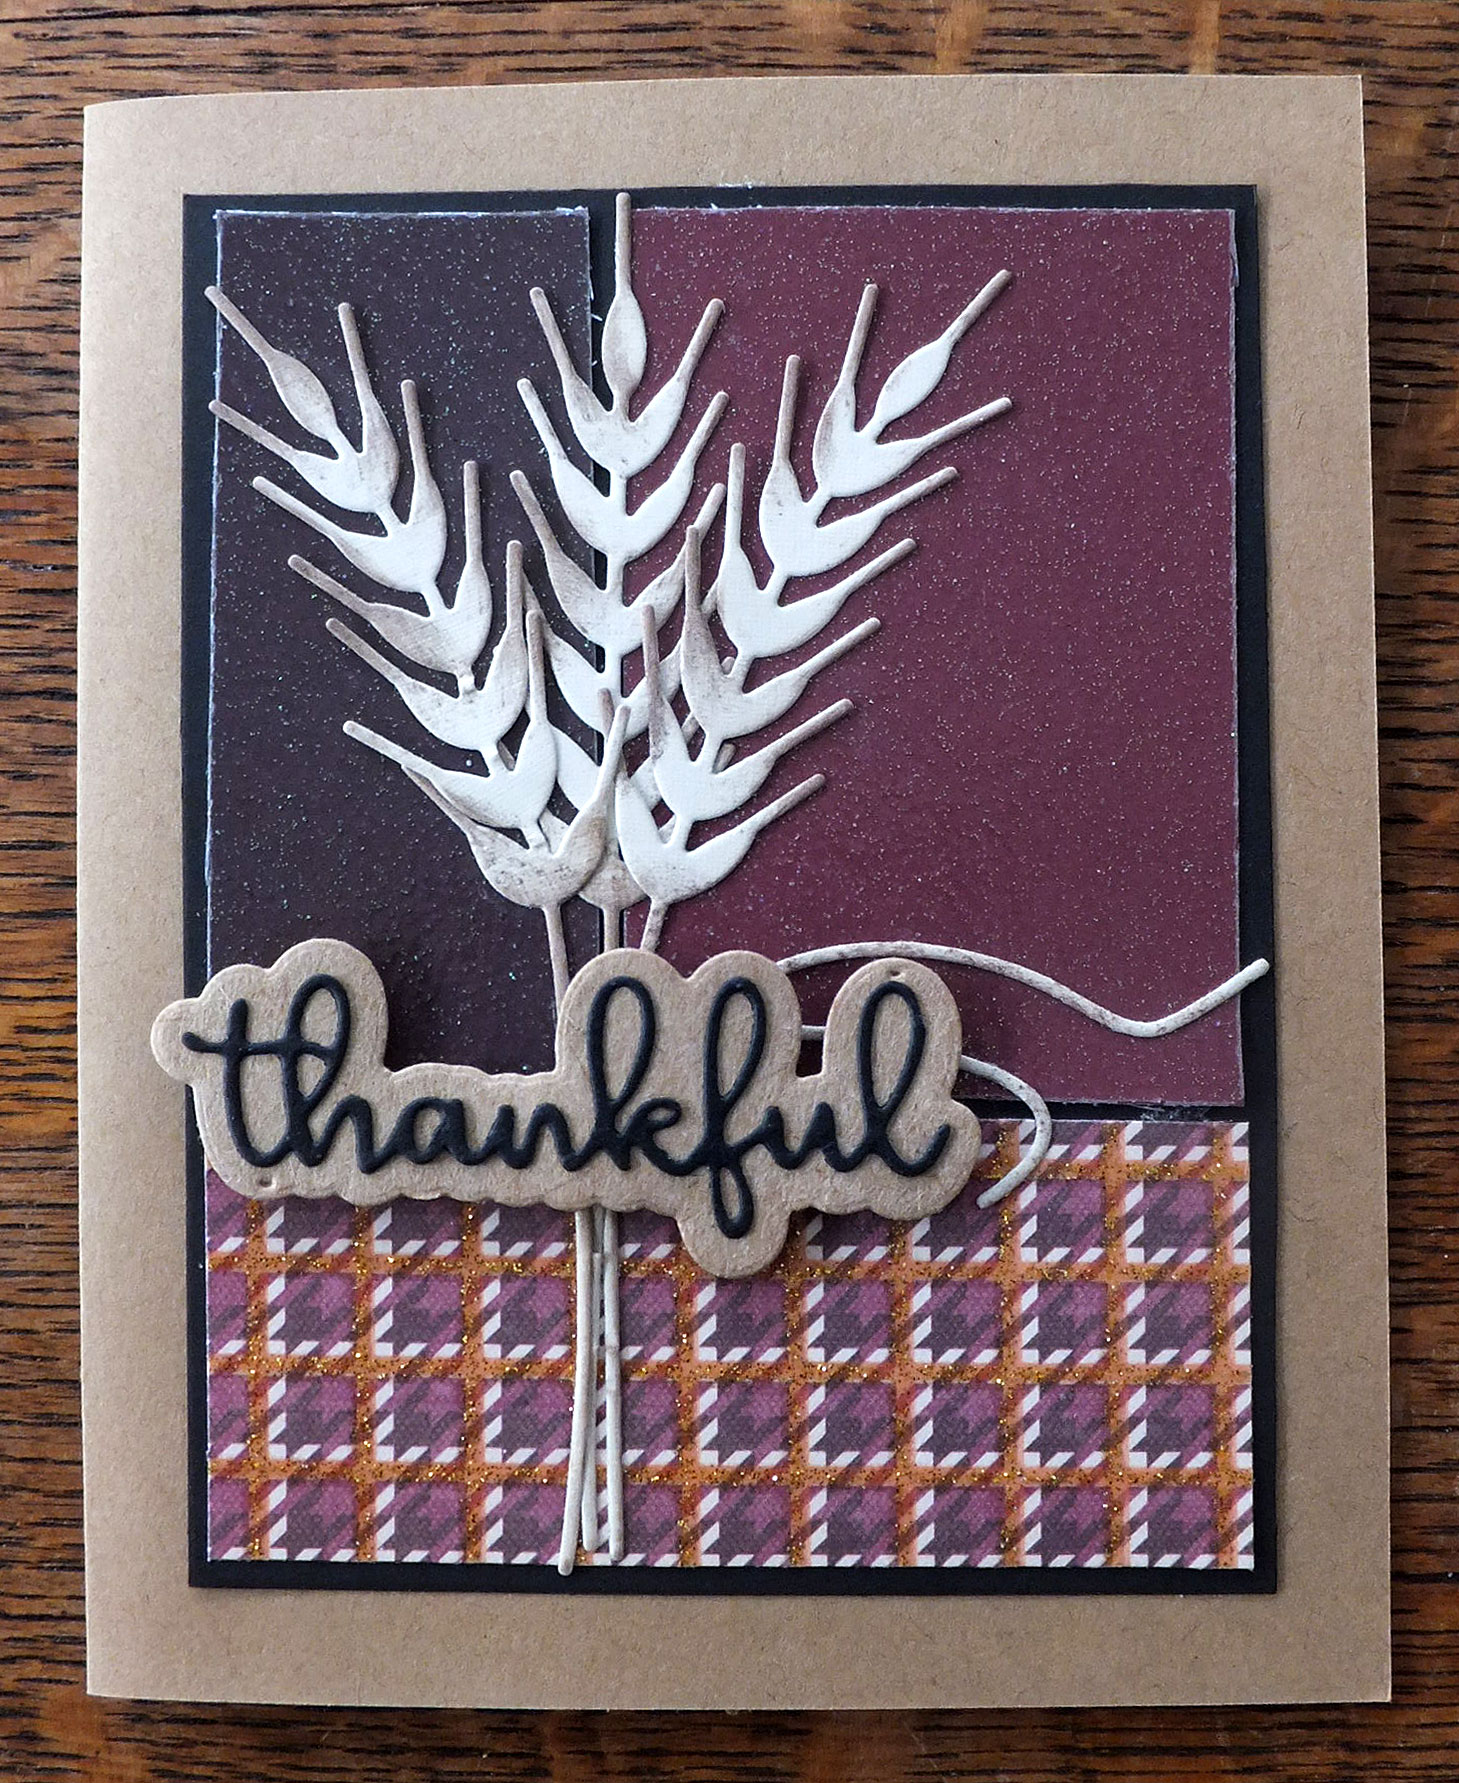
Our family members have returned to the West Coast after spending Thanksgiving with us. I was sad to see them go. They lead such busy lives that I'm not sure when they'll be able to come back. And they left us with too many leftovers!! We're doing our best to eat them, but I'm not sure we'll be able to consume them all. 

Thanks so much for stopping by, and remember to laugh--a little or a lot--every day.

Cheryl

Friday, November 24, 2023

Center flap cards...

 I love trying different card designs, and this is a fun one.

This is an A2 size card. The center flap was created by cutting the top of the card 1 1/4 inches in from each side, gluing those narrow sides down and adding a strip of DSP on top of each narrow section.


I added some coordinating DSP to the center flap along with a popped up sentiment and a gift that had been die-cut.


A stamped sentiment was added to the white panel that had been adhered under the center flap.


Here's another center flap card made the same way as the first one.


This time I added a "subway art" die-cut to the center panel along with a few holographic stars.


Since there were so many words on the front, I decided a simple "Happy Birthday" was all that was needed on the inside of the center flap.

These cards are a great way to use up some scraps of DSP. They're quick to make, too.

I hope you all had a wonderful Thanksgiving. We had a great day with waaaaay too much food, but it was all so delicious!

Thanks so much for stopping by, and remember to laugh--a little or a lot--every day.

Cheryl

Tuesday, November 21, 2023

A few more Thanksgiving cards...


 A fellow cardmaker created this picture of pumpkins in a wagon using an AI site online. She offered the picture up for anyone to use, so I decided to make a few Thanksgiving cards with it.

This particular card is a "book binder" card, one of my favorite styles.


The growth of AI programs and their usage is incredible. Have you used one of them yet? I have not, but I've seen some of the things they can produce, and its really beyond imagination.


This is the computer-generated message on the inside.


Here's another card I made with the same picture and a die-cut pumpkin. This one happens to be a landscape/top fold card.


This is the stamped message on the inside.


This card was made with bits and pieces from a fall-themed card kit. The background DSP is so pretty. It is not only printed with pretty leaves, but each leaf has some great embossed dimension. I inked around the squirrel and leaf. I also popped the squirrel up on foam squares and gave him a googly eye.


 On the inside I added a stamped sentiment and one of the punch-out acorns that was included in the kit.

We are busy getting ready for company for the Thanksgiving weekend. My son and his wife from Washington State and my daughter and her family from Oregon will be here. It is so fun to have them home for a few days. Thanksgiving is such a great low-stress holiday. We all contribute to the meal and just have a good time.

I hope that all of you will have a wonderful Thanksgiving, too. And if it's not a holiday you celebrate, then I wish you a beautiful weekend all the same.

Thanks so much for stopping by, and remember to laugh--a little or a lot--every day.

Cheryl

Friday, November 17, 2023

Using up those foiled bits...

When I last spent the day at my friend Lynette's (My Stamping Addiction) house, making cards and trading crafty ideas, she generously got out her Glimmer foiling system so that I could see how it worked. We made some beautiful images and sentiments, and I have featured some of them here and here,

Well, I have finally used up the last of them, and this is what I made:

This is a very simple card. I used some black and white DSP that had silver glitter in its design. I added a strip of white cardstock across the bottom portion of the card. I drew two black lines with a ruler and a fine-point felt tip pen. Then I added a few holographic stars around the "glimmered" Thank You sentiment. 


The sentiment actually looks metallic silver IRL, but in these photos it is reflecting each and every color around it. 

You can see here it has been popped up on some thin foam tape.


I stamped a simple sentiment on the inside.


For this card, I added the foiled image to an embossed background. It looks quite nice reflecting all those colors, don't you think? Again, though, it looks metallic silver IRL. The sentiment was cut from metallic cardstock and glued on.  It's not nearly as reflective!


The image looks a bit more silver when photographed at this angle.

I added a few silver dots--one of them was to cover up a small dark spot that somehow got onto my white cardstock. Probably from one of my inky fingers!


I heat embossed the sentiment on the inside, using silver embossing powder.


This final card was my favorite of the three. It's such a simple design, but I love the sheer ribbon and the white and silver foliage peeking out from beneath the sentiment.


Try as I might, I couldn't get a photo of the foiled sentiment that looked true to life (i.e., silver).

Again, the sentiment was popped up on foam tape which definitely helps keep all those bits in place.


I added a stamped sentiment and a strip of lavendar cardstock to the inside of the card.

It was so much fun to have these pretty images and sentiments to play with. Thank you, Lynette!

Now I really should foil some Christmas sentiments using my laser printer and laminating machine. They don't turn out quite as nice as the "glimmered" ones, but I still like them.

Thanks so much for stopping by, and remember to laugh--a little or a lot--every day.

Cheryl

Tuesday, November 14, 2023

Thanksgiving cards...

 Have you finished making your thanksgiving cards yet? I have finished the ones I'll be using to send to family and friends, and now I'm just working on a few to donate.

These are the cards I made for my own personal use. I love the wheat dies, and because they are so indicative of harvest, I used them for these cards. 


I selected some subtle glitter cardstock--yup, all the colored  papers used in the background  on each card are glittery! Once I had picked out my papers, I cut pieces to fit onto a black mat.

I've had this glittery cardstock for years, so it was time to use as much of it as I could.


I tried to take an angled shot that would show the glitter, but it was pretty subtle so it really doesn't show up well in the photos.

The layered sentiment has been popped up on foam tape.


I created an inside sentiment on my computer. I can print out four at a time, so this really speeds up the card production.


Here's a closer look at the other color combination.

This card was donated to the thrift store. I used a scrap of leaf-patterned paper and a pretty pumpkin die as a focal point.  The sentiment was stamped directly onto the card base.


I stamped a sentiment on the inside and added a strip of the same gold metallic cardstock that was used for the pumpkin.


I had a couple of die-cut pumpkins in my stash and a leaf sticker, which I used on this card.  I also had a couple of thin die-cut frames that I used to frame the DSP and the center off-white panel.


The pumpkins were popped up on foam squares, and I added a few gold dots around them with a metallic marker.


I used one of my computer-generated sentiments on the inside of this card.

I've got quite a few more Thanksgiving cards to share with you, but I'll save those for my next post.

We've been having some lovely fall weather lately. High temps in the upper 50s and low 60s. That's unusual for this part of the country, but I'm loving it! It has given us a few extra days to finish up some yard work.

Thanks so much for stopping by, and remember to laugh--a little or a lot--every day.

Cheryl


Friday, November 10, 2023

"Sending" cards...


 Nsot long ago I purchased a stamp set that featured this large "Sending" stamp, as well as some smaller coordinating sentiments and flowers, along with coordinating dies. I have found this set to be so valuable for making quick cards. 

On this card I have used a "cut away" from one of my paper pads that featured this oval design with a few flowers printed at the bottom of the oval.


I added a few more pieces of foliage in white and a bow out of white twine.

The word "Sending" was stamped and die-cut, then popped up on small foam squares.

The smaller sentiment was stamped directly onto the oval.


Here's the sentiment I stamped on the inside.


This card was VERY quick to make. Once again I stamped "Sending," die-cut it and popped it up on my card front. The DSP was already printed with the plain blue on top and the brown polka dots on the bottom, separated by an orange scalloped border. I added some orange Nuvo Drops for added dimension. "Birthay Wishes" is from the same stamp set, and this time I stamped it separately onto white card, die-cut it and popped it up on foam tape.


Here's a closer look at the top of the card front.


On the inside of this card I added a stamped sentiment and a little bouquet of foliage in coordinating colors.


For this card, I used not only the large "Sending" stamp and die with a smaller setniment, but also some of the flowers included in the set.


After die-cutting the flowers, I glued the stems directly to the card front and popped up the flower heads on foam squares.


There was one more flower in the set, so I added it to the inside along with some stamped leaves and a sentiment.

I think this will be a favorite stamp set for a long time to come. In fact, I plan to make a couple more of these this weekend!

In addition to making about 20 cards a week for the thrift store, I have managed to make a little progress on Christmas cards. I need to keep at it, though, in order to get them done. The holidays will be here before we know it!

Thanks so much for stopping by, and remember to laugh--a little or a lot--every day.

Cheryl