Wish List

Saturday, December 28, 2019

Time to start on those Valentines...

Now that Christmas has come and gone, I can get back to a regular crafting and card making schedule. I took a week off over Christmas, but now I really need to start on Valentines and birthday cards and even a few cards for other occasions.

Here's what I made today:


I've received a few new dies lately and wanted to give them a try.


This little box die is so cute. I ordered this die online for the specific purpose of making some of them to sell at the thrift store where I volunteer.

I think at least some of the customers will enjoy purchasing these (I sell them for just $.50) to give little Valentine gifts to their loved ones. I plan to make them in an assortment of colors.


I will also take this card to the thrift store to sell. I plan to display it with the little box, and hopefully they will sell as a set.

The inside of the card is very simple with just a stamped sentiment (Recollections) and a strip of the gold glitter paper.

I had fun making this little set. Have you started making Valentines yet? I'm hoping to get some ideas from blogland--especially ideas for teens.

Thanks so much for stopping by, and remember to laugh--a little or a lot--every day.
Cheryl

Friday, December 20, 2019

Scor-Pal Challenge #66: More than one score...

I wanted to make some sort of box to display a gift card that I am giving to a granddaughter for Christmas, so I decided to let the Scor-Pal Challenge of "More than one score" inspire me.

I found a tutorial on Splitcoaststampers, but it wasn't quite the right size for my purpose. I needed something bigger to hold a 3" X 7" gift card. I did a few calculations to increase the size of the box that was demonstrated in the tutorial. That part was easy, but it was quite a challenge to get the dimensions of the interior pop-up piece right since I had decided to change its depth and how it held the gift card. After a couple of tries, I finally managed it. My finished box measures 4" deep X 9" long X 1 1/2" high.


To decorate my "belly band" around my box, I die-cut some white poinsettias and added a tiny bit of red to the tips of their petals.

The centers of the poinsettias were made with red Nuvo Drops.


I also die-cut some pine boughs in white and a lacy circle as a backing for my flowers.


I had thought I would leave the poinsettias white when I first started this project, but after cutting them out, I wanted a little more definition and decided the red tips were just the thing. That was accomplished by touching the tips with a red alcohol marker.


Here's a look at the inside of the box and the way the gift card sits in the pop-up section.

In the front of the box, there is enough room to add some candy or a little gift. I decided to use it for a small additional gift of nail polish, as the gift card is for a manicure/pedicure.

This photo was taken from above the opened box, looking down, and you can see how much room is in front of the pop-up. I've added some colored paper shred to keep the nail polish in place.

This was a fun box to make. I've saved my dimensions and instructions so that I can replicate it.


Well, I actually finished my Christmas cookie bake-a-thon today. I'm not sure how many dozens I made, but if I had to guess, I'd say about 40 dozen. I will be putting a lot of them into baskets and other containers (tomorrow's job) to give away. I like the "giving away" part the best!

I've got my Christmas meals nearly worked out. I just need to buy a few more groceries before I can get started on them.

I hope your holiday preparations are all under control, too. Thanks so much for stopping by, and remember to laugh--a little or a lot--every day.
Cheryl


Tuesday, December 17, 2019

Christmas sledding on a card...

Every year, we plan to go sledding on Christmas Eve at a nearby hill, but for a number of years now, we haven't been able to go because of a lack of snow. Seven years ago, I did a post about our sledding party with a few photos of the fun we had. Click on the link if you'd like to take a look at those.

Right now we have 6-8" of snow on the ground. If the weather doesn't warm up too much between now and Christmas, we may be able to go sledding again.

Here is a Christmas card I made while remembering the fun we have had on snowy Christmas Eves:


I have a little sled die that I cut out of gray and red cardstock and then layered up, adding a bit of twine for the pulling rope. I used my Nuvo Drops to add the "bolt" at each end of the handle that holds the rope.


After adhering my sled in place on my stitched banner I added some sparkly die-cut snowflakes and a couple of enamel dots

The large sentiment on my card front was cut out of foam board from Dollar Tree. In fact, I stopped at Dollar Tree last week and bought some black foam board for die-cutting, too.


The inside of my card has a stamped sentiment and a narrow, matted strip of the DSP for decoration.

While this is a pretty simple looking card, it did take some time to make (and I made 8 of them). The die-cutting is what took the longest, since I die-cut the sled three times, plus the banner, snowflakes and sentiment.

The next few days will be baking days at my house. I have to get enough cookies made to feed us and our guests over the holidays, plus more to fill multiple trays to give away. We always give plates of cookies to neighbors and to family members to take home with them.

Are you all ready for Christmas? I usually just keep doing and preparing until the day arrives. Then it's time to say, "This is enough. We'll make do with what I have gotten done."

Thanks so much for stopping by, and remember to laugh--a little or a lot--every day.
Cheryl

Friday, December 13, 2019

Using tags on cardfronts...

Continuing from my last post, here are the cards I made using the six tags that were included on the sheet from my paper pad:


To start, I fussy-cut the tags and then embellished them.


For this first card, I added some flat-backed rhinestones to each tag, plus a little die-cut bow with a rhinestone at the knot. I also die-cut the word "Joy" (Tim Holtz-Sizzix) from some red foil after backing the foil with double-sided sheet adhesive.


Here's a little closer look at those tags. This picture also shows that I have popped them both up on foam tape.


I used just one tag on this card to which I  had added a twine bow, a sparkle enamel dot to the design center and a die-cut "Joy" (Marianne Creatables, I think).

To finish off my card, I added a strip of the red foil and a sprig of silver holly.


I had gotten some tiny metal tags from the thrift store. Some of them had Christmas-appropriate words on them, so I added one to each of the cards on which I'd used a twine bow.


The tags on this card have some added rhinestones, snowflakes, metal tags and twine.

I also heat-embossed "merriest WISHES," but I was very disappointed at how yellow it looked after heating. I think I must have grabbed the wrong embossing powder. I usually use Wow! white EP, and I don't think it has ever looked yellow like this.


For my final card, I added a few snowflakes to the tag, along with some Nuvo Drops dots. Too much?

This time I also switched up the strip across the bottom, cutting it from glitter CS, rather than foil. Once again, I added a sprig of silver holly.


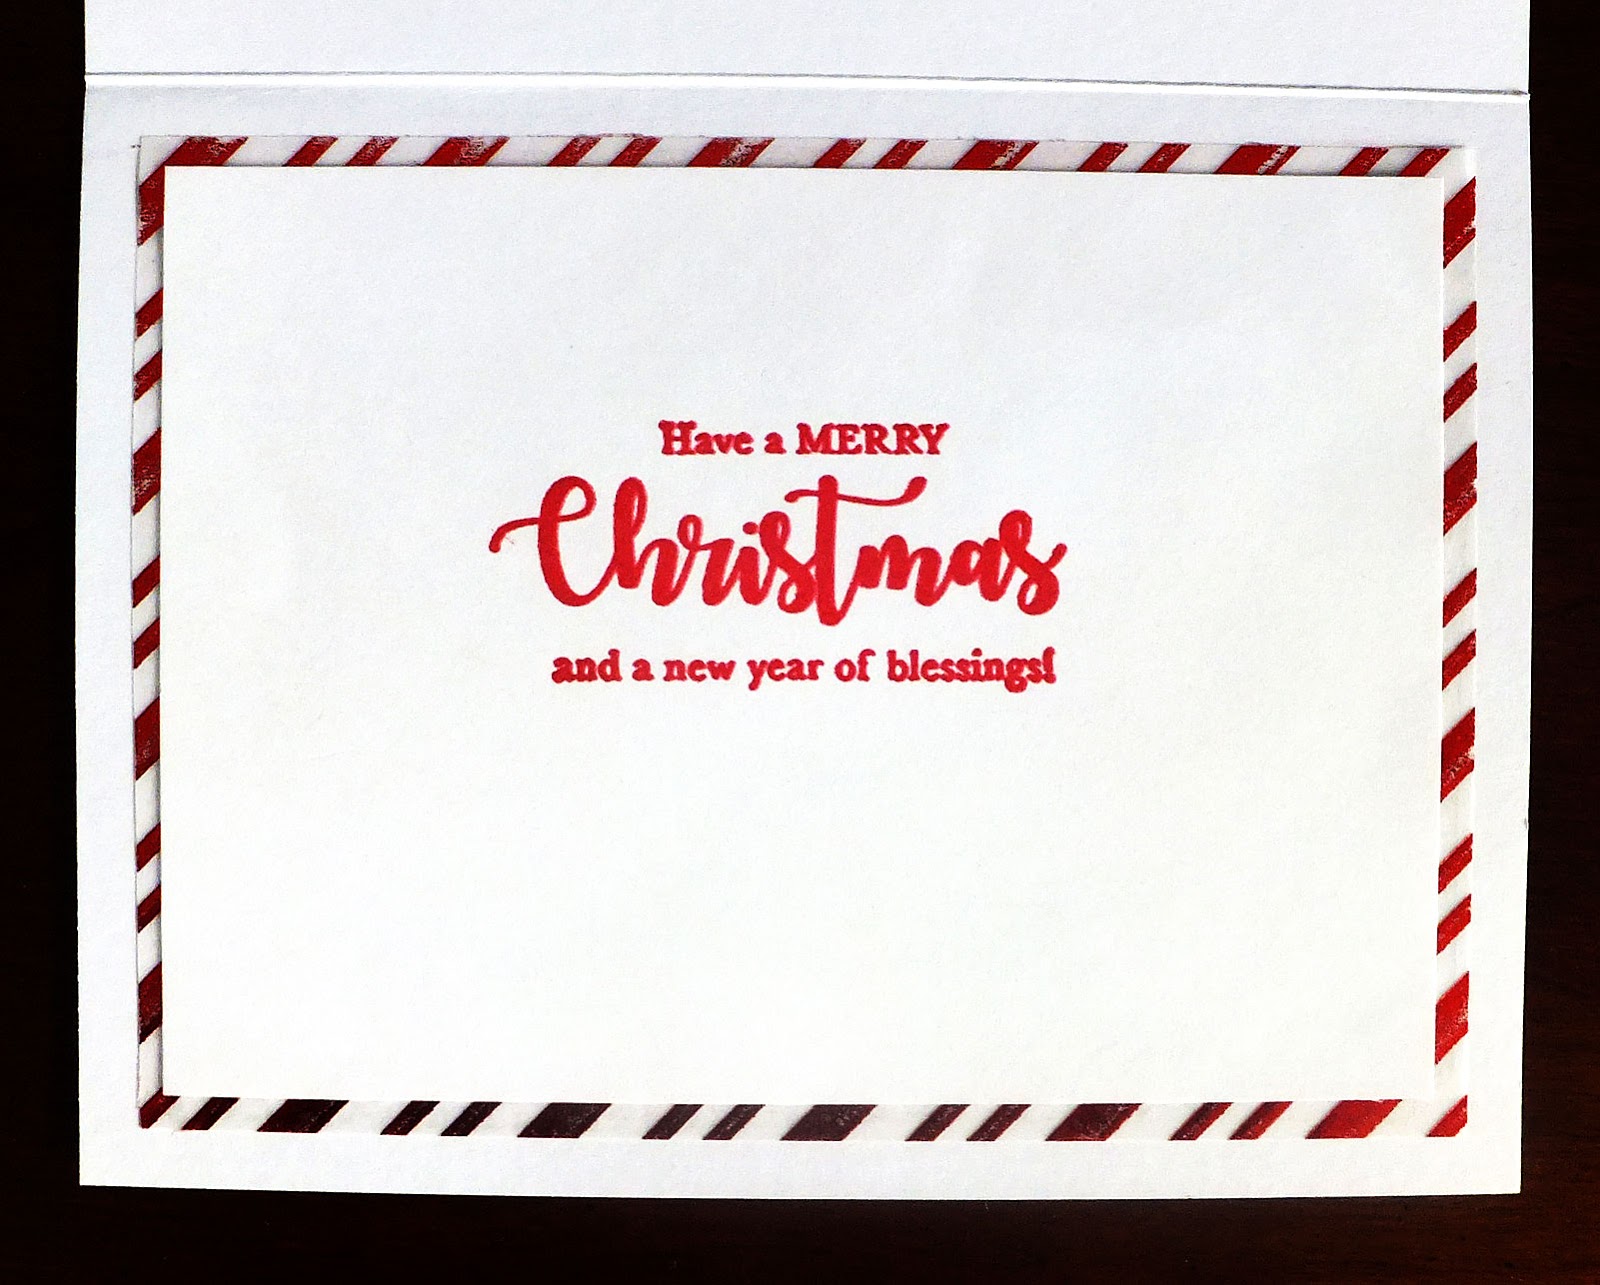
The insides of my cards were simply done with just a mat and a stamped sentiment.

I'm not even sure where this sentiment came from. It was in my Christmas card parts, so I decided to use it.


Today I am going to work on finishing up my gift-wrapping so I can move onto getting my cards in the mail and my baking done. There is a light at the end of the tunnel!

Thanks so much for stopping by, and remember to laugh--a little or a lot--every day.
Cheryl

Tuesday, December 10, 2019

Quick Christmas cards using pre-made card fronts...

As I have mentioned many times, I regularly get craft supplies from the thrift store where I volunteer. Well, recently I got a Recollections 12" X 12" Christmas-themed paper pack.

Included in that pack was this page:

The page was intended to provide 6 gift tags and two card bases with designs on the fronts and backs of the cards. I decided to cut the card bases apart and use each design as a card front.

Here are the cards I came up with:


For this design, I simply matted the card front with some glossy red foil to match the imprinted circle. Then I added a "Merry Christmas" (cut from that same foil) and a few sequins.


Because foil is so thin, I backed it with some Cut 'n' Bond before cutting out my sentiment. Then I removed the backing from the adhesive and laid my die face down on my card front--with the die-cut still in it--and gently pushed the die-cut onto my card through the holes provided in the die. This kept the sentiment from going all wonky on me, which can happen with thin materials.


This card was super easy. I simply matted the card front with some matching gray cardstock and added a few sequins.


For my final card, I matted the card front with some candy cane-patterned vellum (also included in the paper pack). Then I cut my sentiment from Dollar Tree foam board and adhered it.


In this photo you can see the nice dimension you get when cutting a sentiment out of foam board. It's so much quicker than cutting it several times from cardstock and then gluing them together.


Finally, I added some white snowflakes with gem centers to the four corners of this card. Easy, peasy!


This is just one example of how I handled the interiors of the cards. I tried to coordinate each interior with the design on the front.


I also used the tags to make four more cards, but I'll save those for another post.

We are plunging into "below 0 degrees" territory here today. Ugh.  I could do without the sub-zero temps and icy road conditions. Guess I'll just have to stay inside and craft. The sacrifices I make to live in Minnesota!!!

Thanks so much for stopping by, and remember to laugh--a little or a lot--every day.
Cheryl

Thursday, December 5, 2019

Let's Craft and Create Challenge #154: Let it snow...


Today is the start of a new "Let it snow" challenge over on the Let's Craft and Create blog site. It's the perfect challenge for December as we're all trying to finish up our holiday cards. I hope you'll join in on the fun.

No photo description available.


A few weeks ago I was lucky enough to be given some die-cuts of children playing in the snow. I'm not sure if these were actually cut with a die or with a machine like the Silhouette Cameo, but I thought they were just perfect for this month's theme.


The image of the children was originally a bit larger and included a small tree and a shadow under the entire image. I cut away the tree (it's size wasn't in perspective) and also the shadow, leaving just the two children and the sled.

I decided to use a nontraditional background color for my card. I had some Stampin' Up cardstock with little stars and tiny dots that resembled snow. I used this for my sky, adding a few die-cut snowflakes.

My snow was made with a piece of glitter cardstock that actually has some very subtle gold specks in it and my sentiment was cut from black glitter cardstock.

To dress up the inside sentiment panel, I die-cut a line of snowflakes and dots across the bottom of the panel. I cut this same border from a piece of the glitter cardstock used on the card front. Then I inlaid the glittery snowflakes and dots into my sentiment panel and used the plain white snowflakes on the cardfront. I really like how this added some sparkle to the inside in a subtle way.


Now it's your turn. First hop on over to Let's Craft and Create for some inspiration from the other DT members. Then put all that incredible inspiration to work and create an entry for our "Let it snow" challenge. There is a prize up for grabs!

Thanks so much for stopping by, and remember to laugh--a little or a lot--every day.
Cheryl

Tuesday, December 3, 2019

Christmas cards--I've nearly got enough...


I really like this sentiment die-cut, and I had a number of them in my stash. I thought I had gotten them from the thrift store (thrown in with other craft items), but on further reflection, I think I cut them out when I was at my sister's house last summer.

All I did for this card is use a background die to add the stitched lines and then score the white panel along each side. Once that was done, I adhered the sentiment die-cut and a little bit of holly.


The holly leaves were cut with a Cheery Lynn die. It's my favorite holly die. For the berries, I used a hand-held hole punch to make three berries. I glued them on and added some Glossy Accents for a little shine.


On the inside of my card, I stamped a sentiment and added some tiny die-cut holly clusters.


For this card I "sugared" my sentiment by covering it with spray adhesive and then turning it face-down into a dish of clear glitter. I burnished the glitter into the adhesive with my fingers so that it wouldn't fall off in the hands of the receiver.


My silver frame was popped up by also cutting it out of foam core and gluing the silver frame on top of the foam core one. The frame was then adhered to a pretty patterned piece of vellum.

The bow was made with an unbranded die set. I added a sparkly silver enamel dot to its center.


I simply stamped the sentiment on the inside of this card.


This card was made just like the previous card, except for the holly in place of the bow. I actually really liked the silver holly leaves.


Here's a final look at all three cards. I still have a few more of the sentiment die-cuts. Which of these cards do you think I should replicate?

Thanks so much for stopping by, and remember to laugh--a little or a lot--every day.
Cheryl

Friday, November 29, 2019

Simple Christmas card...


I made this Christmas card in a really short amount of time. I used a Lifestyle Crafts large fancy circle die and cut an arc on the bottom of a rectangle of pretty holiday-patterned paper. Then I made a poinsettia using an unbranded die set with each petal and leaf inked on the outer edges. I also cut the word "Joy" with a Tim Holtz/Sizzix word die.


I love the dimension I can get when using this poinsettia die set.  The gold dots in the center were made with Nuvo Drops.

To finish off the front of my card, I adhered three red sequins. Those sequins came to me from my mother's craft stash when she passed away in 1992. I'm still using them nearly 30 years later!!


I stamped a sentiment on the inside of my card and added a matted strip of DSP across the bottom.  Like I said, it didn't take me long at all to make this card, and I really like how it turned out. I hope you do, too.

Thanks so much for stopping by, and remember to laugh--a little or a lot--every day.
Cheryl

Tuesday, November 26, 2019

Center-step birthday card...

I have a beautiful granddaughter who turned thirteen earlier this month, and this is the card I made for her:


It's a center-step card, a fold I haven't tackled in a very long time. It took a while to find the instructions that I had written down a few years ago, but once I had those, it was pretty easy to cut out all the pieces. I generally make cards that are 4 1/2" X 6", so I had taken the instructions for an A2 center-step card and modified them.


I used some Stampin' Up paper--the yellow patterned paper is actually the reverse side of the lavender pattern.

The assortment of dies I used were all unbranded. I cut the girl out of white cardstock and then paper-pieced her outfit.  You can't see it very well, but I raised the purple skirt just a hair so that it looked as though there was an underskirt, which I colored with a glitter pen to add a little sparkle. The rest of her was colored with Promarkers.


On the inside I printed a sentiment with my computer and matted it with purple CS.

It's so much fun to watch my grandchildren grow into amazing young adults. They are all involved in so many sports and other activities besides their schoolwork, that I have no idea how they keep it all straight. I think I had a much simpler life when I was growing up!

We are supposed to get a big snowfall tonight. They are predicting 10 inches or so. That means we'll be shoveling tomorrow. Oh joy!

Thanks so much for stopping by, and remember to laugh--a little or a lot--every day.
Cheryl


Saturday, November 23, 2019

Happy birthday in lavender and white...

My youngest sister's birthday was earlier this month, and I made a lavender and white card for her. I'm not sure if she likes shades of purple/lavender as much as I do, but the color of the DSP (Stampin' Up) was so soft and pretty, I thought she would enjoy it regardless.


This card was SO HARD to photograph. I don't know if the lighting was just bad that day or if the colors are so soft that they don't show up well or if my nonexistent photography skills are to blame. It really did look nice IRL. The center portion (the white and lavender piece with the pearls) is popped up on foam tape.


The die set I used is unbranded, as is the sentiment stamp. I heat embossed the sentiment with silver embossing powder.


There was a fancy little square die that came with the set, so I cut it out a couple of times, cut each square in half and decorated the inside of the card with three of the halves.

The inside sentiment was also heat embossed with silver EP.

I really do love having pretty die sets like this one that do a lot of the work for you. It's kind of like having some pretty paper that you really don't have to embellish very much.

For the next week we are staying with two of our grandchildren, ages 12 and 14 while their parents and sister are out East. They are absolutely wonderful young people and a delight to be around. They will only have school on Monday and Tuesday, so I have made a date with my 14-year-old granddaughter to have a pie-baking session on Wednesday. She's going to learn how to make an apple pie and I'm going to make a pumpkin pie for our Thanksgiving dinner. She's excited about it, since apple pie is her favorite.

Thanks so much for stopping by, and remember to laugh--a little or a lot--every day.
Cheryl


Wednesday, November 20, 2019

Twofer Card Challenge #22: Holiday Greenery...

I need to finish making my Christmas cards, so I was happy to see that this month's Twofer Card Challenge theme was "Holiday Greenery."


One of the usual protocols for Twofer Card Challenges is to make two cards for different occasions. That was suspended this month, however, in light of the fact that most of us are scrambling to get our Christmas cards done.


I have a Hampton Art stamp and die set for some little trees. I chose not to use the stamps, but I did use the die to cut out the trees for my cards.

My first card started with a kraft base that was a portrait style top-fold. I admit that it had been laying unused in a drawer for months--maybe even a year.


I stamped some snowflakes on the front with Versamark and then heat-embossed them with clear embossing powder.

I added a frame that has been popped up by cutting the same frame out of foam board and gluing my plaid frame to that.

The words were die-cut using some Tim Holtz/Sizzix dies from the same kraft CS as the base. After gluing them down, I added some clear Nuvo Drops to them for added dimension.

My final embellishments were the tree (with Nuvo Drops decorations, a few red sequins and a twine bow.


On the inside of my card I added a frame from the same plaid CS (no foamboard this time) and stamped a sentiment with gold metallic ink.


This card was hard to photograph because of the foil cardstock I used. That is why the photo was taken from a top angle looking down. There wasn't quite as much glare doing it this way. I have a 12" X 12" paper pad of silver and gold patterned foil cardstock, and I struggle finding ways to use it. It's been great for making little boxes, but much harder to use when making cards. I think it worked well for these little trees, though.

I embossed my back panel with a Falling Snow embossing folder, added some plain gold strips to my center panel and a die-cut "Merry Christmas" to the top.


On the inside of this card I added a couple more strips of metallic gold cardstock and a heat-embossed sentiment.

Two more cards done! Yay! Thank you Twofer Card Challenge for the inspiration.

If you'd like to join in on the fun, hop on over to the Twofer Card Challenge Blog and add your cards to the fantastic assortment that has already been entered.


Thanks so much for stopping by, and remember to laugh--a little or a lot--every day.
Cheryl