Wish List

Friday, July 30, 2021

Bountiful butterflies...


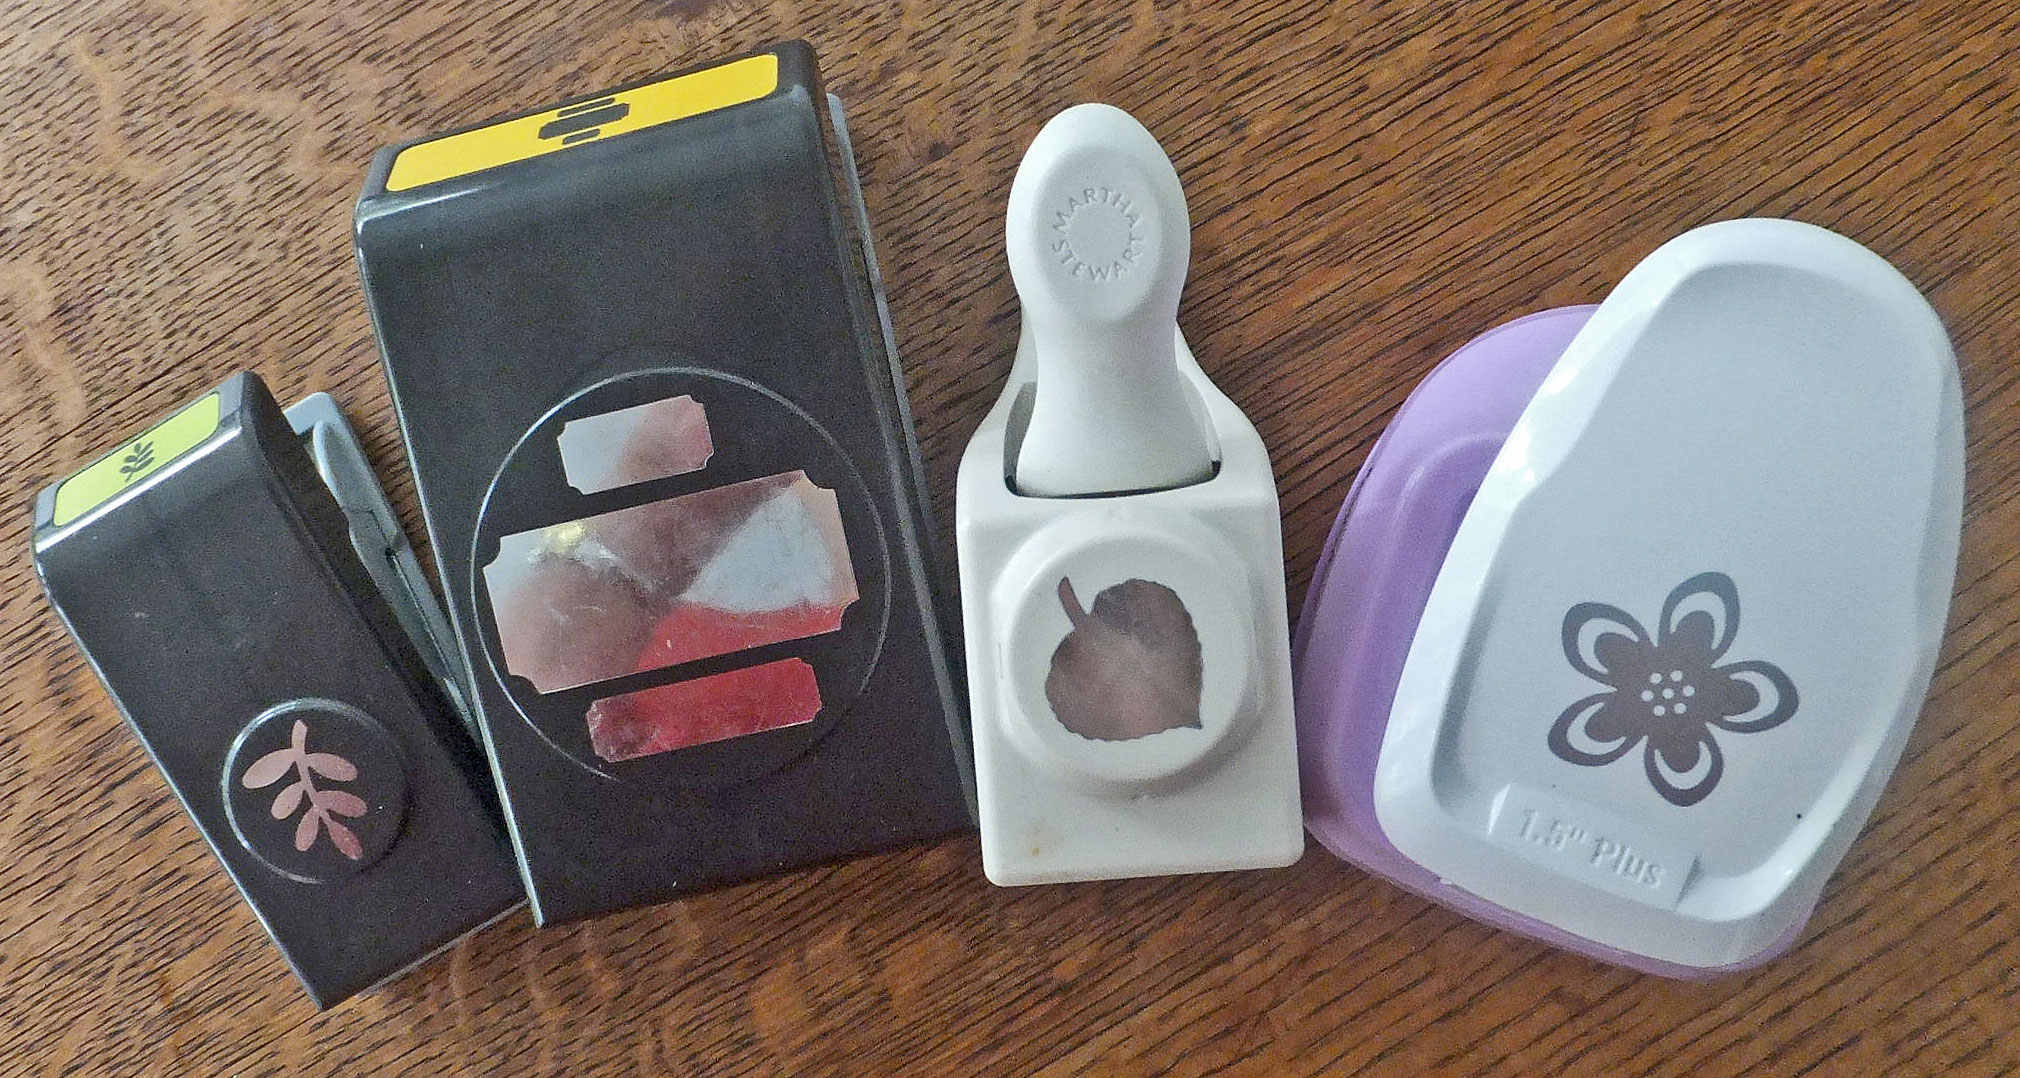
This is a super quick, fun card to make. I recently purchased a slimline butterfold die, so I had to give it a try. The pink butterfly panel cut beautifully, and I used an old punch to create some flowers. 


I used some Nuvo Drops for the butterfly bodies and for the flower centers.

I also cut some tiny pieces of foam squares to put under the butterfly wings, close to their bodies, to lift them up and give them some dimension.

The "Happy Birthday" was stamped, cut out with a small rectangle die and added with some foam tape underneath it.


The inside sentiment was stamped with an old Fiskars stamp. 

I made this card for the thrift store and it sold very quickly, so I think I'll have to make a few more.  I think the butterfly panel can be used for a few different occasions, too.

Our temps have dropped a few degrees here, but the humidity is still high. Worse than the temps and humidity, though, is the bad air quality because of the fires north of us. Minnesota borders Canada and smoke seems to pouring down from the fires there. Yesterday, as I drove home from volunteering at the thrift store, there was a sign above the highway that warned of poor air quality and asked everyone to limit their vehicle trips because of it.

Last night we had tickets for an outdoor, candlelit Vivaldi concert (string quartet). Because of the air quality, it had to be moved inside. It was still beautiful, but sad that we couldn't sit near the Mississippi River as planned, and listen to the gorgeous music under the stars.

I hope the air quality is much better where you are!

Thanks so much for stopping by, and remember to laugh--a little or a lot--every day.

Cheryl

Tuesday, July 27, 2021

Happy, happy Bee-day...


Today is my daughter-in-law's birthday (happy birthday, Jenn!), and this is the waterfall card I made for her. My honeycomb background was created with a stencil and blending brush. I used a fancy square die to add a decorative edge to my waterfall pull tab. I also inked the edges a bit and printed the word "pull." I didn't want there to be any misunderstanding as to what to do with this interactive card!


I just love these little bees with their happy expressions and funny poses. They were colored with alcohol markers and some sparkle was added to their wings with a Wink of Stella brush.


I used a different bee on each square of the waterfall mechanism and found a sentiment among my stamps to go with each one.


The bee in this picture just cracks me up. He looks like he's rolling on the floor with laughter!

I stamped and heat-embossed a sentiment on the pull-out tab that coordinated with my bee theme. I only wish the BE had been spelled BEE.


On the inside of my card, I added a stamped sentiment and another bee.

I already have another card in the making with these cute little insects. They're super easy to color and come with matching dies. And now that I have my honeycomb stencil, I'm in "bee heaven."

If you'd like to try making a waterfall card, you can click here for Lisa Curcio's YouTube video that clearly explains how to do it. I tweaked her design a bit and made my card base 6" long so that I could fit a sentiment at the bottom. I also did not add a ribbon to my pull tab the way she does.

We're in for some more hot weather here over the next few days. Guess I'll just have to stay inside and craft! he he

Thanks so much for stopping by, and remember to laugh--a little or a lot--every day.

Cheryl

Friday, July 23, 2021

A birthday card for my brother...

 I have a hard time coming up with card ideas for my brothers (I have two of them) and my brothers-in-law (I have four of them). Today's card features a couple of Tim Holtz's crazy birds and was made for my brother who is three years older than me.

I started by brayering one side of a 3D embossing folder with purple ink before placing my cardstock panel inside and running it through my Big Shot. It was a complete fail - the ink looked super blotchy on the paper. In order to save my embossed piece, I applied some blue Oxide Ink all over it with a blending brush. If you look closely, you can still see some of the purple ink peeking through, which I actually liked.

I cut my banner and the word "happy" out of silver metallic cardstock and adhered them to my embossed panel. To finish off the ends of my banner, I added some silver metallic dot stickers.

I stamped a couple of the crazy birds, colored them with ProMarkers and then cut them out with the coordinating dies. 

Although you can't see it in the photo, they both have Glossy Accents on their eyes, and they've been popped up on foam squares. I glued their feet to the embossed panel because they were too tiny to put any foam squares behind them.


My computer-generated sentiment on the inside says, "...from one old bird to another." I hope my brother gets a kick out of it. 

Tonight we had some locally grown sweet corn for dinner. It was our first of the season, and it was SO GOOD! When my twins were teens, they worked in a "corn stand" selling fruits and vegetables from a local farm during the summer. We city people flock to those corn stands to get our fresh corn fix.


Thanks so much for stopping by, and remember to laugh--a little or a lot--every day.
Cheryl


Wednesday, July 21, 2021

Twofer challenge #40: Birds...

 I really love the Twofer Challenge Blog because it pushes me to make two cards at once that are for different occasions. Now that I am regularly donating cards to the thrift store (and having a hard time keeping up with demand), I need to make cards at a quicker pace. This challenge helps me do just that.

This month the Twofer theme is "birds," and here is what I created:

I had a NBUS die set that I wanted to use, so this was the perfect impetus to move me in that direction.


My first card is a mini-slimline, 6" X 3.5". I adhered my DSP to the front and then cut an aperture with an oval die.

My sentiment--thanks--was stamped on the inside of my card towards the top of the oval opening.

I used a brown colored pencil to add some feather lines to my bird, and I also inked its edges with distress ink. I tried to give it a reddish abdomen, like a robin. I used some Nuvo Drops for the eye and the flower centers.


Dies for the leafy branch and flowers were included in the set with the bird, so I cut those out of CS and adhered them across the opening.


The weatherperson is once again predicting that our daily high temperatures will be 90+ (32+ C) for the next few days. This heat wave made me think of an old Spanish idiom that originated in Chile and has to do with a certain bird: "Ducks are falling already roasted!" That means its really hot out!!!

I was inspired to make this second card by one I saw on Pinterest. I loved the idea of the woodgrained background, since we always think of birds in trees. 


This time I pulled out some leafy sprig dies and some different tiny flower dies.

The center white circle is popped up on dimensionals, as is the bird and the bird's wing. I used Nuvo Drops for the bird's eye and the flower centers.

While the clear sequins aren't too noticeable, I did add two of them to my white circle and one at the top of my card near the sentiment.


I stamped a sentiment on the inside and added a couple leafy sprigs that I had cut out, but didn't use on the front of the card. 

I hope you'll join in on the fun at the Twofer blog. You could probably use a couple more cards in your stash, couldn't you?

Finally, I thought I'd share one more idiom factoid with you. When we call someone a chicken in this country, we mean they are afraid. The Italians have another take on chicken name-calling. I guess they don't consider chickens to be very bright, because when an Italian says someone "is really a chicken," he means that person is easily fooled.

Thanks so much for stopping by, and remember to laugh--a little or a lot--every day.

Cheryl

Friday, July 16, 2021

Wishing you a bee-utiful birthday...


I have this happy set of bee stamps with matching dies, and I finally decided to use them on a card. I think their poses are so funny--they make me laugh just looking at them. My sentiment was computer-generated and added with some foam tape.

I didn't have a honeycomb stencil (yet) to make a background, so I selected this yellow and white patterned paper by Stampin' Up. Now that I've received my honeycomb stencil, I'll be using that for backgrounds for these little guys.


I cut a stitched hexagon and then used a stitched background die to add some texture to it. I thought the stitched lines looked like the the flight patterns of the bees.

The hexagon was inked around the edges and popped up on dimensionals, as were the bees.


On the inside of my card I added a computer-generated sentiment and another of the bees.

This card sold almost immediately at the thrift store. It's such a happy card, and we all can use a little more happy right now!


As promised, here are a couple of photos from our trip to the Northwest.

We made a side trip to a town called Long Beach on the coast of Washington. It prides itself on having the "world's longest beach." I don't know if that's true, but it went on in both directions further than the eye could see, so maybe...

Those are some of my family members walking toward the beach entrance in the photo. As you can see, it was a cool and cloudy day--very different from the 100+ temperatures they had experienced in the weeks prior to our visit.

This is my lovely granddaughter Hadley running barefooted on the beach. It was a windy day, great for flying kites, and so much fun to visit the coast and listen to the ocean roar.


Each morning my son offered to make me a latte. They were SO delicious! He has a manual Italian espresso machine and even orders Italian coffee beans because he says they make the best coffee. I won't argue with that!

He's also got many flavors to add to your brew if you desire.


I like mine with no flavors, but lots of foam. As you can see in the photo, my lattes were perfect!


That's it for me today. I hope you all have a wonderful weekend. Thanks so much for stopping by, and remember to laugh--a little or a lot--every day.

Cheryl

Tuesday, July 13, 2021

Arrow fun fold cards...


 These arrow fun fold cards really were fun (and quick!) to make, and I love how you can feature both sides of double-sided DSP (I have a LOT of it!).

If you want to see a video tutorial on how to make these, just watch Dawn's (from Dawn's Stamping Thoughts blog) here.

For this card, I used single-sided DSP from an old paper pad (5" X 7", I think). It has some glitter on it, so is really pretty IRL. My die-cut label was stamped and popped up on foam squares. I added a few glittery enamel dots to tie into the glitter in the paper pattern.


After adhering my two triangles of DSP to the inside, I stamped a sentiment there, too.


This card was made with an ivory card base. Instead of die-cutting a label I used a really old, heavy-duty tag shape. It was actually white, but I have a little cube of ivory ink which I swiped over it to achieve the ivory color. Then I stamped my sentiment and added a knotted ribbon and a few pink gems.


In this picture you can better see the thickness of this tag. I won a selection of these tag shapes years ago and still haven't used them all.


For the inside I used the reverse side of my DSP and added a stamped sentiment.

We are back from our trip to the Northwest (Oregon and Washington). Luckily, the weather was very temperate (highs of 70s and 80s) when we were there. I have a couple of pictures to share, but I'll do that in a future post, as I haven't even gotten them off my camera yet!


Thanks so much for stopping by, and remember to laugh--a little or a lot--every day.

Cheryl

Thursday, July 8, 2021

Wishing you a magical day...

 A couple more cards to sell at the thrift store:

I started out by cutting two white panels to fit my pink and blue A2 card bases. Then I grabbed several Distress Inks, my blending brushes and began to add some color to my white panels.

Once they'd been colored, I ran them through my Big Shot with a "starry night" background die, which cut all the little stars out of each panel. 


To get my stars to twinkle, I backed my colored panel with double-sided adhesive and rubbed some clear glitter into the little star apertures. The glitter stuck to the adhesive, and they really do twinkle when light hits them.

After rubbing in the glitter, I removed the backing paper from my adhesive and adhered my panel to a white piece of paper before attaching it to my card base. I wanted to make sure the stars looked white from the front.


I hand-cut a black base/ground for each card and glued it onto the panel. Then I die-cut my fairies and added them.

The sentiments were computer generated, die-cut and popped up on foam tape. I added just a hint of ink that matches the card base around the edges of each rectangle.


Inside each card I stamped "Happy Birthday" and adhered three irridescent stars that I had in my stash.

I love making cards like this, and most little girls love fairies, don't they? I think these will sell quickly, and then I'll need to make some more.

As you read this, we are probably still in the Northwest. I will share a little about our trip as soon as we return.

Thanks so much for stopping by, and remember to laugh--a little or a lot--every day.

Cheryl

Monday, July 5, 2021

Let's Craft and Create Challenge #173: Anything Goes with option Punch It! (use a hand punch and/or die)...


This month, the option for our July challenge at Let's Craft and Create is to use a punch or die on your creation. I have lots of dies and use them often (almost always, if I'm honest), so I decided to challenge myself to use NO dies, only punches, for the special shapes I needed.  Here are the punches I chose:

The first two punches are by EK Success, the leaf punch is from Martha Stewart and the flower punch is by Recollections.

Here's the card I created:

I started by using a 3D embossing folder to create a dimensional background. Then i went digging through my papers and found some old (really old) paint sample cards--those cards you pick up at the paint or hardware store when you're trying to decide what color paint to buy. I had a few pale pink ones and decided to use them.

I punched my flowers from the paint samples and lightly inked their centers. I punched a few leaves from a scrap of pale green cardstock. To give them a little dimenson, I folded them in half and ran them through my crimper. I also inked their edges and ridges a bit with a dauber.

I also pulled out some heavy vellum and punched a few little leafy branches. Can you see them? They're a little more visible IRL.

The sentiment stamp I selected fit perfectly on the largest punched label. I ran the edges of my label across a gold metallic ink pad to define it a bit against the white background. It's been adhered with foam squares.


The tiny holes in the centers of my flowers were filled with gold from a Viva Decor pen. Also, I popped each one up with foam squares.

You can see the vellum "branch" pretty well in this picture. It is extending down from the center flower.


This is the inside of my card. I found a five-petal flower in my stamps. I think it's from a Bo Bunny set, but I'm not sure. It was stamped with Memento ink and colored with alcohol markers. The sentiment was also stamped.

Now it's your turn to give this latest challenge a try. The Design Team has a ton of inspiration for you. Just click here to see what they've created. Remember, you can always choose "Anything Goes" to enter, and you've got the rest of July, so there's plenty of time!

Thanks so much for stopping by, and remember to laugh--a little or a lot--every day.

Cheryl

Thursday, July 1, 2021

Happy birthday to an MVP...

 I have had a file for a card base sitting in my Silhouette file for a long time. I believe it came from here. A few days ago, I decided it was time to use it to make a couple of cards to sell at the thrift store.

The file contains the image of a base card in the shape of a baseball cap. I used the Silhouette software to create separate pieces for the bill of the cap (so that I could easily cut it in a different color) and for the inside panel so I could add a sentiment there.

I cut the card bases out of red, the bills from blue and the inside panels from white with my Silhouette. Then I die-cut the letters MVP. I could have used my Silhouette to cut these, but since I had the right size alphabet dies, I decided to use my Big Shot.

The button at the top of the cap is a large blue dot that came in a package of multi-color dots from Dollar Tree.

The dotted "seam" lines on the cap were added by hand with a red felt tip pen.

On the inside of the card I stamped "Happy Birthday," added a comma with a black pen and then cut the word CHAMP from black cardstock using a tiny alpha die set. When I want to adhere small letters like this, I line them up on my cutting mat grid and lay some washi tape over them to pick them up all at once. Then I turn the washi tape over and add a tiny bit of glue to the backsides of my letters. Finally, I pick up the washi tape (with the letters on it) and place it down on my card where I want the letters to be. After pressing them firmly in place, I can carefully pull off the washi tape, leaving the letters where I've glued them.

This was a quick and fun card to make, and I think it would be a great birthday card for any young boy who is into sports. It could also be made for a girl, using different colors, perhaps. I think a pink cap with a pale blue or purple bill would be really cute.

A few days ago, my niece posted a picture on Facebook of their peach tree--full of ripe peaches (she lives in Georgia). I am SO envious! I just purchased a few peaches at our local grocery store, and they were not good. I was so disappointed. I think we may just have to make a trip to Georgia next year at the end of June or early July to help pick my niece's peaches (wink, wink).

Thanks so much for stopping by, and remember to laugh--a little or a lot--every day.

Cheryl