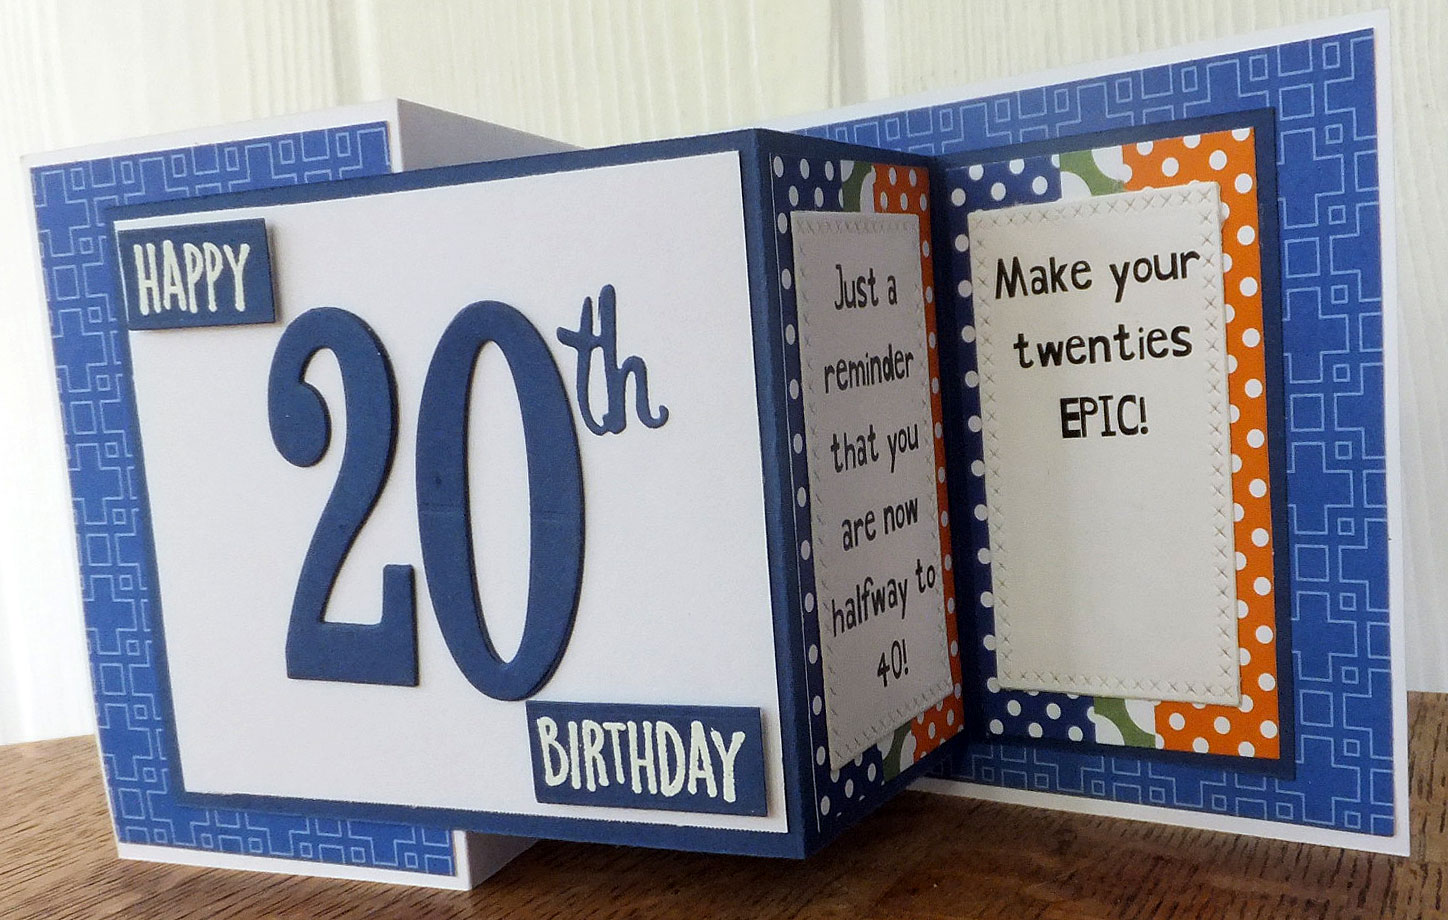
One of my grandsons turned 20 years old this month, and this is the birthday card I made for him.
The "Happy" and "Birthday" were heat embossed and popped up on foam tape. The "20th" was cut out with dies a few times and layered up to give it a bit of dimension.

This is called a double Z-fold card, and you can watch a tutorial on how to make it here. In the picture above, you can see what I added to the inside panels of the card. The sentiments were printed out with my computer.
Here's another view that shows how nicely the card can be displayed.

And finally, a birdseye view that may help you see how it is put together.
This card was fun to make, and I loved adding the little joke about his being "halfway to 40." LOL
Well, my DH's broken elbow saga continues. We were able to get him in to the Orthopedic surgeon yesterday. The doctor doesn't think that surgery is warranted (yay!) and that he can just keep it in a sling, as well as wear a wrist brace to keep him from using the arm muscles too much as it heals. He will have to do physical therapy to get strength and range of motion back in that arm. Hopefully it will heal well and no other problems will develop. That does mean, however, that all the yard work and most of the inside work is up to me for the time being. :(
Oh well, the exercise will do me good. I actually trimmed our hedges a couple of days ago and also mowed the lawn. Now I need to get some watering done and deadhead the flowers. I just hope I still have time to do some crafting!
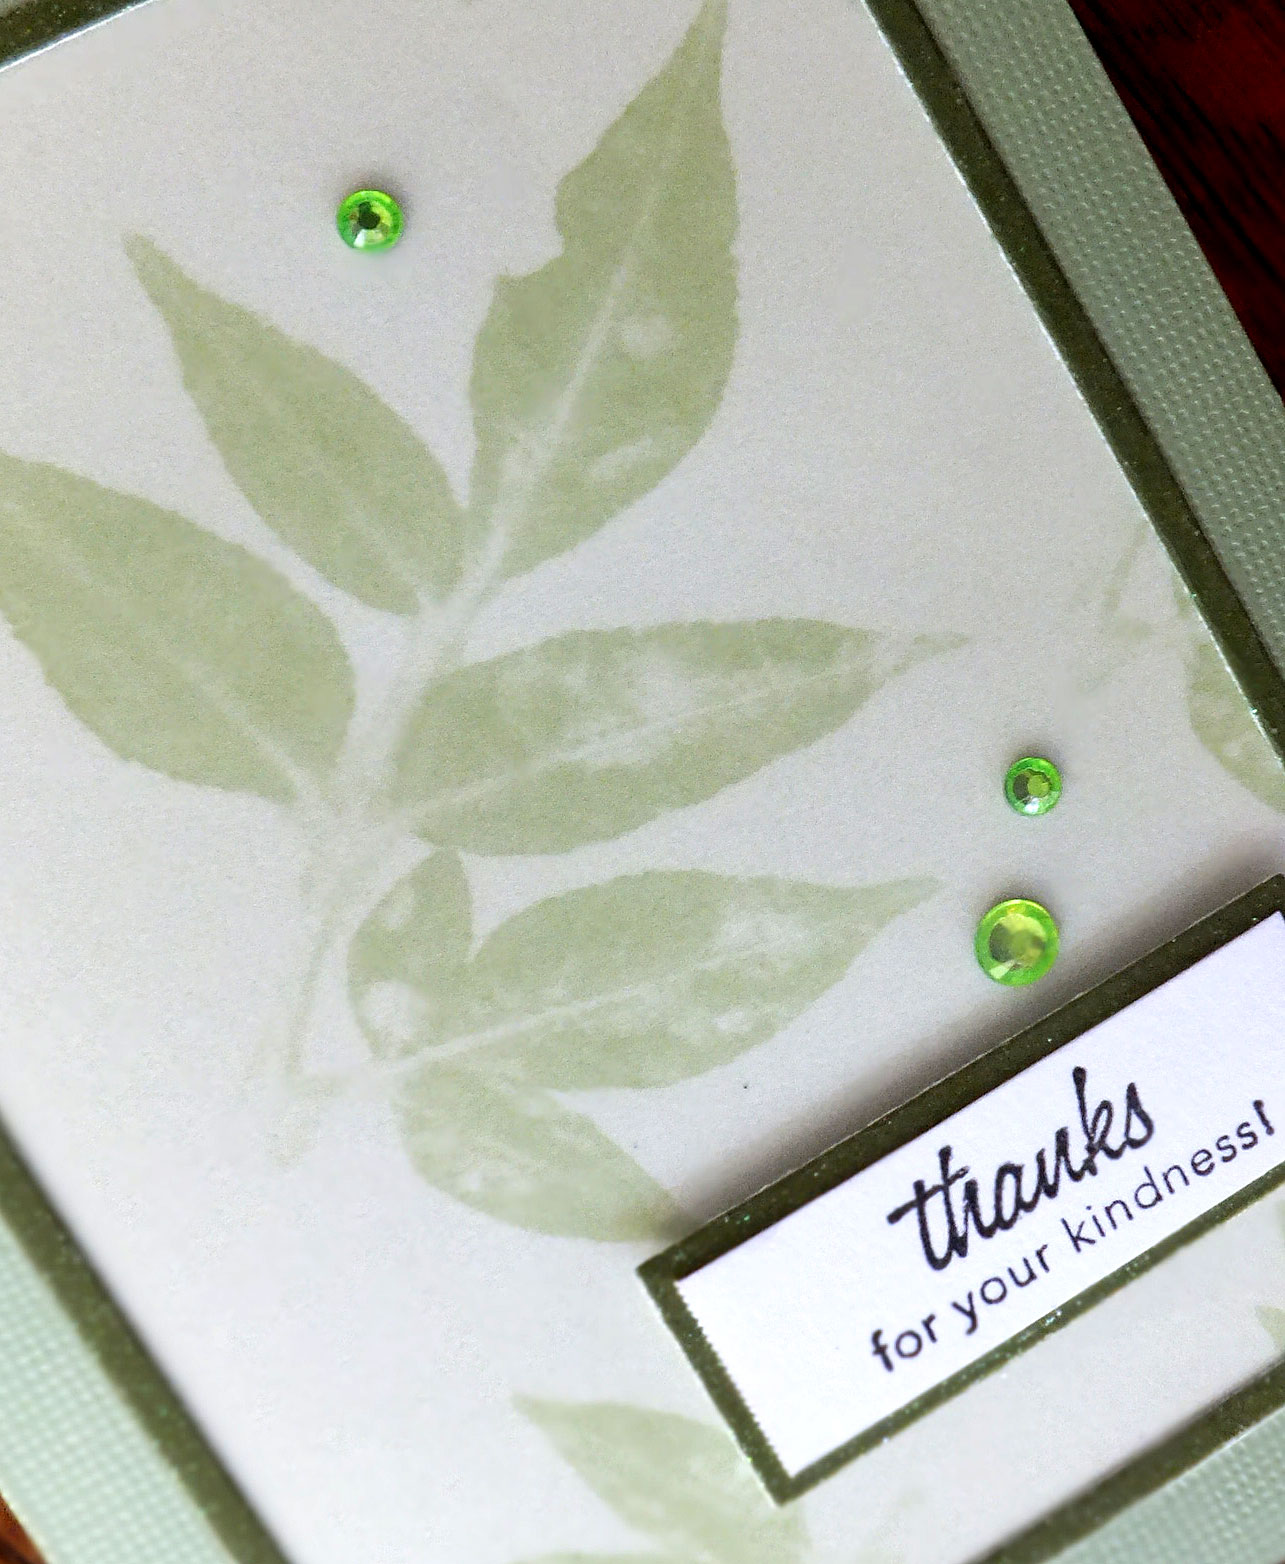
Thanks so much for stopping by and remember to laugh--a little or a lot--every day.
Cheryl