Wish List

Tuesday, September 28, 2021

Happy birthday burger and fries...


I've had a Spellbinders die set that features a burger, fries and a soft drink for a really long time and have never used it--until now. I finally pulled it out to make a couple of cards for the thrift store, and I thought they turned out pretty cute. I'm certain I purchased this set during one of Spellbinder's big sales, thinking it would be great for my own teenaged grandsons, but it will also work well for a tween boy or girl.


After cutting out all the pieces, I used some finger daubers to add a little ink to most of them before assembling. To properly stack all the parts of my hamburger, I added some double-sided tape to a narrow strip of cardstock and then carefully adhered the bun bottom-burger-cheese-tomato-lettuce-bun top onto this strip.


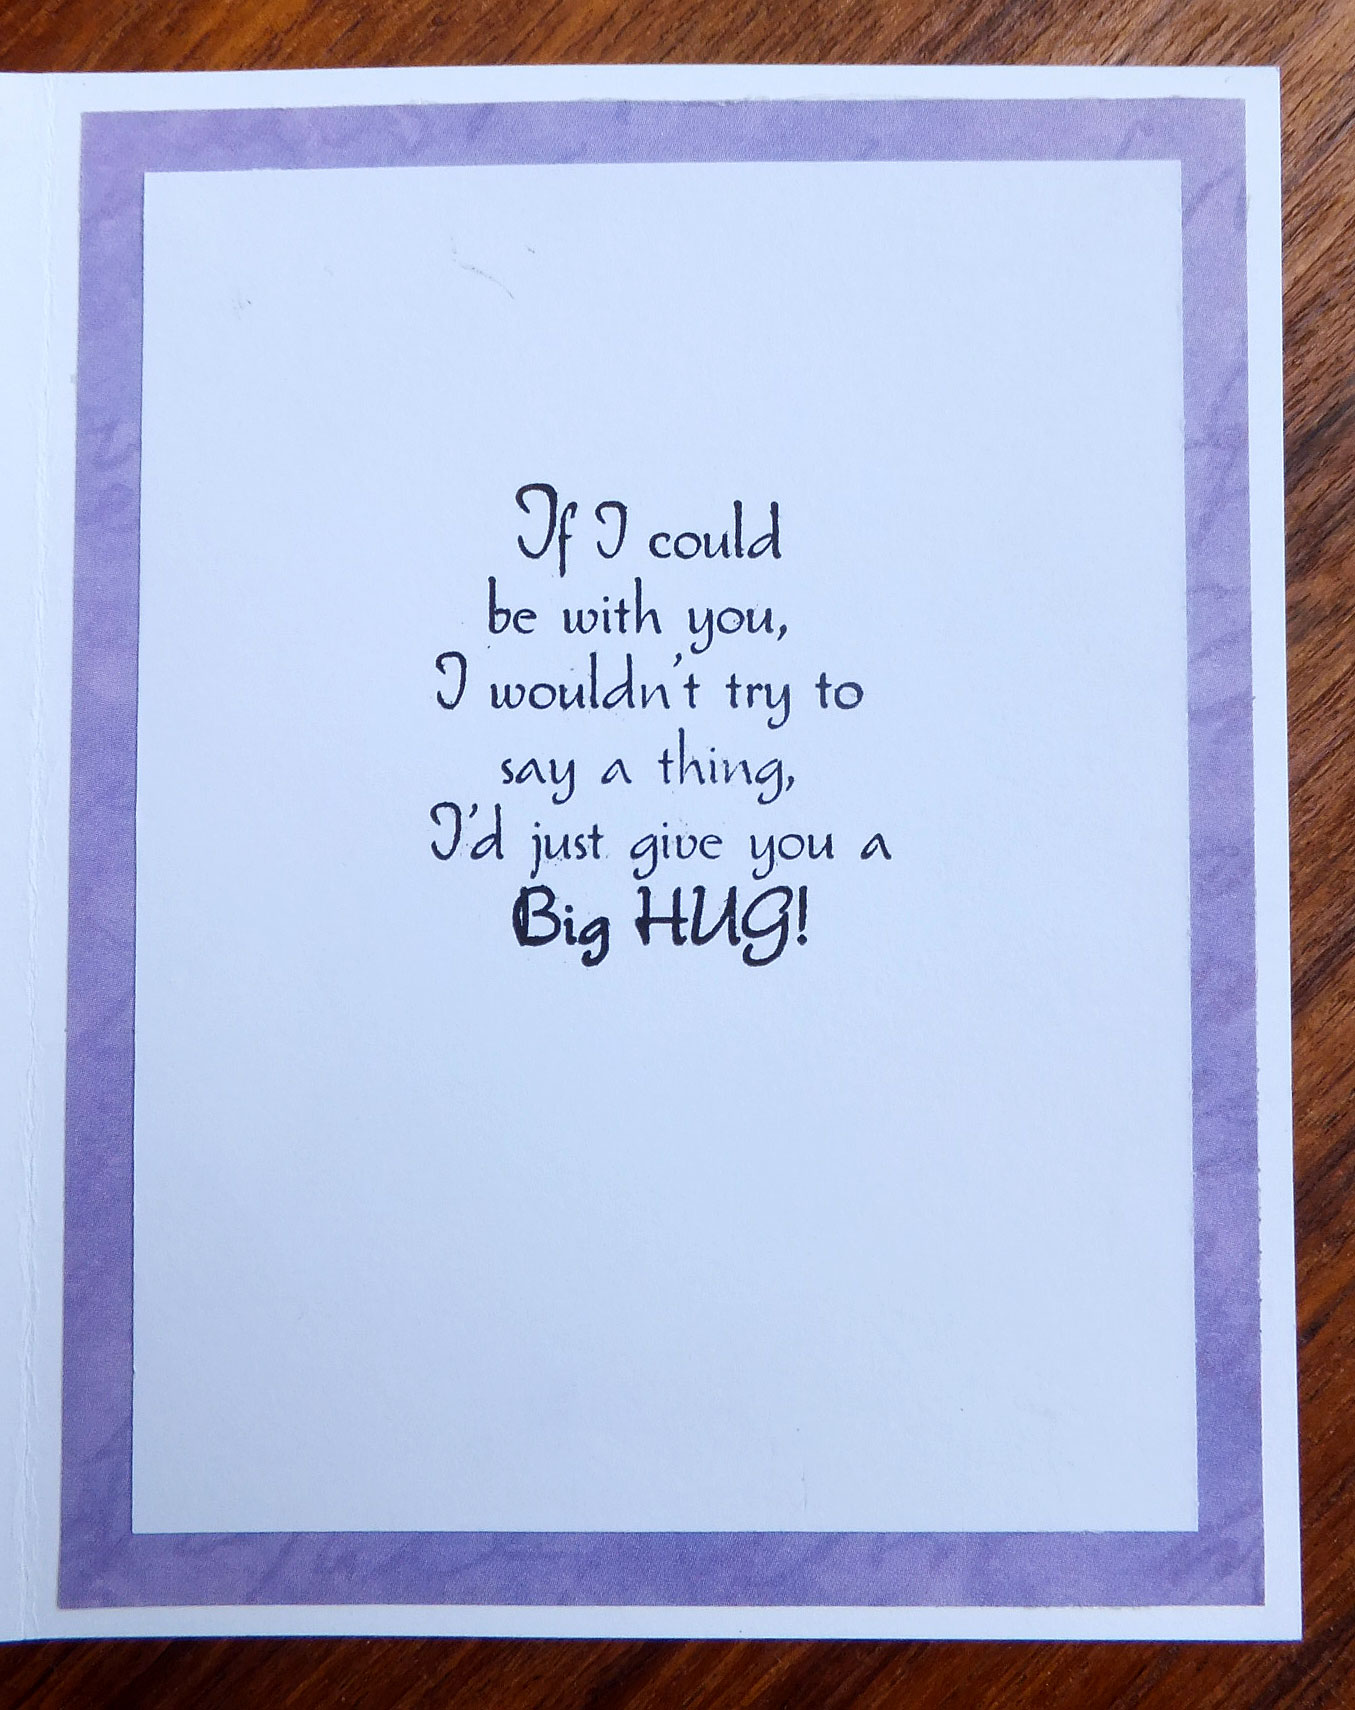
The sentiment on the inside was computer-generated.


For this card, I followed Jennifer McGuire's video directions for making a circle flip card. It was pretty easy and actually turned out well.

This is how the card looks when fully opened. I added two white circles on the inside, making sure the one on the right was placed exactly behind the front circle. I left a little room on the bottom of the right-hand circle for a signature. 

Both the birthday definition on the left and "Happy Birthday!" on the rectangle at right are stamps.

We had a nice weekend. The weather has been absolutely perfect--warm days, cool nights, and soft breezes. In fact, it's been perfect weather for growing grass, too. Ours is getting high and will have to be mowed this week. That will be my job, of course, since my hubs is still recovering from his knee surgery. I'm not complaining, though. I actually don't mind mowing the lawn--it's good exercise!

Thanks so much for stopping by, and remember to laugh--a little or a lot--every day.

Cheryl

Friday, September 24, 2021

Congrats on your new home...


This card was made with another card part--the image--from years ago. I had printed out this image and then colored it with Promarkers. I colored this one shortly after I got my Promarkers (can you tell?) and had no idea how to use them. I'm still not very good at it, but I've learned a few techniques since then. This card has already sold at the thrift store, so I guess someone thought it was ok.

I started this card with a kraft card base. I stamped a woodgrain pattern on the front with navy blue ink.


One of my favorite things to do is to add some clouds in the background with my new cloud stencil. It takes so little effort to get a nice cloudy sky!

I also added some Nuvo Drops to the centers of the flowers.

The word "Congrats" was cut three times and layered for a little dimension. My strip sentiment underneath it was popped up on foam tape.


As you can see in this picture, I just couldn't help adding more clouds to the inside. This time I added them over a circle stencil and put a strip sentiment in the center. I like the way it turned out though, so I think I'll keep this in mind for other cards.

Tonght we are bringing pizza to one of my husband's cousins who is homebound for a while because she had surgery on her foot and is in a cast. She is not allowed to put any weight on her foot or even drive.  We haven't been going anywhere either since my hubby's surgery 2 1/2 weeks ago, so we're looking forward to the outing.

I hope you all have a fabulous weekend with lots of sunshine and balmy weather.

Thanks so much for stopping by, and remember to laugh--a little or a lot--every day.

Cheryl


Tuesday, September 21, 2021

Holding you in my prayers...

 This card is another one that I have donated to the thrift store. It was quick to make, as I already had the grapevine image colored and cut out with an oval die.


I remember when I colored this image. It was a few years ago and it has lain unloved in my card parts box since then. I used Promarkers to color and added a little yellow chalk in the background.

I believe I found the image on the internet. After I printed it out, I fussy-cut portions of the three lower leaves and made sure the oval die I used was underneath those portions so it wouldn't cut them off.  This is an old technique that I used to use fairly often. I don't know what it's called anymore, so I was unable to find a tutorial online that would shadow you exactly what I mean. Maybe I'll have to make a tutorial the next time I do this.

My lacy trim on the left side started out as an ecru lace sticker that had a sort of rubbery dimension to it. I wanted some purple lace, so I thought, why not try coloring it with an alcohol marker. It worked! And the shade was perfect for my card.

My sentiment strip is popped up on foam tape.


I added some Wink of Stella to my grapes. You can actually see it in the photo at left. You can also see that I've popped the oval up on foam squares.
On the inside I used another piece of the purple DSP as a mat and added a stamped sentiment.
Today was a quiet, rainy day. I took my husband to his physical therapy session this morning and then washed clothes and worked on cards. 

I wash clothes every Monday and have to laugh at myself for being so regular at that. When I was a young mother, my grandmother used to remind me often during my weekly visits that I should follow a schedule: Monday-washing, Tuesday-ironing, Wednesday-baking, etc. etc. I can't say I follow any of her admonitions for the other days of the week, but I do wash clothes every Monday.

Thanks so much for stopping by, and remember to laugh--a little or a lot--every day.
Cheryl

Friday, September 17, 2021

Using up those card parts...

 I've been going through my card parts trying to use some of them up. I came across a couple of digital images that I had printed and colored years (yup, years) ago.

This image and the sentiment are from Tiddly Inks. I added the glasses to this sweet girl, because back when I purchased this image,  I was making a card for my granddaughter who wears glasses. I colored two of the same image, and then picked the one that looked the best for her card. The left-over image went into my card parts.  

For this card, I die-cut the image and added the clouds in the background, being careful not to sponge any ink onto my image. 


I really do love this image. I think it's because I use to love to hang like this from any branch, pole or other high rail when I was a girl. 


On the inside of my card I added a few more clouds and a sentiment strip I had on hand (another card part!)


This image is another digital one from Bugaboo Stamps. I have a few of their images. They're fun and quirky. For this card, I cut a bright yellow frame for my image and popped the whole thing up on foam squares.


The "Thinking of You" sentiment strip (yet another card part) is given some dimension with foam tape.

This image and the Tiddly Inks one above were colored with Promarkers.


There is only a simple, stamped message on the inside of this card.

We are slowly getting back to normal here after my hubby's surgery. He's doing really well and doesn't even use his cane inside the house anymore. On Wednesday night, we even took my brother out to dinner to celebrate his birthday. We have a little Cuban restaurant near us that has outdoor seating, and the food is really good! It's called Guavas Cuban Cafe. If you're ever in south Minneapolis, I recommend it!

Thanks so much for stopping by, and remember to laugh--a little or a lot--every day.

Cheryl

Tuesday, September 14, 2021

Happy anniversary flowers on a half-high card front...


I made this anniversary card to donate to the trhift store. It's an odd size--about 6 1/2" X 4 1/4"--but I wanted to use up a piece of  6 1/2" X 8 1/2" black CS that was laying on my desk. I just folded it in half to make my cardbase. 

But then I thought, why not cut off half the front to make a sort of Dutch door?

After cutting off half of my card front, I added some polka-dotted DSP.  I also die-cut some flowers and leaves from scraps of CS and glued them across the top. A small pearl was put in the center of each flower.

I stamped "happy" across the top of my white panel. "Anniversary" was heat embossed and popped up with a foam strip.

The inside sentiment was stamped with an old wood-mounted stamp.

My flowers and leaves peek over the edge of my card front when seen from the inside, but that doesn't bother me. I hope it doesn't bother the person who buys this card either!

My husband continues to recover from his knee-replacement surgery. He is now bored to death, though. I keep offering to bring him card-making supplies so he can work on a few cards, but he declines. Now that he can walk fairly well with a cane, he's starting to pace when he's feeling particularly bored. The slow plodding and thumping of the cane reminds me of a horror movie where the killer is stalking someone who is hiding in a house. We do go for short walks outside each day but that just isn't enough to help him relax. I need to find him a hobby!!

Thanks so much for stopping by, and remember to laugh--a little or a lot--every day.

Cheryl

Friday, September 10, 2021

To ink or not to ink, that is the question...

 I made a couple of sympathy cards recently and used the same Cuttlebug embossing folder on each one. I decided  to use my Ranger ink blending tool (the rectangular one that uses felt pads) to add a hint of blue ink to one of them.

I thought the ink blending tool did a nice job of adding ink to the first card. The tool's rigid, flat surface keeps the ink on the raised design for the most part.


I added a strip of navy blue cardstock with a length of lighter blue ribbon across that. Then, I stamped a sentiment onto a scalloped oval and popped it up with dimensionals on my cardstock strip and ribbon.


As you can see on this card, I only embossed the top 2/3 of my white panel. Since the bottom was smooth, it was the perfect place to stamp my sentiment.

The only embellishment I've added here is a blue ribbon tied in a simple knot.


I stamped the same sentiment with navy blue ink on the inside of each card.

My husband is doing well after his knee-replacement surgery. His surgery began at 7am, and I was driving him home by 10:30am. It's hard to believe they can discharge you so quickly after joint replacement surgery! Luckily, he's had no complications and his pain medication has been keeping him comfortable. He is using crutches for now, but starts his rehab therapy today, so hopefully he'll be able to graduate to a cane soon.

Thank you for the well wishes in your comments on my last post. We appreciate them so much!

And thanks so much for stopping by, and remember to laugh--a little or a lot--every day.

Cheryl


Tuesday, September 7, 2021

Beautiful watercolor images...

 I downloaded a freebie a while back that contained some images of gorgeous watercolored flowers. I used some of the images to make a couple of cards.

It really did feel like I was cheating when I made these cards. I just placed the images onto cardstock the way I wanted them, then printed them and cut them out. I matted each panel with pink cardstock.


My sentiments were die-cut and then adhered to the center of the panel.


I added a floral image to my inside panel, too, and matted it with pink CS. The stamped sentiment is by Fiskars.

This card was sent to my aunt for her birthday.


The only other embellishment I added was a few pink gems for a little glitz. 


I added another stamped sentiment inside my "Thinking of You" card.

This set of floral images came from www.thehungryjpeg.com.  They are free to download, so if you would like to do that, click here.

This post is being created on Monday night and will go live Tuesday morning. I had to get it done ahead of time as my husband is having knee-replacement surgery early Tuesday morning.  He is otherwise healthy, so we hope it all goes well.

Thanks so much for stopping by, and remember to laugh--a little or a lot--every day.

Cheryl

Sunday, September 5, 2021

Let's Craft and Create Challenge #175 with Lots of Layers option...


A new challenge has posted at Let's Craft and Create. While "Anything Goes" is the standing option for projects, you can also choose "Lots of Layers" during the month of September. I hope you'll join in on the fun!

I have one set of layering dies that create a three-dimensional floral pattern in a square.  I chose three different shades of purple and cut out each of the layers.

After layering them together and creating my square design, I decided I didn't want to just adhere the square to my card base and then figure out what to do (if anything) on the resulting blank area. I got brave and cut my layered floral square in half with my guillotine paper cutter. 

I then centered one half at the top of my card base and the other half at the bottom. 


In the center, between my two floral sections, I layered three pieces of white cardstock (so that the depth would be the same as my layered flower. I stamped the top layer and added a couple strips of silver glitter tape to cover where the layered purple cardstock met the layered white cardstock.


On the inside of my card I stamped a sentiment to finish it off.

I liked the way this card turned out, and I plan to make a few more with different colors of cardstock and different stamped sentiments.

I hope this card has inpired you to join in on our latest challenge at Let's Craft and Create. We have so many fantastic entries every month, and I always look forward to seeing them. There's also a prize for the winner!

Thanks so much for stopping by, and remember to laugh--a little or a lot--every day.

Cheryl

Friday, September 3, 2021

Big birthday wishes...

 These days I am loving large sentiments that fill a card front, especially for masculine cards. It's a quick way to make a card and it looks clean and simple--perfect for those men in our lives.

I made these two cards in a very short time, cutting the "Big Birthday Wishes" out of DSP and silver metallic cardstock. I think these sentiment panels were  3 1/2" X 4 3/4".


On this card I matted the panel with black CS, glued the silver letters into the negative spaces of the DSP,  and adhered this to a card base.


This card features just the opposite: silver background and DSP letters, matted with black and adhered to a card base.


I found this fun birthday poem online and used my computer to print out two sentiment panels for the insides of my cards. 


Finally, I thought I'd share a couple photos of the Immersive Van Gogh Exhibition that we attended last weekend. We were told we could take all the photos we wished, as long as we didn't use a flash. 

The exhibition consisted of images painted by Van Gogh projected onto all the walls of a couple of very large rooms. As you stood or sat in the room you were surrounded by very large depictions of Van Gogh's art. The images had motion and each one dissolved before you and re-formed into another. It was all accompanied by soaring music. I really enjoyed it. The only thing I wish they would add is more information about Van Gogh's life. 


When this self-portrait of Van Gogh appeared on the wall, the candlight was flickering. You could watch the candles slowly go out and the resulting smoke rise from the wicks.


This painting began as a root system underground. You could watch as the roots grew to the surface, sprouted leaves and then blossomed into the flowers you see here.

We actually sat and watched the entire production three times, each time finding some new detail that we hadn't noticed before.

Thanks so much for stopping by, and remember to laugh--a little or a lot--every day.

Cheryl