Wish List

Tuesday, May 31, 2022

Cards that are for the birds...


I've been consciously trying to use up the card parts I have accumulated over time. For this card, the lacy die-cut and the label for my sentiment were both in my card parts pile. The bird was a sticker from a sheet of birds with different colored wings that I've been trying to use up.

It felt good to use all three of these items on a single card.


The bird stickers were a really good buy, and I've used them on numerous cards. But it was time to use them up!

I stamped the sentiment onto my label and popped it up on foam tape before adding my bird, which was also popped up on a dimensional.


The inside featured a stamped sentiment, and that finished my card!


I had just two bird stickers left, so I decided to make a couple more cards. This one features the bookbinding fold. The black with polka dots is actually the reverse side of the aqua blue floral pattern. The sentiment was a die-cut--one of my favorites. I liked this card so much, that I decided to make another one.

This card was made exactly the same way; I just put the bird on the other side of the sentiment. I also changed where I put the little heart in the sentiment.


I have looked for more of these bird stickers at the Dollar Tree, but haven't found any. I thought they were so cute and the perfect embellishment for cards like this. There were 9 or 12 on a sheet and the wings were made from aqua, pink and yellow glitter CS.


The inside of each of these cards had a stamped sentiment which made them both get well cards.

We have had thunderstorms off and on during the Memorial Day weekend, so we have not spent a lot of time outside. The rain was welcome, though, for all our newly planted flowers and vegetables. Now we just need a little sunshine to help them grow!

Thanks so much for stopping by, and remember to laugh--a little or a lot--every day.

Cheryl

Friday, May 27, 2022

Those Dollar Tree stickers are coming in handy...

 A couple of months ago I purchased some metallic gold stickers at Dollar Tree. I thought they would be useful in making quick cards for the thrift store. They turned out even better than I expected!

This is a mini-slimline card with three apertures in the top layer. I simply added a sentiment and some of those gold stickers to the apertures. 

Although you can't see them unless you enlarge the photo, there are gold specks in the DSP of the top layer, so the gold stickers coordinate well.


The stickers are very dimensional and add some additional metallic shine to the card.


On the inside, I stamped one of my favorite birthday sentiments.


I also made a couple of Mother's Day cards with these stickers:

The sentiment on these two card fronts was heat embossed with gold embossing powder. The top layer on all three of these cards was popped up on foam tape, which added some nice dimension.


In this photo, you can definitely see how that top layer is popped up.


I stamped a simple sentiment on the inside.

I was pleased that all of these cards sold quickly at the thrift store. Even though they were super simple to make and used some inexpensive stickers, I thought they turned out nicely.


I am looking forward to the weekend. The weatherman has said we can expect some spectacular weather. That means I may not get much crafting done. I still have a couple of outside projects to complete, so, hopefully I'll get them done.

If you live in the U.S., I hope you are able to enjoy this long Memorial weekend. I also hope the weather is spectacular where you live!

Thanks so much for stopping by, and remember to laugh--a little or a lot--every day.
Cheryl


Tuesday, May 24, 2022

Some Father's Day cards...

My dad passed away in 2000 and I still miss him, but I continue to make Father's Day cards to donate. I always think of Dad while I'm crafting away. When I was a little girl, he would play his guitar and ask me to come and sing with him. He played country western songs, so I learned the words to many of them. I surprise myself by still remembering them when I hear them nowadays.

One of Dad's favorite stories about me was when I was a little girl--only 2-3 years old--I was in the narthex of the church with my siblings, waiting for church to be out when I saw my dad up on the altar singing with the choir. I thought it must be time to sing with dad, so I began walking down the aisle towards Dad singing "Don't Let the Stars Get in Your Eyes, Don't Let the Moon Break Your Heart," as loudly as I could. And I had little bells on the laces of my shoes for my accompaniment! My Dad always said he was very embarrassed, but I bet he thought it was kind of cute, too.

 Here are a few of the Father's Day cards I have made:

This was one of those easy-peasy cards where I used my Silhouette to trace a clipart golf card and cut it out. I simply added some rolling hills from my scraps, a few clouds with a stencil and a stamped sentiment. Oh, yes, and an enamel dot in the center of each wheel.


I created a computer-generated sentiment for the inside.


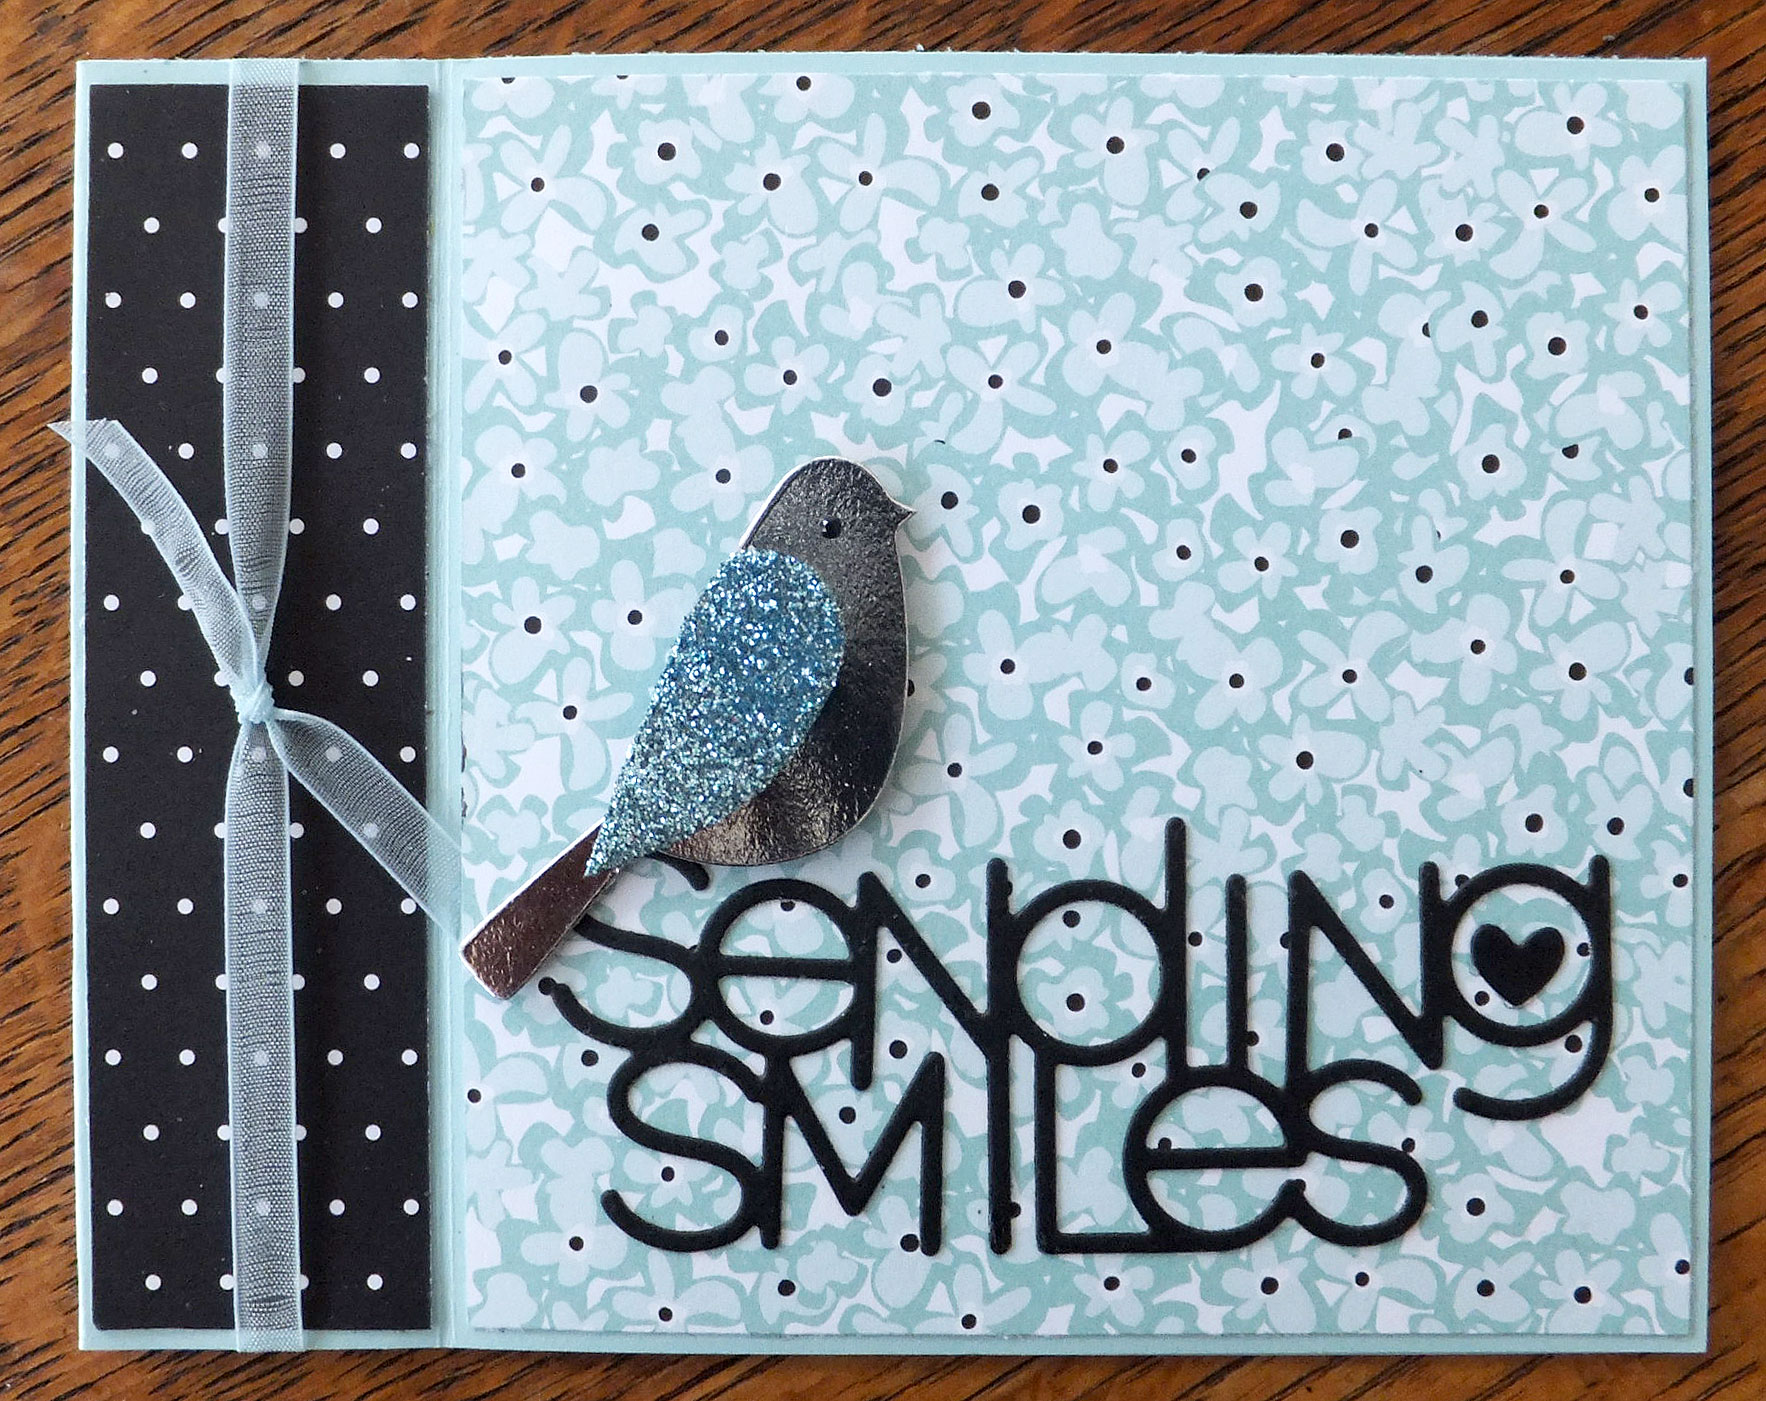
The thrift store had given me some partially used shell stickers and some 3-circle-aperture card bases, which were white. I started this card by covering the front of the card with a brown plaid paper.  I added one of the shell stickers and my sentiment which was printed and then popped up on foam tape.

I added some brown glitter alpha stickers from my stash to spell DAD in the apertures, after putting some DSP on the inside of the card.


Here's what the card looks like on the inside, with its printed sentiment. 


You may remember the counterpart to this card that I made for Mother's Day and shared in this post.  It sold immediately in the thrift store, so I decided to make a similar one for Father's Day since I already had the die set. 

I started by using a scrap of DSP that resembled a water-colored background in shades of yellow. I dry-embossed it and then added my die-cut letters for DAD, my hero figure and a few holographic stars. The hero figure was cut from white cardstock and colored with alcohol markers before assembling. It's a little fiddly, but really fun to see him come together.


The sentiment on the inside of the card was printed with my computer.


My DH and I worked out in our yard all afternoon yesterday. We were exhausted by dinner time! We did get a lot of planting done, though, including some peony bushes. I absolutely love peonies, so I'm excited for the new ones to blossom. They may not produce flowers this year, as it's a little late to be planting them, but I'm just happy they're in the ground. I also planted a lot of annuals and mowed the grass for the first time. Hubby can't do it yet, because he is still recovering from his knee surgery, and I don't want him to have any setbacks. It feels wonderful to have the outside work under control.

Thanks so much for stopping by, and remember to laugh--a little or a lot--every day.

Cheryl

Friday, May 20, 2022

Butterfly cards...

 I saw the idea for this card somewhere on Pinterest and I loved the simplicity of it. I stamped, colored and die-cut my butterfly, used a stencil to add some clouds, stamped a sentiment and added a few gems. Easy peasy!


I cut off the original body and antennae of the butterfly and added a die-cut body between the wings. I thought it looked so much better than the stamped one.

I also popped the wings up with small foam squares.


On the inside, I added a computer-generated sentiment.


As I was figuring out what to do with my stamped butterflies, I saw this flower laying on my desk, leftover from a previous project. After adding some polka-dot paper to the front of my cardbase, I adhered my flower stem and popped up the blossom with foam squares. A matted strip sentiment was all that was needed to finish my card front.


The butterfly on this card was colored slightly differently than the one on the first card but was adhered to the card in the very same way.


For this card, I added some yellow CS to the inside and stamped a simple "thank you." I really like adding a coordinating cardstock to the inside whenever I can.

I am mourning the loss of my Kindle. I've had it for quite a few years and have appreciated being able to check out e-books from the library or buy them online. I tried to use it today and it simply wouldn't turn on, even though it was fully charged. The "on" light kept going on and off. According to an online source, that probably means the battery is bad. Luckily, my DH has a Kindle Fire that he never uses, so I am going to reset it to factory defaults and then re-register it in my name. Wish me luck in getting that done on the first try!

Thanks so much for stopping by, and remember to laugh--a little or a lot--every day.

Cheryl

Tuesday, May 17, 2022

Thank you so very much...

 I had some packages of stickers (given to me at the thrift store) that I wanted to use on some cards, so here's what I made:

These two cards feature the bookbinding fold. I'm not sure why I'm so drawn to this fold, but I just love it. My card bases started with a piece of cardstock cut to 4 1/4" X 11", scored at 4 1/4" and 5 1/2".  This creates a 1 1/4" X 4 1/4" portion that becomes the "bound" part of the card.

After folding and burnishing my score lines, I adhered the front left side between the score lines to the back of the card and decorated both sections of the front with DSP, as shown. 


This card featured three sweet little cupcake stickers and a die-cut sentiment.


I decorated this card with three strawberry stickers. Aren't they cute? Often, the adhesive on the stickers I get at the thrift store has dried out and no longer sticks. I'm sure someone had them in their stash a long time before donating them! I can always add a little liquid glue to adhere them, however, and they work just fine.


Here's the stamped sentiment I used on the inside of each card.

These cards have a unique look to them and sell in no time at the thrift store. They are also simple enough to make quickly, especially when there are cute stickers to add to the "bound" part of each card.

We attended granddaughter Polly's final synchronized swimming performance of the year tonight. The team put on a real show with special, sparkly suits, head pieces, decorations and music, all with a disco theme. It was so much fun to watch, and, according to Polly, even more fun to perform.


Thanks so much for stopping by, and remember to laugh--a little or a lot--every day.

Cheryl

Friday, May 13, 2022

Graduations are happening...

 ...so I have made a few graduation cards.

I made a few of these cards--one for me to send to my nephew's daughter and a few for the thrift store.

I started with a white cardbase and pale blue panel for the front. I used a blending brush to add some darker blue around the top and sides. Then I created a starry sky by using a background die that cuts all the tiny apertures.

Once that was done I applied a sheet of double-sided adhesive to the back of my starry sky and rubbed some glitter into all the little star openings on the front. I wish you could see the sparkle!

Finally, I die-cut the line of celebrating graduates and glued them to the front. 

The sentiment was stamped with an old wood-mounted stamp and popped up with foam tape. A tiny holographic star was glued to each side of it.

These cards were made by first dry-embossing a white panel for each card. Then I cut some big numbers out of red and blue cardstock to match the card bases. I cut the numbers a couple of times and stacked them for a little more dimension. 

Finally, I die-cut a mortarboard for each card and adhered it to the first "2" in 2022.

This was such an easy card to make, and it is no problem to coordinate its colors with those of the graduate's school.

I will probably make a few more of these for the thrift store.


This is the sentiment that I stamped on the inside of each card. It was put together from a couple of different stamp sets. Love when I can do that!

I had a very busy card-making week. I managed to make 25 cards this week, 23 of which were donated. It does my heart good when I can take a big pile of cards to the thrift store. They sell so quickly there--especially those for occasions like graduation. People still send "real" cards to graduates because they generally include a monetary gift.

Our temps have soared into the 80s and 90s. That means that our grass is growing like mad. It's a good thing our mower has been tuned up and is ready to go. I'm certain I'll be mowing soon!

Thanks so much for stopping by, and remember to laugh--a little or a lot--every day
Cheryl

Tuesday, May 10, 2022

Pink and gold birthday card...


The pink and white cardstock with gold embossing sat in my stash for a very long time. I just wasn't sure what kind of card I could make with it. I finally decided to make a feminine birthday card, so I dug out my favorite flower and butterfly dies and went to work.

I started by making a pale pink card base and added my DSP panel to it. Then I cut three flower layers, gave them a tiny bit of pink inking in the centers and layered them up. I added tiny foam squares under the petal layers to give the flower more dimension. A gold half pearl was added to the center. To finish, I cut some foliage from gold glitter CS and glued it down on either side of my flower.


I cut the stitched butterfly from a scrap of metallic gold cardstock and added some gold Viva Decor drops for the body.

I also cut my sentiment from the metallic cardstock and from white cardstock and layered them up for more dimension.


On the inside of my card, I stamped a sentiment with Versamark and heat-embossed it with gold embossing powder. I also stamped a pink flower with gold leaves as an added embellishment.

I have been working hard to make an assortment of cards for the thrift store this week. I have made 13 so far and will try to get 8-10 more done before Thursday when I volunteer. I plan to put my Silhouette Cameo to work today. I have some graduation card designs that I want to cut out and assemble to add to my card selection for the store. 

Thanks so much for stopping by, and remember to laugh--a little or a lot--every day.

Cheryl

Saturday, May 7, 2022

Smooshed backgrounds...

 I'm not usually one who creates free-form backgrounds for my cards, but I thought I should stretch myself a bit and give the "smooshing" technique a try.

I laser-printed two big sentiments in a dark reddish color onto two cardstock panels. Then I added three colors of distress ink directly to my craft mat before spraying it with a little water to help the colors move.


The three ink colors that I used were Mustard Seed, Worn Lipstick and Bundled Sage. After adding the water, I laid my sentiment panels face down into the inks and smooshed them around a little bit to make sure the inks touched all parts of my panels. When that was done, I turned them face up and laid them aside to dry.

I didn't use particularly heavy cardstock--I think it was 110 lb. weight--so it curled and warped as it dried. The panels were easily flattened, though, by running them through my laminator a couple of times.

To finish my card fronts I added a couple of balloons, punched from glitter cardstock and popped up on foam squares. I used some actual thread for the strings. I held the strings in place with a couple of tiny dots of glue.


On the inside I added a sentiment, again printed with my computer. Sorry for the partially blurred photo.

These backgrounds were fun to make, and I think I'll be trying this again with other colors. I see so many pretty color combinations online.

Yesterday was a spectacular day--weatherwise--in the Twin Cities. I washed my car and today I'm going to clean and set out all of the patio furniture--finally! My rhubarb is popping out of the ground, having made its way through the extra soil that was piled on top of it when they installed our new fence last fall. The tulips are beginning to bloom, as well, and I'm looking forward to bringing a few bouquets into the house.

Thanks so much for stopping by, and remember to laugh--a little or a lot--every day.
Cheryl


Thursday, May 5, 2022

Let's Craft and Create Challenge #183: Anything Goes or Tag! You're It - (Use a tag on your project)...

I don't often use tags on my projects...or AS my projects...so I was glad to see this month's challenge at Let's Craft and Create. It definitely made me think about how I might use a tag on a card, especially since I have lots of tag dies that don't get nearly enough use.

I hope you'll join in the fun and use a tag in--or as--your project, too. Last month's entries into our butterfly challenge were particularly beautiful, and I am looking forward to seeing more of the same this month. Keep in mind that you can always choose the "Anything Goes" option if tags aren't your thing.

Here is what I came up with:

I actually made two mini-slimline cards, using two tags on each. 


This card has pink in its color scheme and a little cupcake that I fussy-cut from a piece of DSP. It would probably work best for a female. The background was a panel cut from some DSP that looks like it was created by randomly inking a sheet of cardstock. I thought the right side needed just a little something, so I added a narrow strip of yellow glitter cardstock.


The little cupcake had some Nuvo Drops added to the flower center and the bow. It was also popped up on foam pads.


The inside featured a stamped sentiment and another fussy-cut cupcake.

My second card has a more masculine vibe. I used a couple of stickers that say "relax" and "chill" that I happened to have in my stash. I connected the two stickers together with a die-cut ampersand. This time, I added a geometric strip on the right side that was created with a Fiskar's border punch.


Here's a closer look at those stickers.


This card was made for someone who enjoys a cocktail now and then, so I used a humorous stamp on the inside:

The wine glass was another sticker that I had in my stash. It was a nice embellishment for this silly sentiment!

Now I hope you'll check out what the Design Team has posted at Let's Craft and Create and join in on our May challenge. You'll find lots of inspiration here.

Thanks so much for stopping by, and remember to laugh--a little or a lot--every day.

Cheryl


Tuesday, May 3, 2022

Well done, Mom...

 I've made scads of Mother's Day cards to sell at the thrift store. Here are a few of them:

For this card, I printed the panels with the "Well done, Mom..." sentiment and then used a stencil to add the background images, avoiding the area where the sentiment was printed. This was a single stencil, so I used some Post-It notes to mask off images that would be done with a different color of ink. Because this is a pretty basic design, it was quick and easy to do. After I was done stenciling, I matted my front panel with pink cardstock and glued that to an aqua cardbase.


To finish the front, I added a strip of pink cardstock and a die-cut dimensional bow to the bottom portion of each card (I made a couple of these).


I had printed out a panel for the inside at the same time that I printed the front sentiment panel. To add a little pizzaz to the inside, I used my stencil to create a little bunch of flowers in the lower right corner.


This card, also made for the thrift store, featured a hero character Mom. I love this gal. She may look soft, but she's tough as nails!

The hero-Mom is a die-set that has quite a few pieces. I cut them all out of white cardstock and then colored them with my alcohol markers before gluing everything together.

My sentiment was stamped on a white die-cut rectangle using a couple different die sets.


I tried to catch some of the shimmer that was added with a Wink of Stella pen, but I'm just not that good of a photographer.

I should have added a bit darker gray to her hair, but I guess someone liked it just the way it was because it sold right away.

The inside was stamped with a simple "Happy Mother's Day."


I recently purchased a layering tulip die set. This time I cut the blossom's pieces out of light pink cardstock and then colored the layers with darker pinks. I used the same idea for the stem and leaves, cutting them out of a medium green and then coloring the layers with a darker green. The stitched butterfly was cut from pink vellum and I adhered it along with a tiny pink gem in the center.

My card base was made with a sheet from a really old 12" X 12" paper stack. It has a glossy finish on it and the butterflies are actually embossed.


Here you can see the shimmer I added to the blossom with a Wink of Stella pen.


The inside sentiment was computer-generated, and I added another little butterfly here as a little embellishment.

They are finally finishing up the stucco on the outside of our house, but soon they will tear the kitchen apart. I think we'll be visiting some of our local restaurants on a regular basis while the kitchen is out of commission. I'm not too excited about trying to figure out meals using only small, electric appliances. If it was up to me, I'd probably exist on cold cereal and microwave meals for the months we'll be without a stove. We'll see if my DH gets grumpy because he doesn't get his usual meals. LOL

Thanks so much for stopping by, and remember to laugh--a little or a lot--every day.

Cheryl