Wish List

Friday, July 28, 2017

Crazy birds birthday card...

I made this card with the idea that I would give it to someone under the age of 13. I thought they might still actually like the "joke" if they were 7, 8, 9, 10, or maybe even 11.

I pulled out my Tim Holtz Crazy Birds stamp and die set and used two of them that were facing opposite directions.

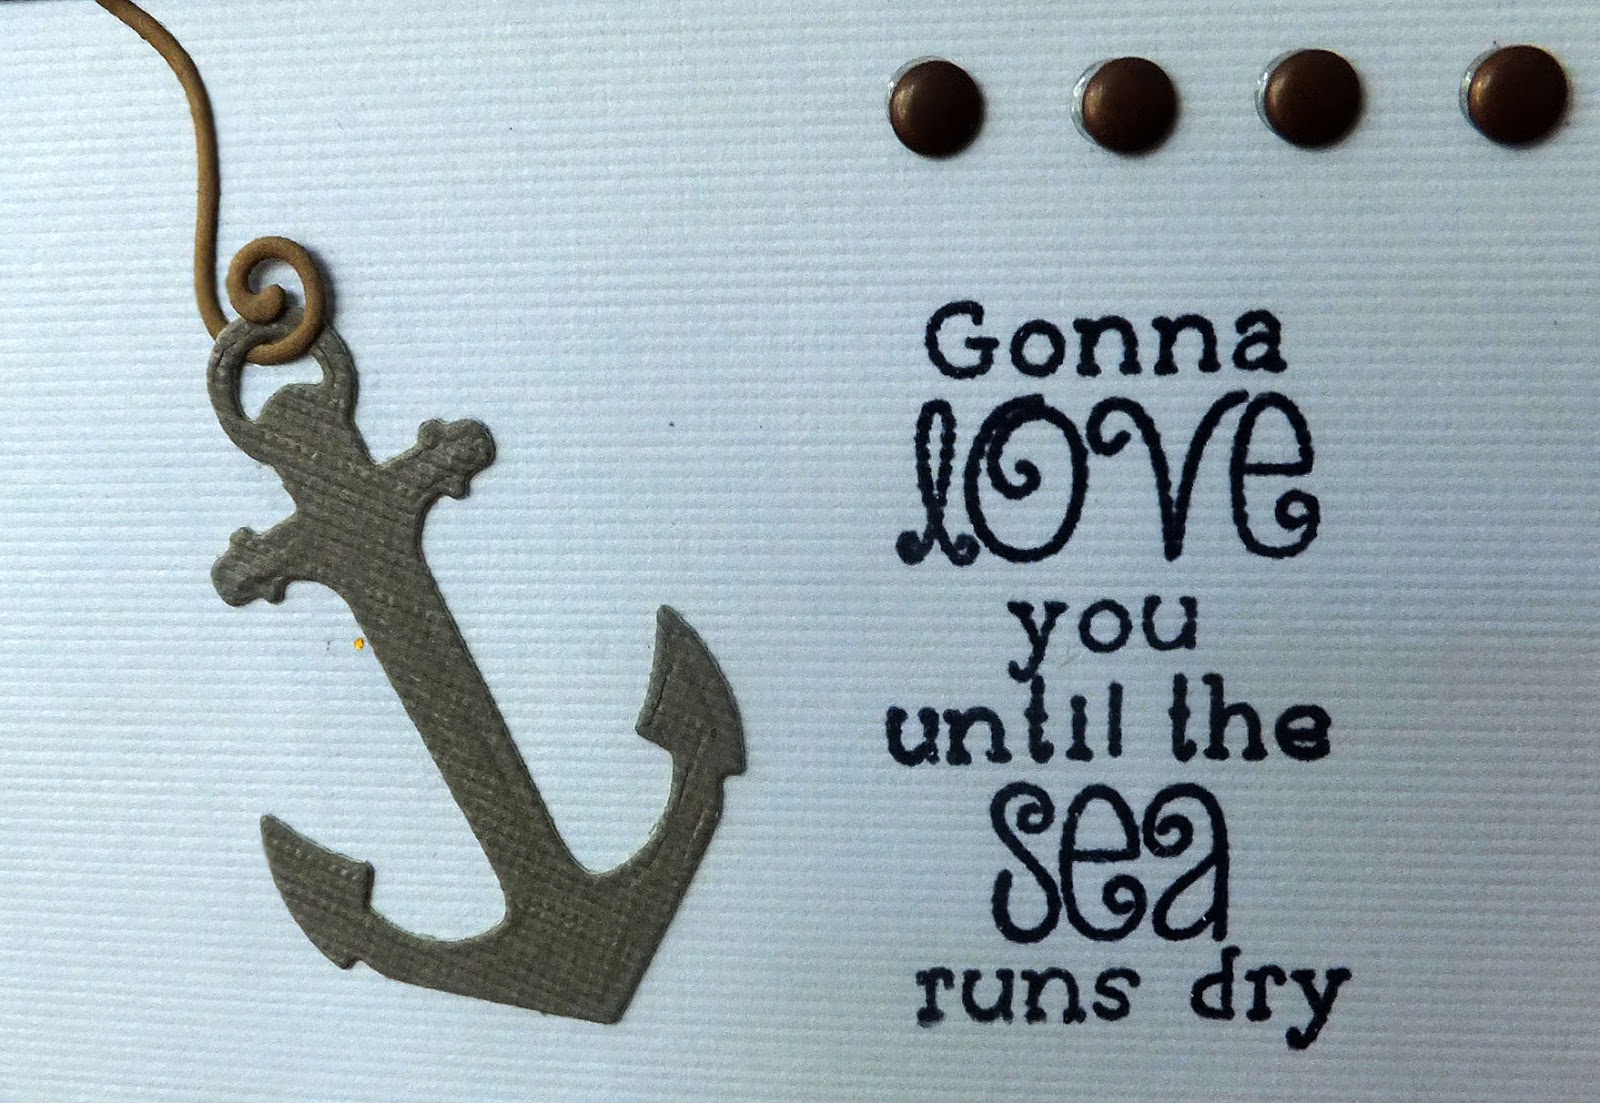
I stamped them with black Versafine ink and then colored them with my colored pencils. I used some mineral spirits and a blending stump to blend my colors together. This was the first time I tried that technique, and I thought it worked out pretty well. I just have some cheapo colored pencils that are older than dirt, so I was surprised that it worked at all!

I used some stitched dies (My Creative Time oval and unbranded rectangle) for my speech bubbles. I was going to use my Cameo to cut out actual speech bubbles with the little pointy thing, but I was in a hurry to finish the card, so I just used these simple dies.

I used my computer to print the punch line on the inside, and I also stamped one of the birds for extra measure.

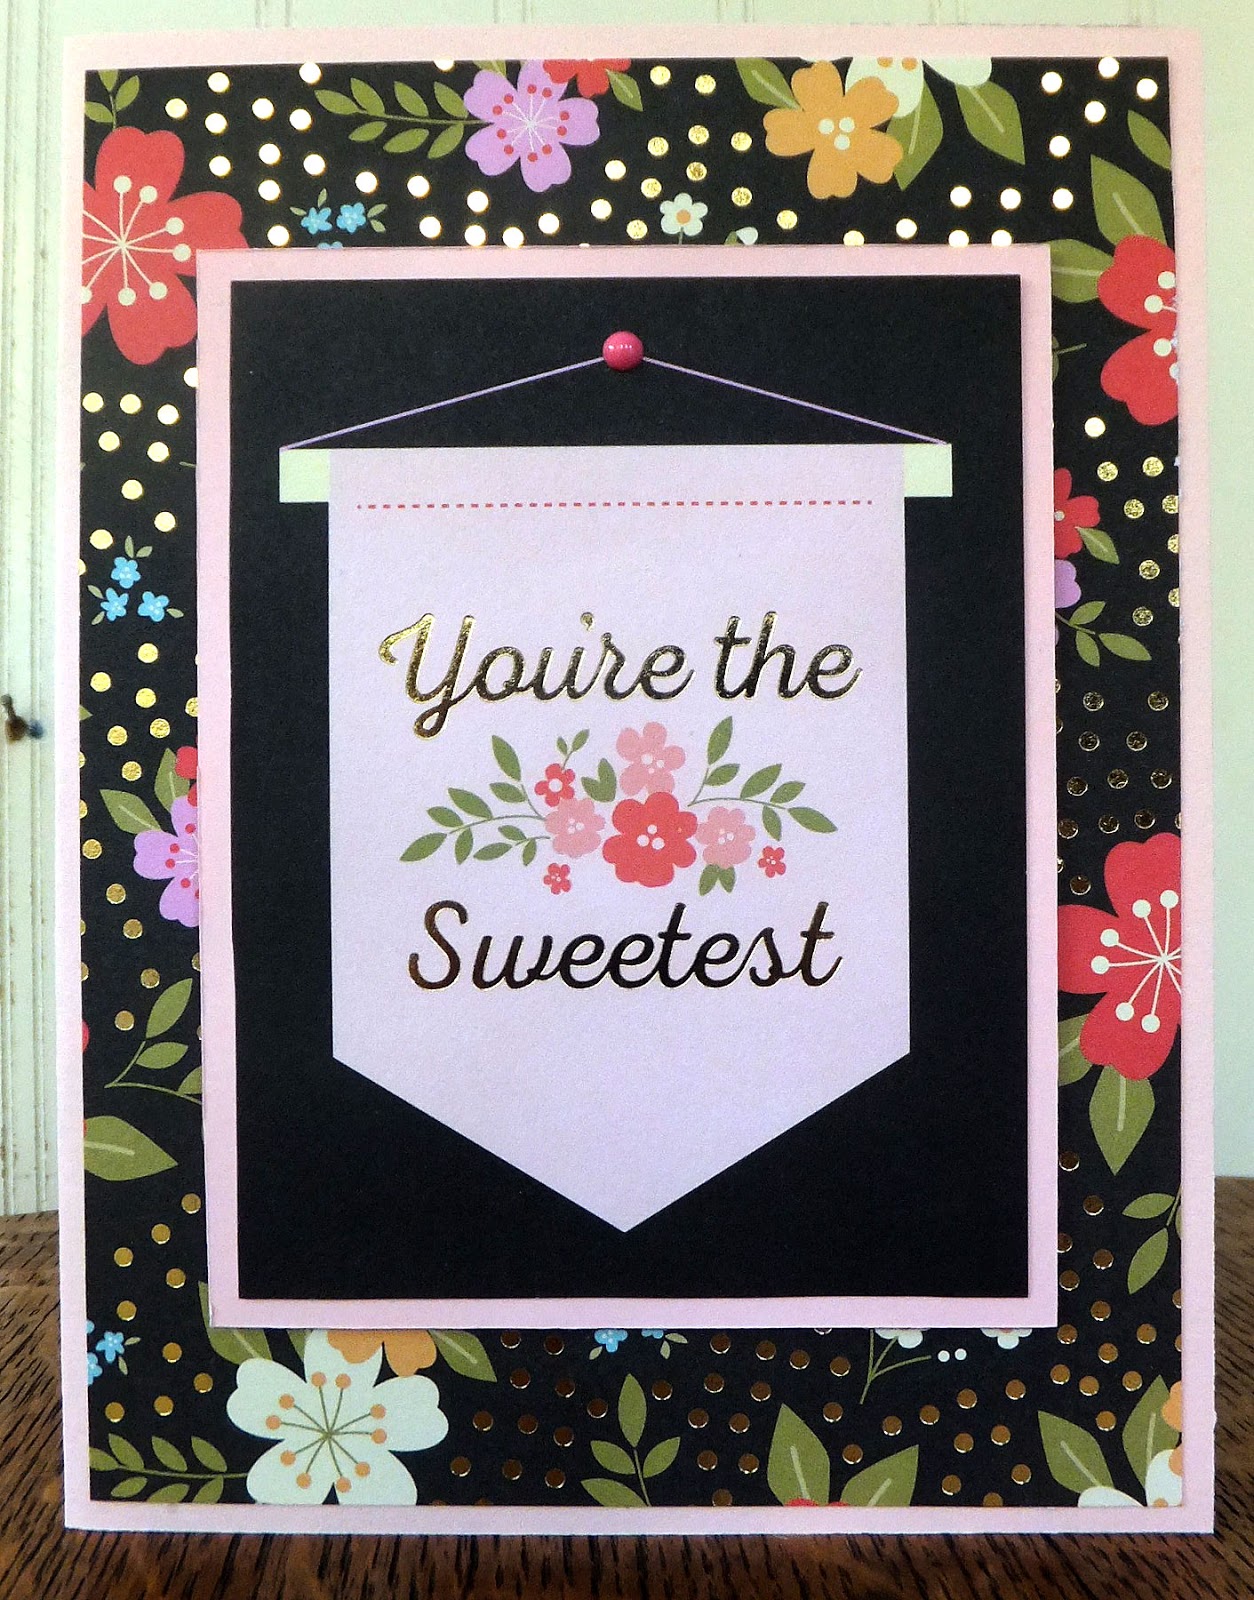
"Why do you have those festive Washi tape borders at the top and bottom of your sentiment panel?" you ask.

"Must you kick me when I'm down?" I query in return. "I cut my panel too short," I admit. "Any other smart-alecky questions?"

Map of Door County, Wisconsin

We are now in Fish Creek, Door County, Wisconsin, finishing out the last few days of our trip. Door County is a narrow peninsula that juts out into Lake Michigan (one of the Great Lakes, for those of you who are unfamiliar with the area).  I drove the last 150 miles to our campsite while my DH snoozed beside me. It is beautiful countryside here--rugged and heavily treed with artsy little towns that dot the shoreline. I was delighted to see a cherry orchard along the way that was advertising "Pick Your Own." I could see that the trees were laden with bright, red cherries. We'll be heading into a few of those artsy towns tomorrow and also picking some cherries to eat. I'd like to take some home with us. I'm not sure, though, if they'll last that long. We're big cherry lovers!!

Thanks so much for stopping by, and remember to laugh--a little or a lot--every day.
Cheryl


Tuesday, July 25, 2017

Leafy layout...

This is another quick card made with unbranded dies - both the card front and the leafy sprig. Super simple, super quick!

Here you can see that I have glued down just the stem of my leafy sprig to give it a little added dimension.

I also added a couple of tiny pearls to dress up my stamped sentiment, which was a freebie from a magazine subscription.

I love when a card comes together this quickly. This one was particularly fast because I have left the inside blank so that I can write a personal note.

We are now in Springfield, Illinois, and enjoying all of the tributes to Abraham Lincoln here. So far we have toured the Lincoln Museum, the Lincoln Library, Union Depot (where he gave a final address before heading to the presidency in Washington, D.C., and where his body was returned after he was assassinated), the current State Capitol building, Lincoln's tomb and the Lincoln Memorial Gardens. Tomorrow we will tour the old State Capitol, Lincoln's home and a couple of other sites.

We are also staying in a wonderful campground that has all the amenities we like to have (like a laundry and clean showers!).

I hope you are having a great week wherever you are. Thanks so much for stopping by, and remember to laugh--a little or a lot--every day.
Cheryl

Friday, July 21, 2017

Tea for four...

I made this fun birthday card using a heat-embossed triangular doily stamp from a set that I haven't used in ages. It's a clear set and is one of the first I ever bought for heat-embossing purposes. I'd love to tell you who makes it, but I'm writing this blog post in my RV (so I can't go to my craft room and check), and I can't remember for the life of me! The Happy Birthday stamp is a freebie that came with a magazine.


My teacups were cut using two dies from an unbranded set. I love that there were two teacup dies in the set, each with the handle pointing in the opposite direction so they could be stacked.

I simple selected some scraps of printed papers, cut them out and inked around the edges of each of them.


On the inside of my card, I used an old wood-mounted stamp that I bought at a thrift store. I'm not sure what the brand is, but if I had to guess, I'd say Stampin' Up, since a lot of those stamps seem to get donated to the thrift store.

As I mentioned at the beginning of this post, we're currently camping in our little RV. The air conditioner in the dashboard has stopped working and we'll need to get that fixed. But thank goodness the air conditioner for the main part of the RV is working well. It's been 90+ degrees Fahrenheit here, so it can get toasty in a little tin can RV like ours!

Thanks so much for stopping by, and remember to laugh--a little or a lot--every day.
Cheryl

Tuesday, July 18, 2017

By the numbers...

This card was for my brother whose birthday is July 17. I took some number dies (unbranded) and scattered them on my card front before sending them through my Cuttlebug.


Then I cut out two of them in red CS and popped them back into the openings, also replacing the dark grey center on the "0."

For a final touch to my red numbers (his age), I added a bit of sparkle from my Wink of Stella pen.

My little sentiment flags were also cut with unbranded dies.

If you look closely, you'll see that my 8 is upside down. Do you think my brother will notice? I decided he probably wouldn't, so I didn't remake my card front.


On the inside of my card I used a Fiskars stamped sentiment.

I actually liked how this card turned out (except for the upside down 8), so I made another one for my husband with his age in red numbers.

We are enjoying our time at the Winnebago Grand National Rally. Lots of friends here who also own Rialta RVs, so we have a good time sharing tips and tricks for living comfortably in the confines of such a small space.

Thanks so much for stopping by, and remember to laugh--a little or a lot--every day.
Cheryl

Friday, July 14, 2017

Gate-fold cards...

Every once in a while I get a hankering to make a gate-fold card. Here are a couple quickies I made recently using pre-made card blanks.

For my first card, I used a Woodware stamp for my focal point, adding some cute little butterflies and various layers made with Spellbinders, My Creative Time and unbranded dies. I added a little ribbon tab to my rectangle because I thought it added interest, but I don't think I'd do that again. Not sure I like it.


I put a little pink flat-backed gem on each little butterfly because...well...because I could! 😊

My little butterflies were from an unbranded set of dies. I really like the shape of them.


The inside of my card has a simple stamped sentiment and a colored mat to match my base card.


For my second card, I used the same color of pre-made base card with some different DSP. This time I added a LifeStyle Crafts doily under an unbranded flower die-cut. A glitter covered Card Candi (haven't used those in a long time!) was added to the center of my flower.

Another simple interior with a pink mat and a Woodware stamped sentiment.

We are currently staying in Forest City, Iowa, in our little RV. We are attending the Winnebago Grand National Rally. Usually more than 1,000 Winnebago RVs gather and hold a weeklong celebration here. Our RV - the Rialta - is pretty much the smallest of the bunch. We meet people from all over the U.S. and swap travel stories with them.

Today at noon, a bunch of us went into town on the shuttle service and ate a salad lunch sold by a local Lutheran Church as a fundraiser. It was delicious! It also brought back memories of all those church basement potlucks my family contributed to and attended when I was a kid.

Thanks so much for stopping by, and remember to laugh--a little or a lot--every day.
Cheryl

Tuesday, July 11, 2017

Birthday Times for twins...

Today my twin daughters turn 40! How the heck did THAT happen???? It's this kind of event that makes me want to say I was a child bride (I wasn't) and started having children when I was 12 (I didn't). So I think I'll just ignore the age thing and celebrate the wonderful years still to come for them and me!

For each of my children's 40th birthdays (they're all in that decade now), I've made a "Birthday Times" card with some tongue-in-cheek headlines and ledes. This idea originally came from a wonderful crafter named Helen over on Its All Fiddlefart. Check her out if you want to see some unique creations!


My daughters love to tease me about the crazy hair-dos I gave them. I thought they looked so cute at the time. I also made a lot of their clothes. In fact, I sewed all the clothes in these photos except the little shirt under the pink overalls.


 Heather was the youngest twin by 11 minutes. In fact, they were born on 7-11-77, 11 minutes apart. I have always told them that sevens and elevens are lucky numbers! They both had to learn to answer to "twin." When the neighborhood kids didn't know which one they were talking to, they just called them "twin." In fact, their older brother and sister always called them both "twin," too!


I think you can see in this side shot that I've popped up the word "exclusive" and all the balloons.

The wine glass was actually made with a stamp of a stemmed wine glass. I just cut the stem off to make it one of those stemless wine glasses that are so popular now. Besides, it fit better on my card! It was stamped onto vellum and colored on the backside. I adhered it with a dimensional glue dot.


Here's a peek at the inside of each card (they were both the same).

Having identical twins can be exciting. When my twins were 10, they were asked to audition for a movie! The producers of "The Great Outdoors" with actor John Candy were doing a nationwide search for identical 10-year-old twins. They contacted a "Mothers of Multiples" club where I was a member. The president of the club told them to contact me. It was fun for my twins to audition, even though they had to try to act catatonic, as well as scream and cry. They wouldn't let me be in the room while they auditioned, but they told me what would happen and told me not to worry if I heard them acting terribly upset. They weren't chosen for the movie, but they still had a memorable experience.

Here's one last look at both of the cards for my twins. I really do wish them a

HAPPY 40TH BIRTHDAY!

Thank you so much for stopping by, and remember to laugh--a little or a lot--every day.
Cheryl

Sunday, July 9, 2017

Elegant poppies...


Recently, I pulled out my Spellbinders poppies die for a simple, but elegant, birthday card.  I was actually inspired by the small piece of dsp that looks like it was created using one of those "smooshed" background techniques.  It really is just a piece of dsp, however, that I cut to fit my card base.

A few gold sequins highlighting the gold tones in the dsp and a white sentiment banner completed my card front. Super quick and easy!

I kept the inside of my card clean and simple, too, just using a stamp from Woodware.

Now that I look at the picture, I think I could cut another black poppy and add just one blossom to the inside. What do you think?

We're getting ready for our 2 1/2 week RV trip. We'll be taking off later this week. I'll be taking my computer along, but campgrounds are notorious for weak wifi connections, so I may not be blogging at my usual pace of a couple times a week. I'll try to get a couple of posts scheduled before we go and play it by ear after that. I love our little RV and road adventures, so I'm really looking forward to it. We'll be meeting up with a few friends along the way, too, so that makes our trip even more fun.

Thanks so much for stopping by, and remember to laugh--a little or a lot--every day.
Cheryl

Wednesday, July 5, 2017

Let's Craft and Create challenge #127: Just Beachy or Red White & Blue


Welcome to another fun challenge by Let's Craft and Create. I do hope you'll join in on the fun - and there's always a nice prize for the winner. Be sure to check out the details here.

 For my card, I chose both options--Just Beachy AND Red, White and Blue. I figured, why not? I had just received these little sailboat and anchor dies (unbranded) and wanted to try them out.

My little frame was made with a couple of nesting rectangle dies, and my "water" was cut with a wavy stitched border die.


The sailboat is not a layering die, so I had to cut it a few times to get my layers.

I love the detail on it though. The bottom blue piece was also embossed with the die so that the portholes were more defined.

My clouds are cut with a set of Impression Obsession cloud dies.


This cute little anchor came as a set with the sailboat die.  And, believe it or not, the "rope" on the anchor is a balloon string from another die set. I loved that it had a little curl at the end of it that would curl neatly around the open circle on my anchor.

The stamp is also from an unbranded set. I stamped it in navy blue archiver's ink, and then I heat embossed it with clear embossing powder.

The inside of my card is very plain, but I will be writing a personal note in there to my DH, as this will be his anniversary card from me. Our anniversary isn't until the middle of October, but I don't have to worry about him seeing it early. He doesn't read my blog!

Does your husband read your blog? As I type this, I am wondering how many card crafters out there have husbands or SOs who actually read their blogs on a regular basis.

Well, now it's your turn to pull out those beach-themed supplies, or some red, white and blue papers and create your entry into our latest challenge at Let's Craft and Create. Click on the link to see lots of amazing projects by the Design Team. We all love seeing your creativity each month, too!

Thanks so much for stopping by, and remember to laugh--a little or a lot--every day.
Cheryl


Sunday, July 2, 2017

You're the sweetest...

This post will be super quick. We're still traveling, so my last couple of posts have been scheduled ahead of time.

This beautiful floral-patterned paper came from a Recollections stack, as did the center rectangle with its pretty banner. All I've done is mat the rectangle with the  same light pink cardstock that I used for my card base. Then I added an enamel dot that looks like it's holding the banner string, and popped the whole thing up on foam tape on my card.


I left the inside blank so that I can write a personal note. Easy peasy!

I don't think I've ever made a quicker card. I love when pretty papers do all the work for you. It may not be as creative, but it certainly helps fill out my card box.

We will be home from our travels in just a few days. My daughter and her family have been living at our house, so I hope everything went well for them while we were away.

Thanks so much for stopping by, and remember to laugh--a little or a lot--every day.
Cheryl