I made a couple of cards using an old Sizzix die set that creates this card. It cuts the base and the different layers.

I cut the word "Happy" from a Happy Birthday sentiment die. The "4th" was cut using a number die set that also included the "th."

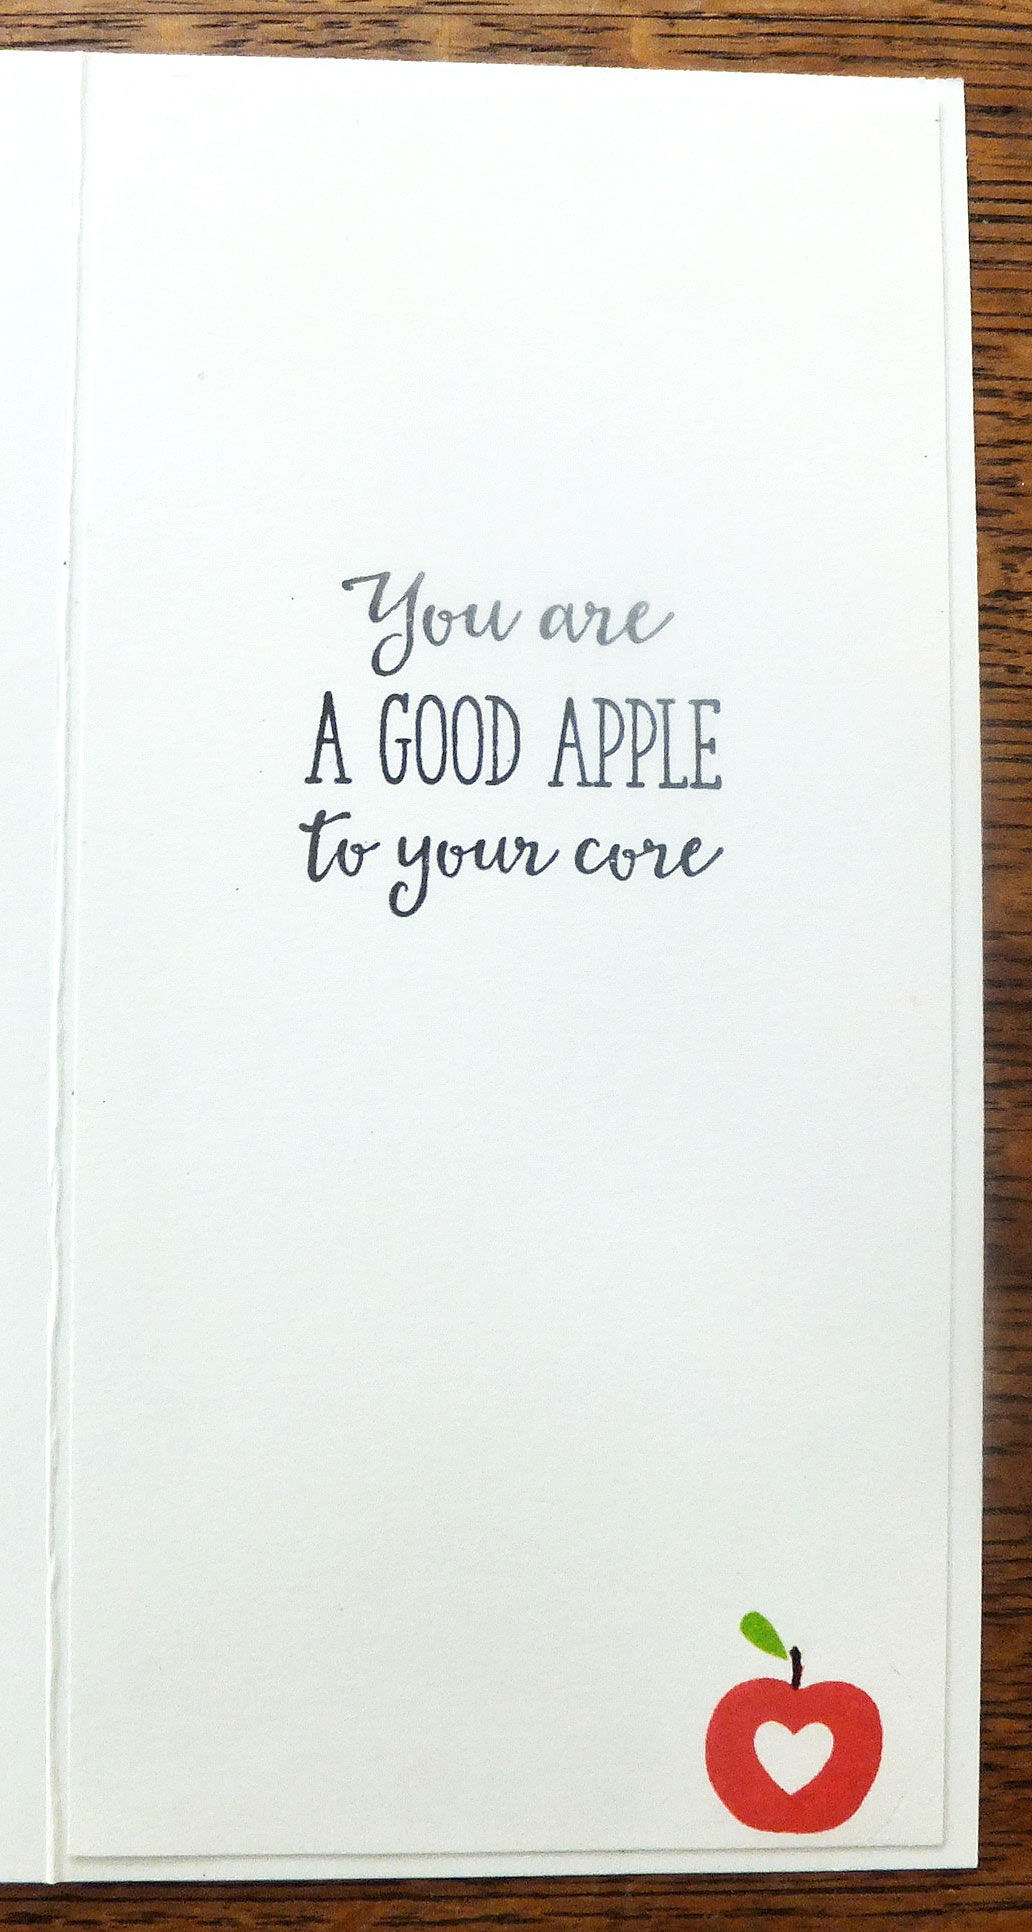
This is how the card looks when it is opened. I left some room on the circle for a signature.

I also made a couple of cards like this one. Again, I used the "Happy" from a Happy Birthday sentiment die. I added thin strips of red glitter cardstock on each side of the white panel.

I did a bit of inking on the die-cut pieces for my ice cream cone. I didn't pop any of it up. I thought with the busy background paper, this card had enough going on.

I had a couple strips of this patriotic design that were about 3 inches wide and 12 inches wide. I cut a few banners from it to decorate some cards. The large "4th" was either a Silhouette or Cricut cut that I had in my stash. I simply glued it to my card and stamped "Happy" at an angle.

This is another card I made with one of the banners I had cut. The word "Celebrate" was stamped and the punched stars were glued randomly.

I had some DSP in my stssh that featured this fireworks design, so I used that for my background layer on this card.
I cut the red and white striped piece from the same paper I had used to die-cut the banners for the previous cards. After adding it on the left, I die-cut a large number four and the "th" and adhered them directly to the card front. The word "happy" was stamped and popped up on a foam strip.

Even though this card front had quite a bit of glitter on it, I added some red gems for even more sparkle.

This is the sentiment I created on my computer and used for all of my Fourth of July card designs except the first one.
I sent out only two of these cards to my two elderly aunts. The rest were all donated to the thrift store.
Thanks so much for stopping by, and remember to laugh--a little or a lot--every day.
Cheryl