Wish List

Wednesday, April 5, 2017

Let's Craft and Create Challenge #124 EASTER/APRIL SHOWERS/SPRING...

I cannot believe it is already April 5! And not only is it the fifth day of April, it is also time for our next challenge over on the Let's Craft and Create challenge blog.

This month we're all about Easter or April Showers or Spring. Take your pick! Some of you may even be able to combine more than one of these ideas into a single project. You can find lots of inspiration here from the talented members of the LCC Design Team.

For my contribution, I've created a card and some cute little Easter tags.

I found a paper packet of tiny floral prints that I thought would be just right for Easter. I also liked that it wasn't the usual "all pastel" print. The darker background gave my card a bit more of a dramatic look.


To showcase my sentiment, I cut a circle and stamped it with an older stamp that I purchased at a thrift shop.

I also punched some sprigs of leaves with a Martha Stewart punch and an EK Success punch. Finally, I cut some small egg shapes with my Cricut.

My fancy edge along the outside of my circle was actually made with a die that cuts a straight piece of paper lace. So how did I get it to curve so nicely around my circle? See the photo below.


The die I used is one of the unbranded dies that can be found on eBay.

You can see in the lacy die-cut where I have snipped (circled) between each section to allow me to bend it as I adhered it onto the back of my circle. It took 2 1/2 die-cuts to fit all the way around. Luckily, these 2 1/2 cuts fit exactly!


I used a stamped sentiment from My Sentiments Exactly for the inside of my card. You can see that I also added two more pieces of my lacy die-cut to add a little decoration and dimension.

My second project was to make some Easter gift tags. I opted to make a "double" tag by combining a classic tag shape along with a small round tag.

The little round tag (Sizzix die) is not adhered to the larger tag (Cuttlebug die), so it can move freely.  The grass was made with a Fiskars border punch and the little bunnies were made with a cute set of Impression Obsession dies.

You can't see it in the photo, but I used my glitter pen to add some sparkle over the lettering of each sentiment before I added a couple of gems or pearls. The sentiment circle was then popped up with foam tape onto the round tag. So easy, and they look so fresh and spring-like. I actually made 10 of these little cuties, and they will go on Easter gifts for my 10 grandchildren.

I hope you'll head over to Let's Craft and Create and check out the rest of the gorgeous creations from the Design Team. I know they'll inspire you to join us in this fun challenge.

Thanks so much for stopping by, and remember to laugh--a little or a lot--every day.
Cheryl


Monday, April 3, 2017

One more chickie Easter card...

Just a quick post today so I can share one more cute little chickie card with you.

This card is the same format as the one found in this post. The only difference is, I've used a different chick!


This little chick in an eggshell is another print and cut design (ID #76589) from the Silhouette Design Store. I've done nothing to the image except add some glossy accents to the eyes and pop him up on foam tape. Is he not the cutest little guy?


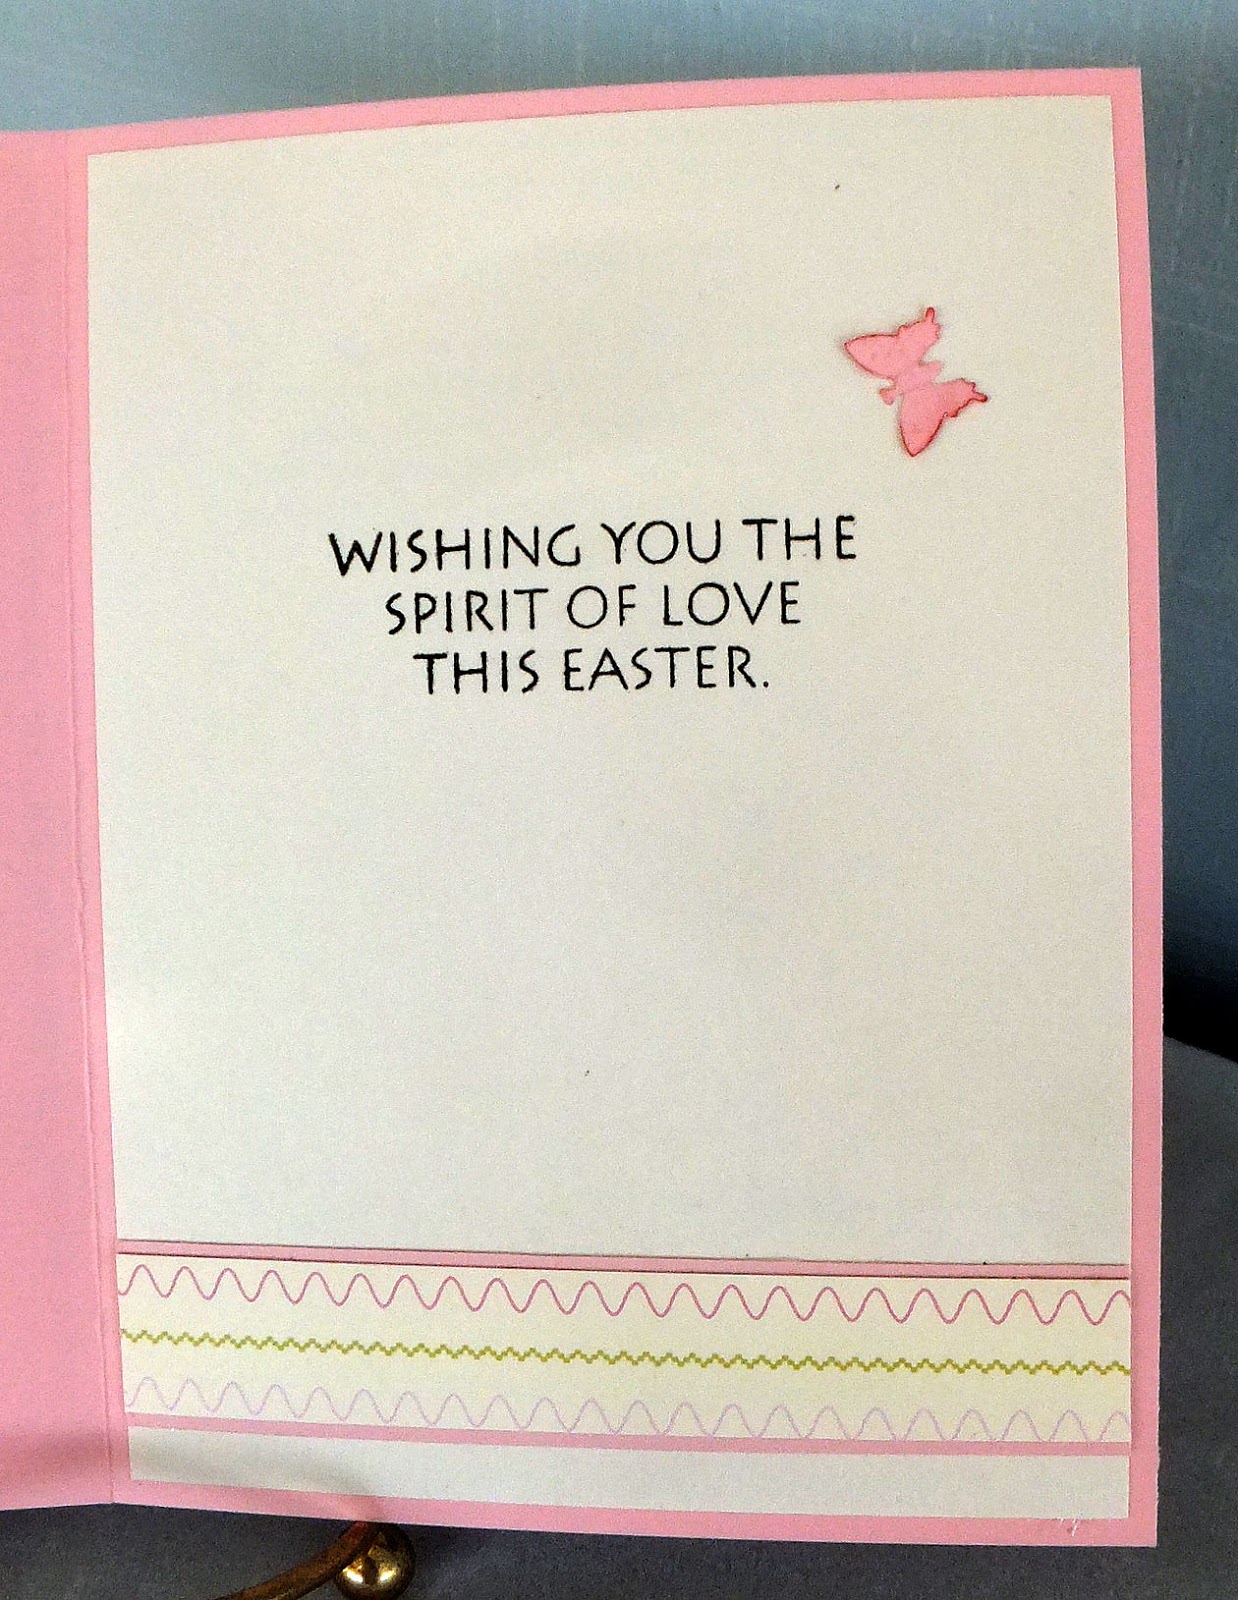
The inside of my card is super simple. I used a My Sentments Exactly stamp for my sentiment and added a tiny butterfly (Fiskars punch).

A narrow matted strip of my DSP finished it off.

Tomorrow I will get my Easter cards in the mail along with any gifts for grandkids who are far away. It always feels good to get things in the mail before a holiday! Now I have to start thinking about a menu and grocery shopping.

How are you coming along with your Easter preparations? Do you entertain family or friends, or will you be the guest in someone else's home?

Thanks so much for stopping by, and remember to laugh--a little or a lot--every day.
Cheryl


Saturday, April 1, 2017

Sweet little Easter chick...

I've been busy making Easter cards and this is one of them. My "Happy Easter" is an old rubber stamp  that I took apart and now use in my stamp positioner. Not sure of the brand. I heat embossed it and then added some grass and a butterfly (both Fiskars punches) to my frame.


This cute little chick is a print and cut image from the Silhouette Design Store (Design ID #76267).  There are a number of these cute chicks to choose from, each one a little different, but all looking very sweet and Easter-y. I printed out eight of this one onto a piece of cardstock, and then the Silhouette cut them all out for me. I'm always amazed at how precisely it cuts.

I added some Wink of Stella to the pink stripes on the egg and some Glossy Accents to his eyes.


On the inside of my card I stamped an Easter sentiment from My Sentiments Exactly and added another punched butterfly and a matted strip of my DSP.

We had a beautiful day here today. I finally uncovered my rose bush. It looks a little worse for wear, but I'm hoping it will come back once the ground warms up. The lilac bush is budding and will be in bloom before long. We have a little table underneath it where we can sit and enjoy its lovely fragrance.

Thanks so much for stopping by, and remember to laugh--a little or a lot--every day.
Cheryl


Wednesday, March 29, 2017

Another twist and pop card...

I shared my first twist and pop card in this post a while ago. It was so much fun that I made another one for my son-in-law Rob's birthday. He especially appreciated the unique mechanism in this card and was really studying it, trying to figure out how I did it.

My "boogie boy" was cut with my Cricut from the Nifty Fifties cartridge. Isn't he fun? My sentiment stamp is one that I picked up at my local thrift store, so I have no idea who made it. I think it's one I'll use regularly, though. It works well for those oh-so-difficult man cards.


Here's a little closer look at the Cricut cut. It had been such a long time since I had used my Cricut that I nearly had to get out some directions to figure out how to do it! I think I need to use it little more often so I don't get so darn rusty.


Here's a look at the inside of my card with its pop-out panels. So fun! The happy birthday die-cut is one of the unbranded dies that are available on eBay.


It can take a little more time for this kind of card with the four panels to embellish. I really enjoy planning and decorating the smaller spaces, though.


These little panels offer a great opportunity to use some of those smaller stamps that we pick up in the dollar bins or that come as accessories in larger sets.


I have one more of these cards still "under construction" in my craft room. I haven't decided how I'm going to finish it, yet--I'm waiting for a bolt of inspiration to strike. I guess I really should just make a few of these without any embellishment and then finish them as I need them. That would probably be the smart thing to do, but I never claimed to be the brightest bulb on the tree. he he

Thanks so much for stopping by, and remember to laugh--a little or a lot--every day.
Cheryl
Monday, March 27, 2017

Explosion purse...

I wanted to make a fun little gift bag for my granddaughter, and found this video on YouTube for an explosion purse. It looked easy and fun and was just the size I needed.

I think I could've made my handle a little shorter, but it was still pretty cute IRL. To secure it, I punched a hole in the top on each side, slid the ribbon through and knotted it so it wouldn't pull through the hole.

I used some sticky Velcro circles as a closure. They worked beautifully, even when it was a bit overstuffed with little gifty items for my granddaughter. The strawberries on the circle die-cut were fussy-cut from the DSP.


A side view of the purse shows you the size. The base of the purse is 4" X 4", so it has room for a small gift or two inside.


Here's a look at the backside of my purse. The green top is a Spellbinders Label 8 die-cut. It was just the right size to cover my purse. I glued the back of it down and the front has the Velcro closure as I mentioned before.


When you open the purse, this is what it looks like. What I liked most about this idea, was there were very few pieces to contend with, very little glue/adhesive involved, and it used an entire sheet of 12" X 12" DSP plus a scrap for the top closure. Quick and fun to make!

This week I will be busy with a couple of my grandkids, as they are on spring break and need a little supervision. Maybe we'll even get a little crafting done.

Thanks so much for stopping by, and remember to laugh--a little or a lot--every day.
Cheryl

Friday, March 24, 2017

A Poppin' Box Card...

I found a little video on YouTube by Gemma Clarke that inspired me to make this card. Actually, I watched two of her videos as I needed to make both parts of this surprising card. Here is where the second video is located.

 Here is a picture of all the components of my Poppin' Box Card. I made a money holder to slip inside the rectangular box that will hold the cube, which flattens out to fit inside. As you can see, this was for a 21st birthday, so one side of my cube was embellished accordingly.

Here's a picture that shows how nicely the cube flattens out to fit inside. You can also see the little ribbon handle that I've added on the right. I used the blank circle as a space to write a brief note and sign our names. Here are the other two sides of the cube.


I think this is a Petaloo flower with a flat-backed pearl in the center. The leaves were made with a Martha Stewart punch, folded in half and run through my crimper. I also inked them a bit for a little more dimension.


The butterfly was cut with an Ellentina die after I had inked my white cardstock with some pink and green.

There is a rubber band mechanism inside the card that causes the cube to pop into the shape you see on the right from a flattened state. So fun!


Finally, here's a little video that shows you how this card works:

This is my first online video, so I wasn't sure at all if I'd be able to get it to work.

Thanks so much for stopping by, and remember to laugh--a little or a lot--every day.
Cheryl

Wednesday, March 22, 2017

Happy Bird Day...

Here's a fun and quick card using some Tim Holtz Crazy Bird stamps.

First I created my background, using several Distress inks. Then I stamped the birds on some white scraps, colored them with ProMarkers and cut them out with the coordinating dies.

My speech bubble was cut with a Darice die after I had printed the sentiment with my computer.

I inked around the edges of my bird shapes so that not too much of the white card showed through. I also added some Glossy Accents to their eyes. Each bird was popped up with foam tape (but their little feet were glued directly to the card so that they didn't get caught on something and rip.

It was fun to pick out different colors for each of them. Quite a motley crew, don't you think?

Pretty simple interior on this one: a computer-generated sentiment and another partial bird peeking up at it.

My daughter used this to give to a family member celebrating her birthday recently, so it went to good use.

My DH and I managed to contract some wicked colds, so we're both at home today and not feeling well. But at least I feel well enough to do a blog post. LOL

Thanks so much for stopping by, and remember to laugh--a little or a lot--every day.
Cheryl