I have a large plastic envelope that is filled with borders that I have either made or collected from here, there and everywhere. The cocktail border that you see on this card was pulled from that envelope. I've had it for a very, very long time and have long wondered what to do with it. Finally, I decided to use it on a slimline card.

I embossed a cream-colored panel with my Swiss Dots embossing folder and added it to my pink card base. Then, I popped the border up on dimensionals and adhered it to the card front. It was made of sturdy cardstock, so that worked great.
As a last step, I die-cut two birthday word banners and glued them to the front, finishing off their ends with enamel dots.

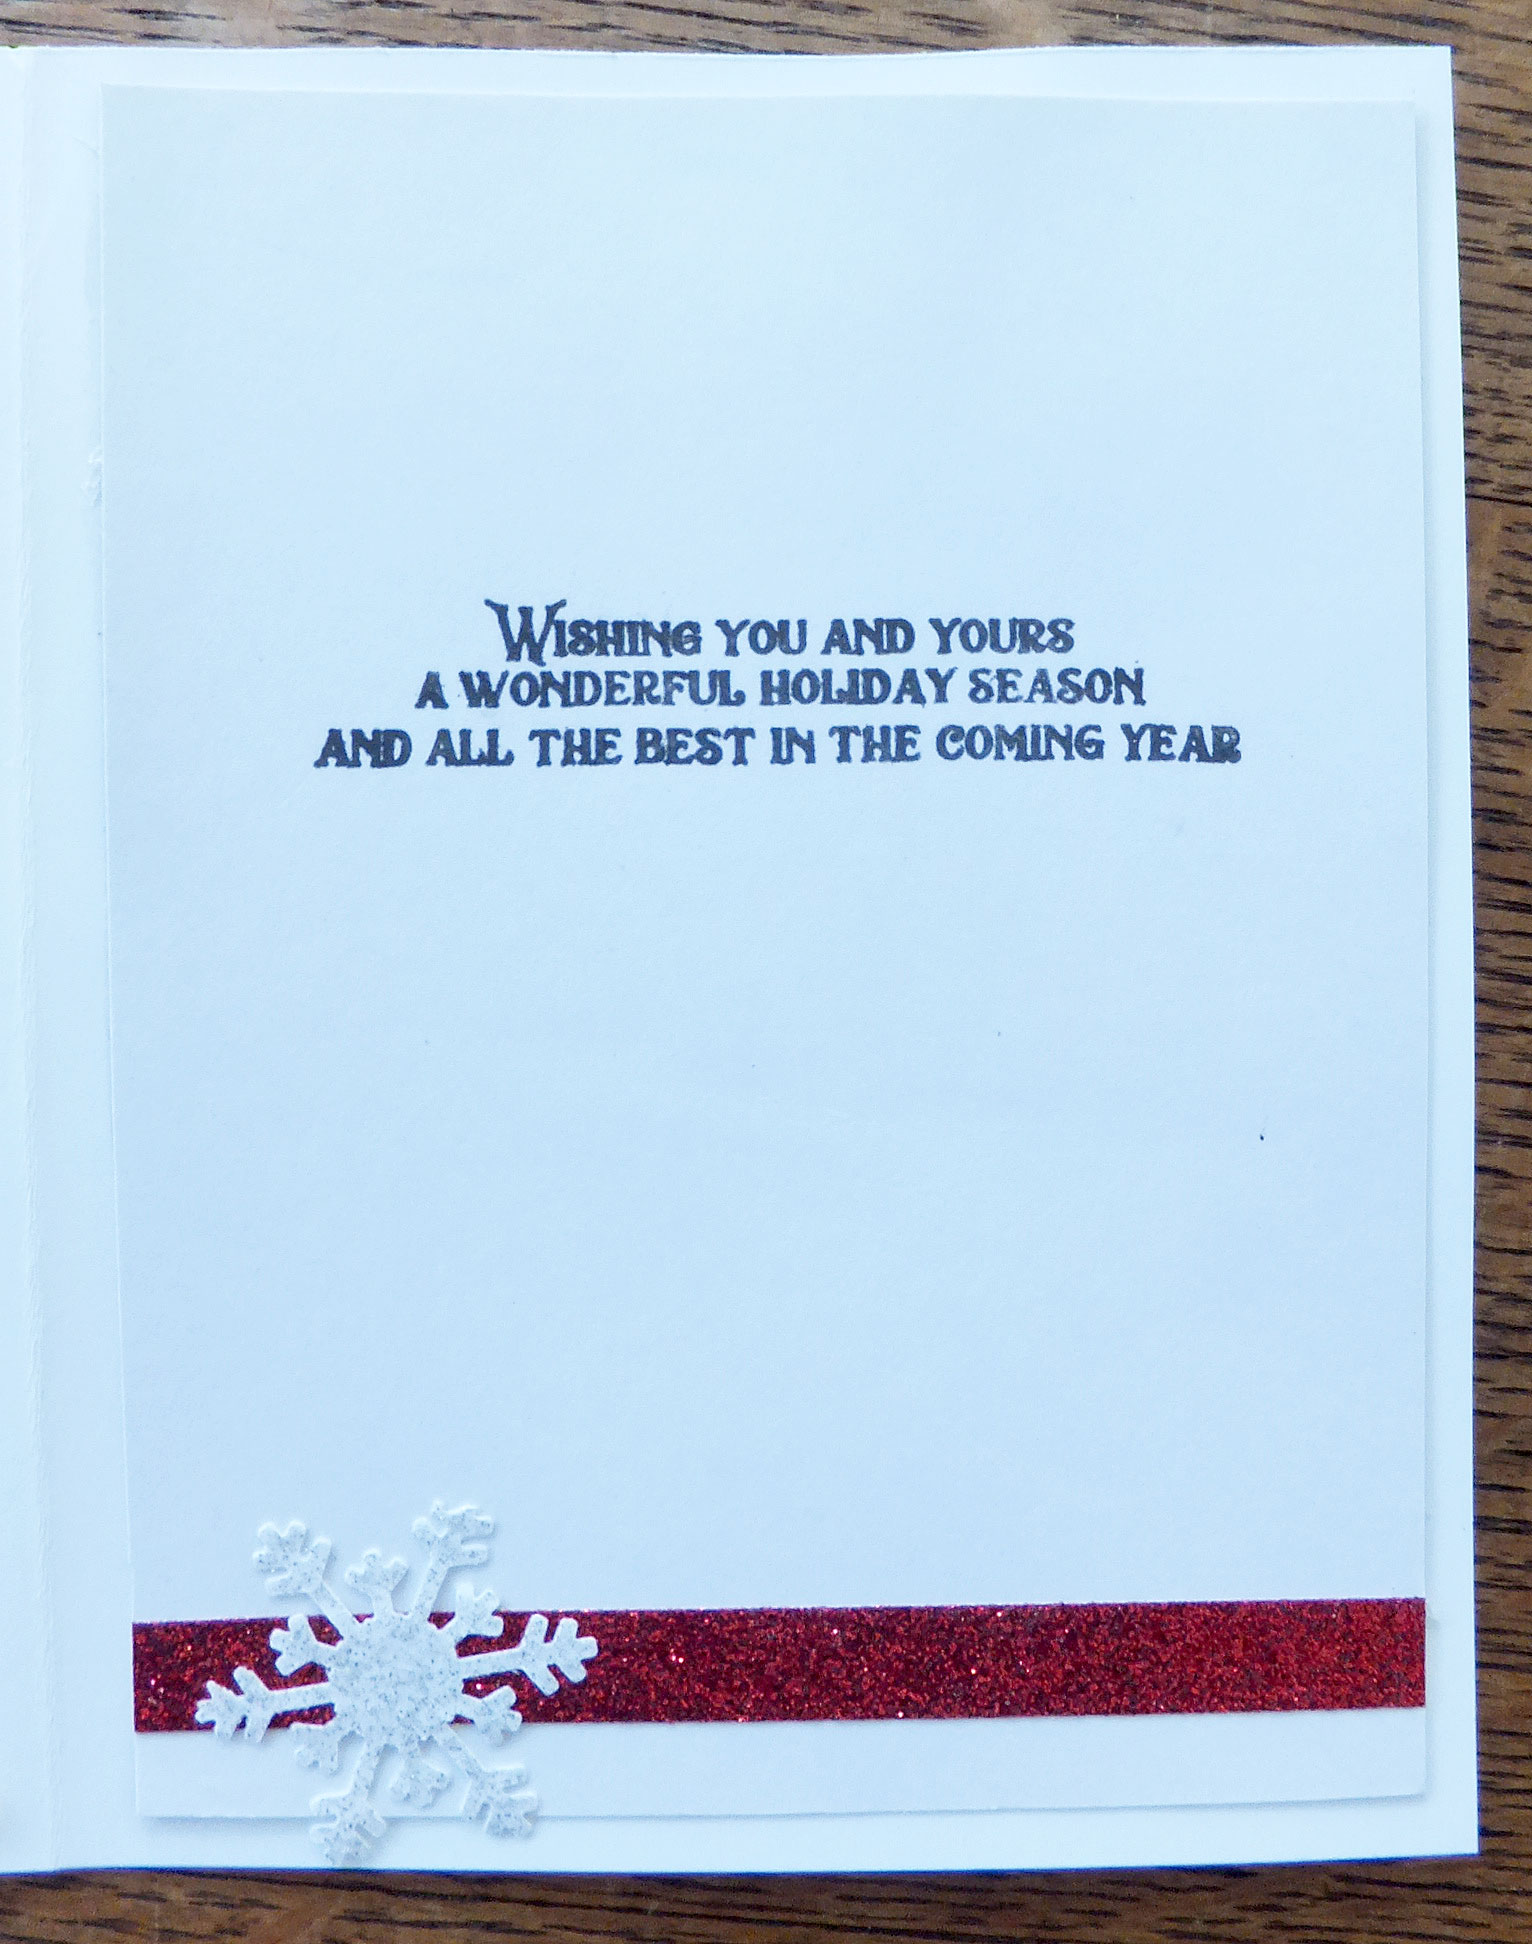
I stamped a fun sentiment on the inside, and my card was done.
Now that I've used this border, I wish I had a few more of them! I don't know why it took me so long to figure out how to incorporate it onto a card front, but I love the final result. And it was so quick and easy!
Hopefully, I'm not the only one who gets stymied now and again by the odd crafting supply.
Thanks so much for stopping by, and remember to laugh--a little or a lot--every day.
Cheryl