Wish List

Friday, December 23, 2022

A very merry Christmas to you...

 This will be just a short post to share a card and to wish all my readers a wonderful holiday season.

I had a 12" X 12" sheet of pretty designer cardstock that had some glittery elements worked into the pattern. This single sheet would make six A2 card fronts if I cut it carefully into 5 1/4" X 4" pieces. 


I cut the sentiment and holly berries from red cardstock and the holly leaves from green glitter cardstock.

With so much going on in the background, I thought this was all the card needed.


The inside was stamped with a Christmas sentiment. These cards were so simply designed that I was able to finish all six of them in short order.

I wish you peace and joy this holiday season. Please know how much I appreciate your visits to my blog throughout the year.

Thanks so much for stopping by, and remember to laugh--a little or a lot--every day.

Cheryl

Tuesday, December 20, 2022

Oh, those gnomes...


This gnome in a gift box was a new die set that I bought for some of my Christmas cards this year. He's a fun little guy to cut out and put together. Once again I cut the gnome and the ribbon (on the package) from white cardstock and colored them, where needed, with alcohol markers.

The sentiment was a stamp from a gnome stamp set I got a couple of years ago. I've popped it up on a couple of foam squares.


The gift box was cut from glitter cardstock, as you can see in this photo. I love the way the die adds some embossed stars to the packaging. In my opinion, those little details are what makes a die set special.


I added a stamped sentiment on the inside, and my card was done. Looking at it now, I wish I had die-cut a small gift out of the same glitter cardstock and added it here. I was in a hurry, though, to get my cards done and in the mail.

Speaking of cards in the mail, I had one card returned to me in pieces! The pieces had been placed in a plastic bag, and the only thing not torn apart or mangled was the return address. In fact a lot of the envelope and almost all of the Christmas letter were missing, so I have no idea to whom this card was sent! If you think you should have received a card from me, but you have not, this might be the reason. I sent out 90+ cards, and I had made more than 10 different card designs, so I'm clueless as to the recipient.

Thanks so much for stopping by, and remember to laugh--a little or a lot--every day.

Cheryl

Friday, December 16, 2022

Three little snowmen, all in a row...


This card shows another way I used some of those pre-made card bases I had featured in this post. I first added some clouds to my background with some pale blue ink and a cloud stencil. Then I adhered a snowy landscape with some glitter cardstock. Before adding my little snowmen, I stamped a sentiment at the top with red ink.

These little snowmen are mostly one-piece dies with very minimal piecing. I cut everything out of white cardstock and then used alcohol markers on the pieces or parts that required some color. All the eyes, along with the buttons and mouth on the first one, were filled in with Nuvo Drops.

Each snoman is popped up with foam squares.


On the inside I stamped another red sentiment and adhered three sparkly snowflakes that had been die-cut from the same glitter cardstock that was used for the snow on the front.


This week I've been working on baking some Christmas cookies. My husband's favorites are Date Pinwheels. They're a bit of a pain to make, but make them I must. He wouldn't think it was really Christmas if he didn't have his date cookies! I usually make 8 to 10 different kinds of cookies so that I have enough to share with family members and neighbors. We'll be taking some with us when we travel to the Pacific Northwest to my son's and daughter's homes for Christmas.

Thanks so much for stopping by, and remember to laugh--a little or a lot--every day.

Cheryl

Tuesday, December 13, 2022

Snowflake frame...

So this is another card design that I used to  make at least 10 cards. The simple design lent itself to cutting lots of snowflake frames and Merry Christmas sentiments and then assembling them in short order. I added a few gems for some sparkle.


The sentiment was cut from holographic cardstock, so it reflects all the colors around it.


The snowflake frame was cut from cardstock with a nice sheen to it. It was Reflections brand from Michael's. The picture definitely doesn't do it justice, but does highlight that each of the larger snowflakes in the frame also got the "gem treatment."


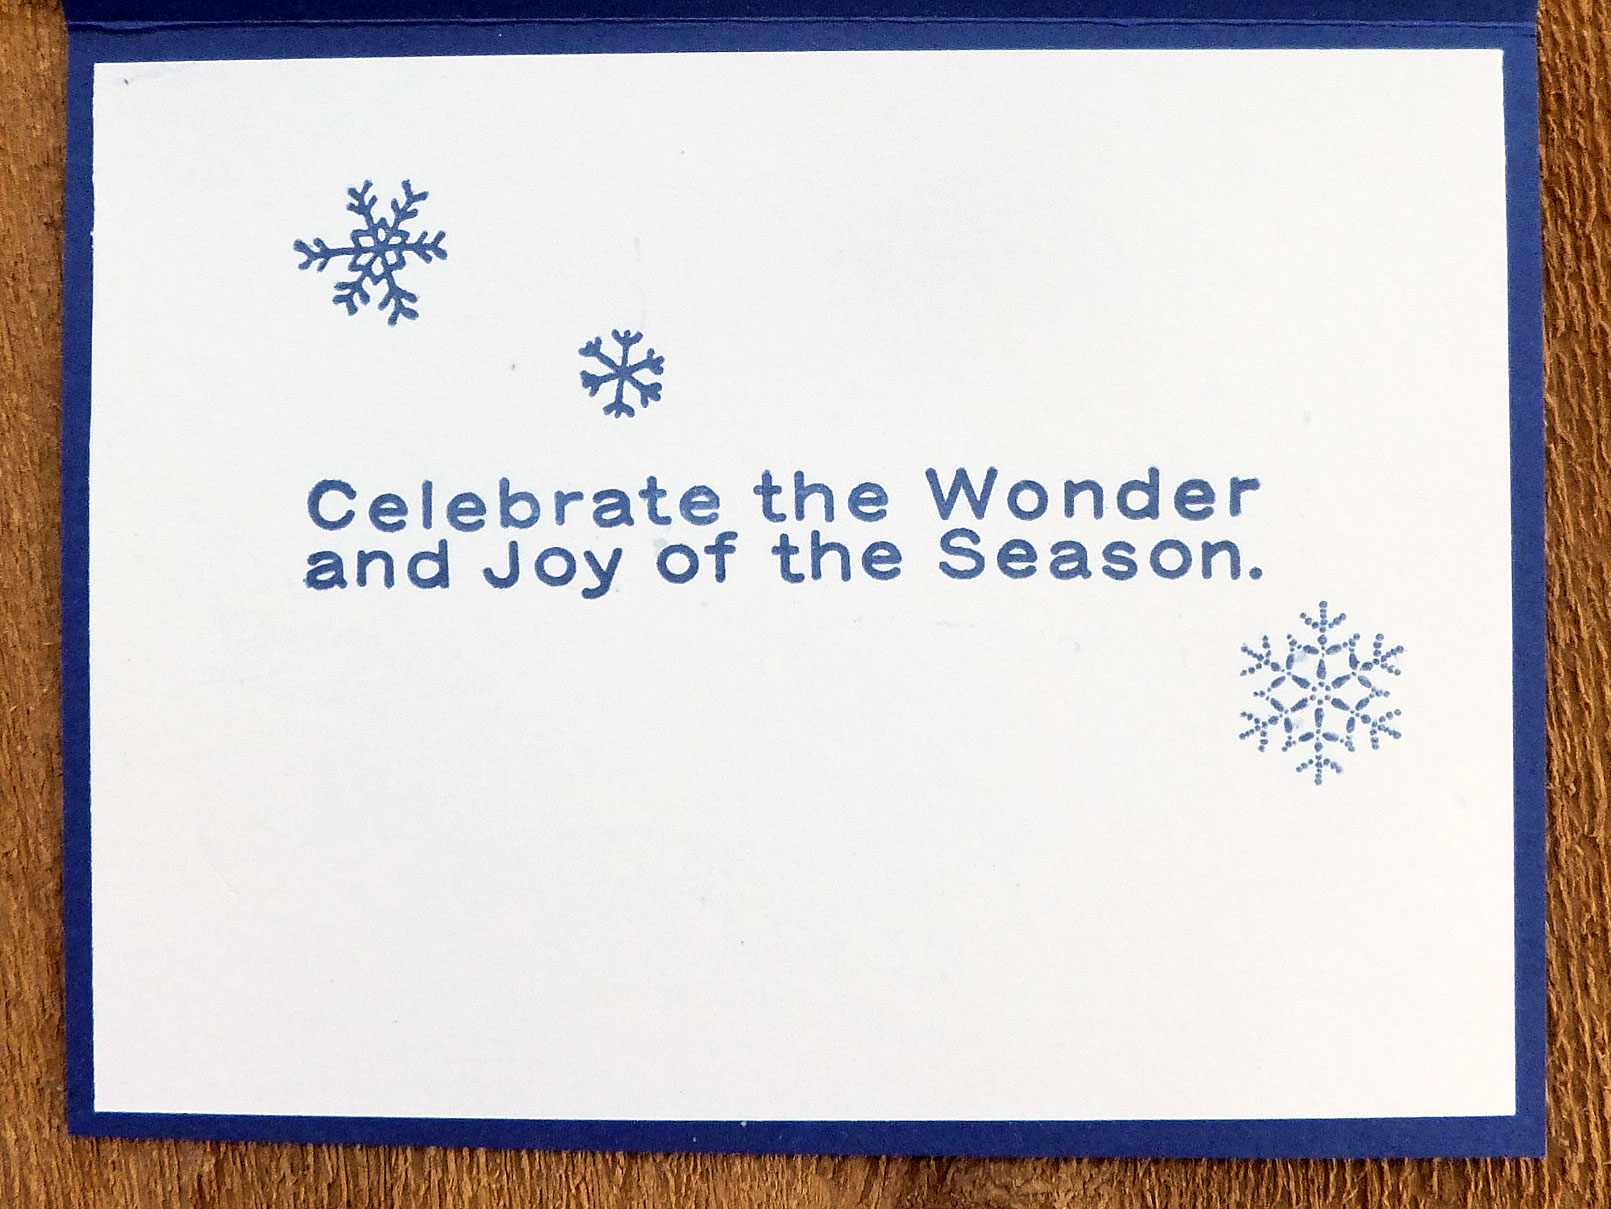
I grabbed some small snowflake stamps from a couple of different sets and stamped them, along with a sentiment, on the inside of each card.

We received delivery of two new recliners a few days ago. These chairs were my husband's and my Christmas gifts to each other. Ok, not really, but after we got them, I thought they should be! I mean, do we really need to spend more money on each other, when we have everything we need? They are so comfy to lay back in at the end of a long, hard day making cards, baking cookies and wrapping gifts. I'm not sure why we waited so long to get them.

Thanks so much for stopping by, and remember to laugh--a little or a lot--every day.

Cheryl

Friday, December 9, 2022

Wishing you joy...


I had some pre-made card bases that were white except for the short diagonal stripes around the outside front edge. I've had these card bases for a few years now. Every Christmas I use some of them, but I never seem to be able to use them up. I think they're multiplying behind my back!

The letters for "JOY" were made with a fun little die set that I got a short time ago. I cut the letters all out of white cardstock and then colored them with alcohol markers, except for the top of the ornament, which was colored with a silver gel pen.


Although you can't see it in either of the photos, I've also added a little sparkle with a glitter brush. The tiny silver bow was adhered with some Glossy Accents.

I popped all three letters up with some narrow foam tape.

On the inside I added a sentiment stamped in red ink.

These were so much fun to make (I made at least 10 of them), so I'm sure I'll make more of them for next Christmas and donate them to the thrift store.

All my cards have now been mailed--so glad that's done! I've been working on creating our family photo calendar and wrapping gifts. I haven't done a lick of baking yet, so that's next on the to-do list.

How about you? Are you ready for the holidays? I hope your preparations are all going smoothly and you're able to relax and enjoy the festivities.

Thanks so much for stopping by, and remember to laugh--a little or a lot--every day.

Cheryl

Monday, December 5, 2022

Let's Craft and Create Challenge #190: Anything Goes or Inspired by a Song...


For this final month of 2022, Let's Craft and Create is inviting all of you to join in on the fun of our last challenge of the year. You can choose "Anything Goes" or "Inspired by a Song" as guidance for your creation.

I decided to create a card that was inspired by a song. There are so many great Christmas songs, so I chose "Silver Bells." If you're not familiar with it, here's a link to a recording by Michael Bublé.

It is definitely "Christmas time in the city" here in Minneapolis. We received about 8" of snow during the last couple days of November.


I opted to make an A2 top-folding card, using white cardstock for my base. I cut a curved, scalloped edge across the card front using a large scalloped oval die. Then I used an embossing folder to add some "snow" to the front flap.

Once the embossing was done, I cut a piece of pretty silver and white striped cardstock to 4 1/4" X 5 1/2" and glued it to the underside of the scalloped flap. The backside of the patterned cardstock was white, so this worked perfectly to add some contrast to my card front.


I used my Silhouette Cameo to cut out some jingle bells, which I backed with plain gray cardstock. They were popped up on foam squares after added some pretty silver twine for them to "dangle" from.

The bells were cut from some silver mirror card that had a holographic shine. You can see how they reflect the colors around them. They're so pretty in real life!


My sentiments (front and inside) were printed with my computer. I used a gray font color to soften the look. I also used a silver stamp pad to ink around the edge of my sentiment oval. As a final touch, I added three tiny stars that had been cut from one of the jingle bells.


The inside of my card contained only the printed sentiment. Next time, I think I'll cut an extra jingle bell and add it here.

Now I hope you'll take some time to join our final challenge of the year. We love seeing your creations! The Design Team has lots of inspiration for you at Let's Craft and Create.

Thanks so much for stopping by, and remember to laugh--a little or a lot--every day.

Cheryl

Friday, December 2, 2022

Another snowman card...


I made this card with another one of those Christmas dies that I just had to have. I will admit that it made my cardmaking very quick, especially since I made at least 10 cards like this one in an afternoon.

I took a white A2 card base and cut the front only with the die. Then I used some spray adhesive to attach an aqua panel to the underside of the front. 


I think you can see in this photo how I've added a little glitter to the small circular die cuts to the left of the snowman that I thought were snow. The glitter adds a nice bit of sparkle--and Christmas cards can always use a little sparkle, right?

My sentiment was heat-embossed with the only aqua embossing powder that I had on hand. I thought it was an ok match, though.


I stamped my inside sentiment with an aqua ink that matched the panel I had glued to the front of the card.

I am so happy to announce that I have finished making my personal Christmas cards--89 of them! If I have time in the coming weeks, I will continue to make them. It would be so nice to get a head start on next year's cards. 

I don't think I'll need to make hardly any Christmas cards for the thrift store, as my friend Lynette (My Stamping Addiction) donated oodles of them. I took a big stack of them to the store today, and I know they will sell like hotcakes! Thank you, Lynette!

Thanks so much for stopping by, and remember to laugh--a little or a lot--every day.

Cheryl