The first were some fun Tic Tac holders to put into the grandkids' baskets:


Now turn the paper so the short side is at the top and score at 5/8". This will form the bottom of this little open-topped box that the Tic Tacs will sit in.
Snip the short score lines at the bottom up to the 5/8" score line.
Punch a 1 1/4" hole (or thereabouts) into the center panel where indicated in the photo.
Pre-fold all your score lines, then wrap the "box" around your Tic Tacs with the short end overlapping the longer end. This will put your back seam closer to the center.
On the bottom, tuck the two short ends in, then the back flap, and lastly glue the front flap down over that.
I cut the bunny face from Doodlecharms at 2 1/2" which made it just the right size. There are other really cute faces in that cartridge that would look PERFECT for this purpose. I plan to make some Santa ones with red Tic Tacs for Christmas.
For the feet, I used an oval Spellbinder's tag die, but you could also use other small oval dies as I've indicated on the graph paper.
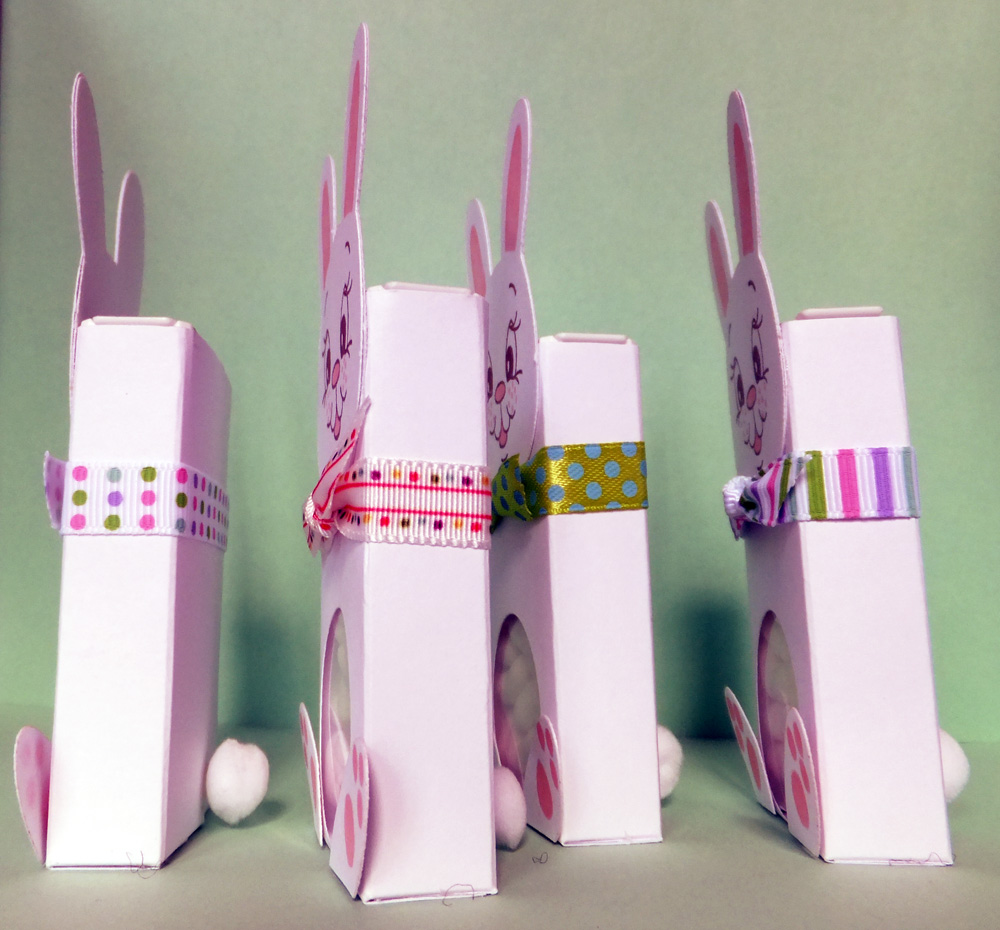
The faces, or course, were stamped with the largest stamp from Peachy Keen's Cute and Cuddly stamp set.

One last quick project that I did, was to make my brother a little Easter Basket. He's a single guy, and I know he likes chocolate, so I thought I should give him a treat, too.

The basket is made from just one 8 1/2" by 11" piece of cardstock. And you use the whole thing - no waste! I embossed this one, too, but you wouldn't have to do that. I've used a couple of flower brads that I've had forever to hold it all together. No gluing at all!!!
I think it is so cute and I plan to add this 3D project to my graph paper notebook for future reference.
Well, that's it for me today. Don't think I'll post again until after Easter, so I hope yours is spectacular!
Thanks for stopping by, and rememberto laugh--a little or a lot--every day.
Cheryl
No comments:
Post a Comment