Wish List

Friday, August 30, 2024

Cardmaking fun with AI images...

 You can find AI images all over the internet. I tend to find them on Facebook sites, but I know they are available in other places, as well. Many are offered free for personal use, so I take advantage of some of the images that I really like.

Here's a card I made with a graphic AI design in black, white and blue. I love it for masculine cards!

I used the graphic design on the left and added my "classy guy" die-cut leaning against it. I used a blue card base to match the blue in the graphic design.

The sentiment was popped up on foam tape, and that finished my card front. 


This is the sentiment I added to the inside.


I thought this AI design was spectacular! Don't you love all those vibrant colors? 

Once again, I popped up my sentiment panel.


If you look closely at the picture to the right, you'll see that I've added some sparkly Stickles to the sun's rays. This added just a bit of sparkle to this already shining design.


Here's the stamped sentiment I added to the inside.

Have you ever used AI images? You can even make your own on a number of free sites. I created a scene for some of my Christmas cards, which I shared in this post.

Thanks so much for stopping by, and rmember to laugh--a little or a lot--every day.

Cheryl

Wednesday, August 28, 2024

Sometimes you just have to use those odds and ends...

I was cleaning up my craft area the other day, and I came across a little stash of shapes, presumably to be used for sentiments. I really wanted to use most of them, so here's one of the cards I made:

The striped piece is actually one of the pieces in the stash, as are the white oval, green rectangle and yellow oval. The narrow ribbon covered up a score line that was there (and I didn't know what for!).


The white oval and the green rectangle are glued flat, while the yellow sentiment oval is popped up on foam tape. I thought it looked okay to stack them up like this. In fact, I believe it added a bit of interest.

I also added a few gems for some sparkle.


I added a simple stamped sentiment to the inside. 

Now, I've just got to use up all the rest of those shapes...

We are slowly getting my brother-in-law's estate in order. Today, I filled my car with things that I will donate to the thrift store tomorrow.  It is a reminder to me to try to get rid of the things in my home that I no longer use. We all have so much "stuff," don't we?

Thanks so much for stopping by, and remember to laugh--a little or a lot--every day.

Cheryl

Monday, August 26, 2024

Some sweet birthday wishes...


This is a pretty simple card, but lots of fun to make. I used a "sweet treats" die set to create my ice cream cone. I used the same die to cut both scoops of ice cream, but hand-cut some of it off each side for the upper scoop.


The background paper is very subtley printed with slightly darker blue dots, but I thought it needed something more. I added a few tiny red stars, reflecting the stars in the die-cut sentiment.

I did a little inking on the ice cream and the cone. The hatch-marking on the bottom of the cone is a separate layer that is adhered to the base.


I still had a few stars left over, so I added them around the stamped sentiment on the inside.

It seems I just can't make kids' cards fast enough for the thrift store. They sell so quickly there. I think maybe I need to invest in some more "kid-friendly" stickers to make the process a bit faster.

Thanks so much for stopping by, and remember to laugh--a little or a lot--every day.

Cheryl

Friday, August 23, 2024

A new favorite butterfly die...


 Not long ago, I purchased a new set of butterfly dies. The wings are in two separate parts, and you have to glue them together and then stabilize them by gluing on the body.


I love how you can blend colors onto the wings. The black areas on the larger butterfly wings are actually separate die-cuts that are glued in place after the coloring is done.

The smaller butterfly did not include separate dies for the black areas, so I simply colored them in with a fine-point black Sharpie. I think it worked just fine.


Here's how the card looks when it is fully open. It took a little extra measuring to cut the inside white panel to fit properly, but I got there in the end.


Here's one last look at the card when it's closed. I will definitely be using these butterfly dies a lot. I just love them! I can't wait to try making them in lots of different colors.


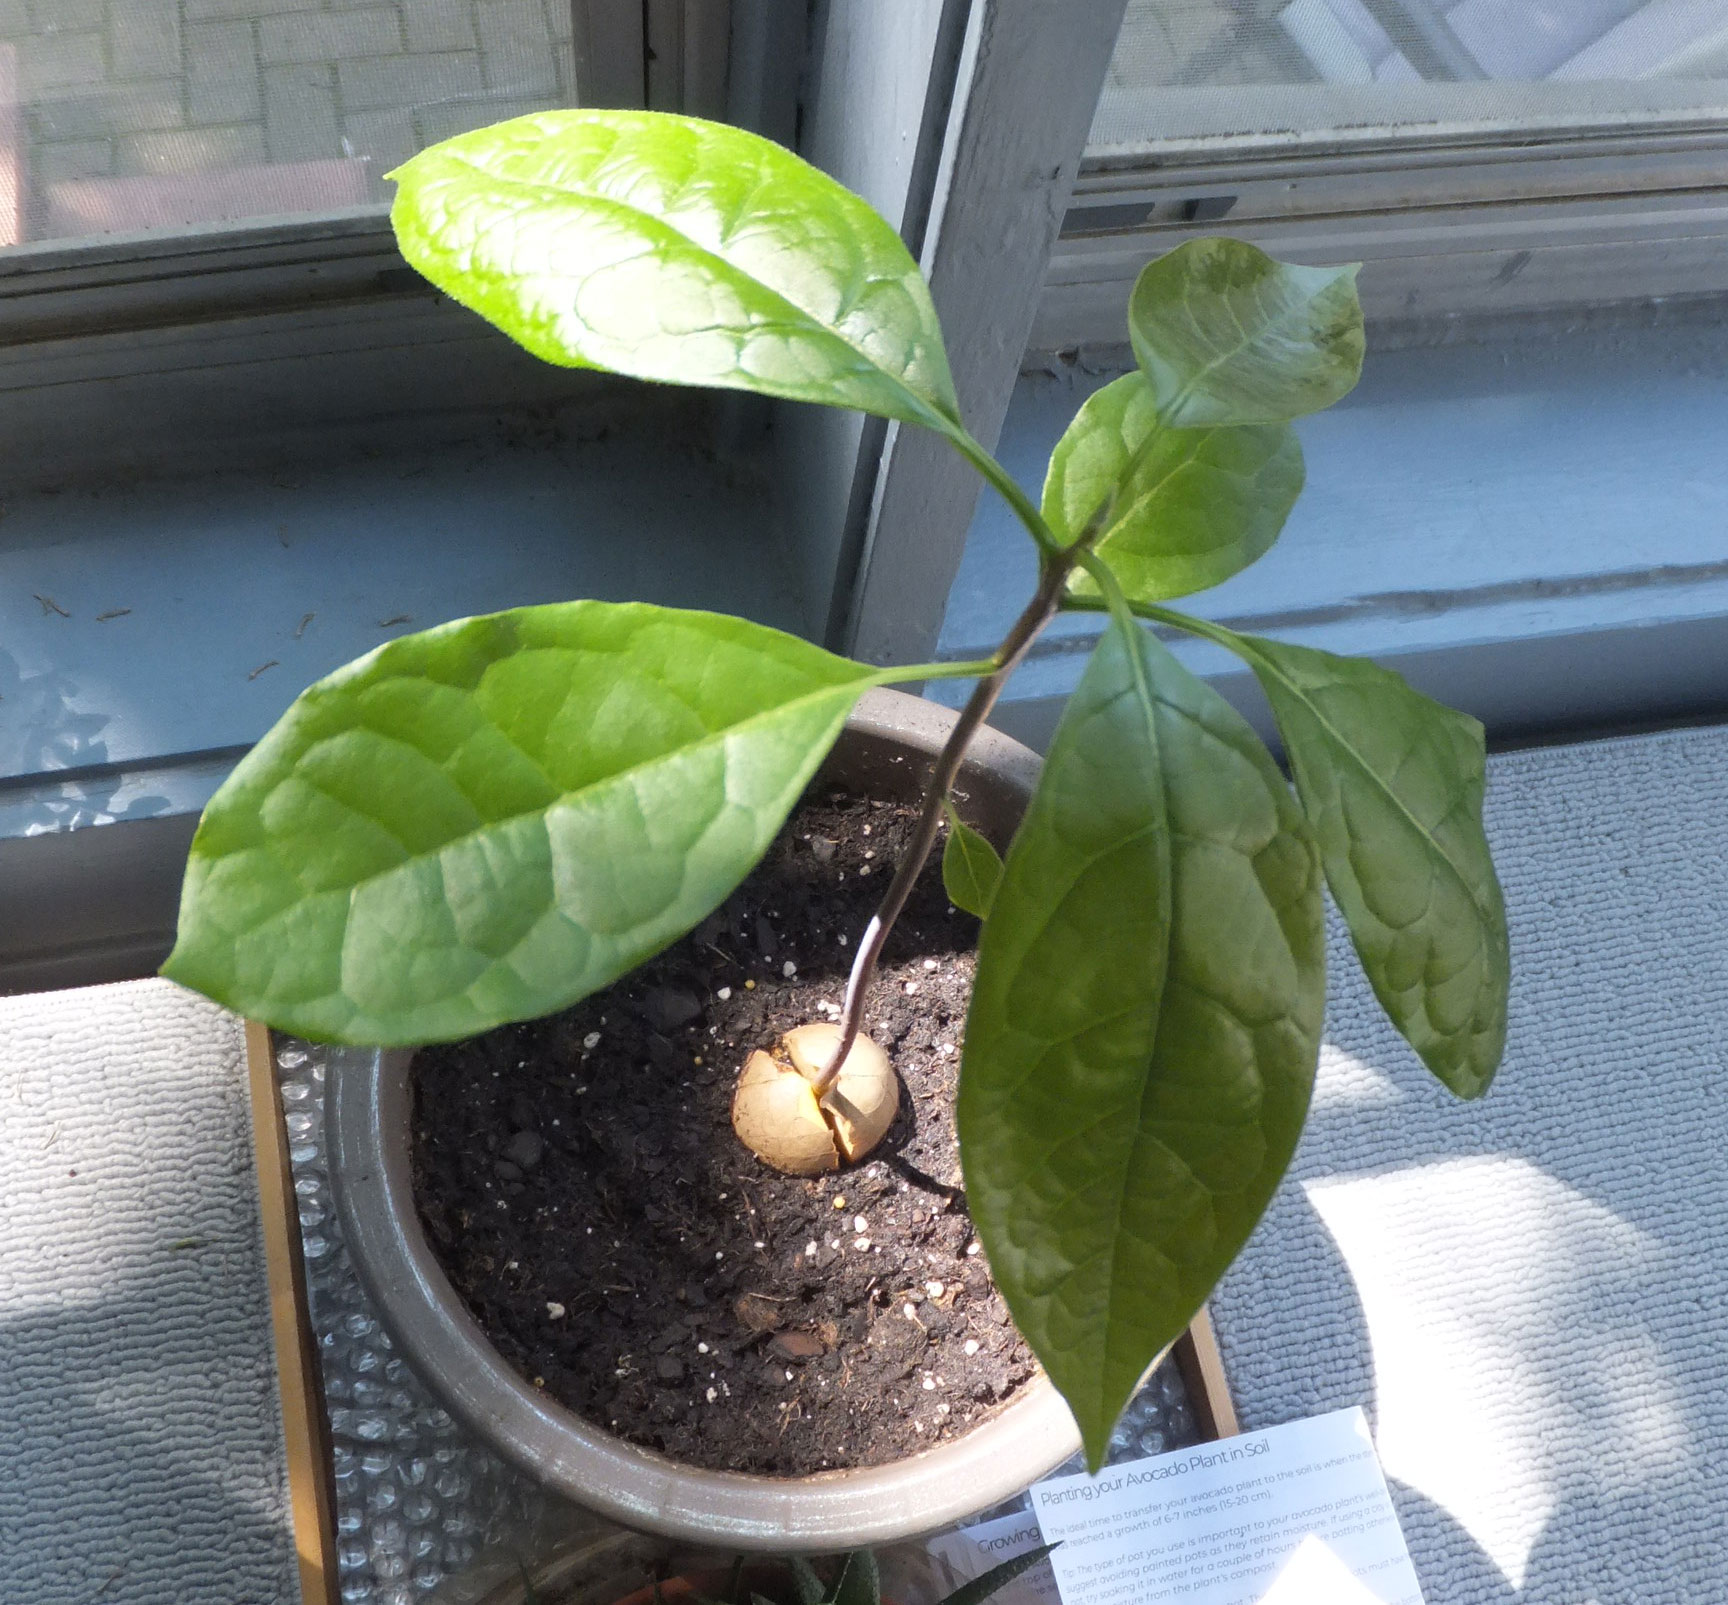
Lastly, I thought I'd share a pic of my little tree, grown from an avocado pit after we had finished eating it. My daughter had given me a special jar to help germinate the pit and a little booklet of step-by-step instructions. I honestly wondered if it would actually grow, but, lo and behold, it did! I'm not sure how long I'll be able to keep it alive or how big it will grow inside the house, but I'll let you know.

Thanks so much for stopping by, and remember to laugh--a little or a lot--every day.

Cheryl

Wednesday, August 21, 2024

With deepest sympathy...


My favorite method for making sympathy cards is to start by using a 3D embossing folder to add an embossed design to a piece of cardstock. I did just that with a piece of aqua cardstock, and then used a dark blue ink pad to lightly add some color to the raised areas of the design. This was then adhered to a dark blue card base.


I die-cut a leafy sprig out of vellum and adhered it to my card front.The sentiment was stamped, die-cut and popped up on foam tape.


At left you see the stamped sentiment I added to the inside.

I decided to share a sympathy card today because we sadly experienced a death in our family in the wee hours of Tuesday morning. My brother-in-law, who had come that day to stay with us for a while, passed away after suffering a cardiac arrest. He had been in poor health, so it was not completely unexpected, but deeply sad, just the same. We are still a bit in shock and trying to determine the next steps to settle his estate. He had no other close family members, so we must carry out his wishes as best we can.

Thanks for stopping by and letting me share a bit of my personal sorrow.

Cheryl

Monday, August 19, 2024

Big wishes for another grandson...


We have yet another grandson who has a birthday this month. He is turning 17 and is the one who is the incredible swimmer, He has qualified for two pro-cuts (allowed to compete in professional/Olympic level swim competitions) in the 200 yard backstroke and the 50 yard backstroke.

I chose the blue on blue DSP for the front of his card because it reminded me of water and bubbles.

Each panel on the inside includes a swimming image (clipart) that features one of the three strokes he most often swims. The two panels in the middle pop out, which adds a fun feature to the card.

Here's a closer look at the first two panels where you see the butterfly stroke on the left and the freestyle stroke on the right. All of the sentiments were created with my computer.

Here are the last two panels which show the backstroke and a pocket in which to put some birthday money. The small piece of light purple paper just shows how the money can be slipped into the pocket.

We have been working hard to get ready for three family members who are traveling here from Germany. They actually arrive today. Our grandson will stay for two weeks, our son-in-law will stay for three weeks, and my stepdaughter will stay with us until October 3. The meal planning for extra people is the biggest change for me. I'm just not used to cooking for so many people any more. My DH and I tend to eat very simple meals, and we actually LIKE leftovers.  I guess I'll have to up my game for a while. lol

Thanks so much for stopping by, and remember to laugh--a little or a lot--every day.

Cheryl

Friday, August 16, 2024

Folded book card with pockets...

 Recently, I watched this video by Heidi Collins (On Y Go! Stamping) and learned how to make a folded book card with pockets. I thought it looked like fun, and I was looking for something a little bit different for my granddaughter's birthday card.

Here's the card I made following Heidi's tutorial:

I first decided on an apple theme with pink and red elements. The apples were die-cut, and the middle one is popped up.


When the card is opened to the first section, this is what you see. Notice there is a pocket on the left that holds a tag-like card.


When the card is pulled out, this is the message and image that you see. 


When the first interior "page" is turned, there is a flap on the left that can be opened (notice the arrow that I heat embossed?). On the right is a die-cut apple basket which will hold some birthday money and another pocket that holds a second card/tag.


This is the message under the flap with a stamped apple image. She turned 19 this year, so that is why all those 19s were stamped at the top of the white strip.

I used the inside of the flap to write a personal message and sign our names. Even though it is patterned, it is a pale enough design to write on.


This is a view of the tag that was tucked into the pocket behind the apple (money) basket. The sentiment and the apple were stamped onto the white card.

I made one change to Heidi's directions, and that was to make my card 4" X 6", rather than 4" X 5 1/2". The directions can easily be adapted to a different height. In fact, you could make it a 4" X 4" card if you wanted to.

We have two more family birthdays yet to celebrate in August, but I've got those cards done and have already shared one with you in this post. I will share the other one in a future post.

Thanks so much for stopping by, and remember to laugh--a little or a lot--every day.

Cheryl