Wish List

Wednesday, May 15, 2024

A few random cards...


I had a single piece of this glittery, striped cardstock sitting in my stash for ages. I decided to get out my ice cream cone die and use the colors of the stripes for the colors of my ice cream. I don't often make slimline cards, but it's always fun, when I do.

I cut the happy birthday sentiment out of three different colors of CS and then offset them slightly when I stacked them. If you enlarge the photo, you can see the different layers.


As I was cutting out the "scoops," I was imagining what flavors they would be: pistachio, orange creme, blueberry, lime and vanilla.


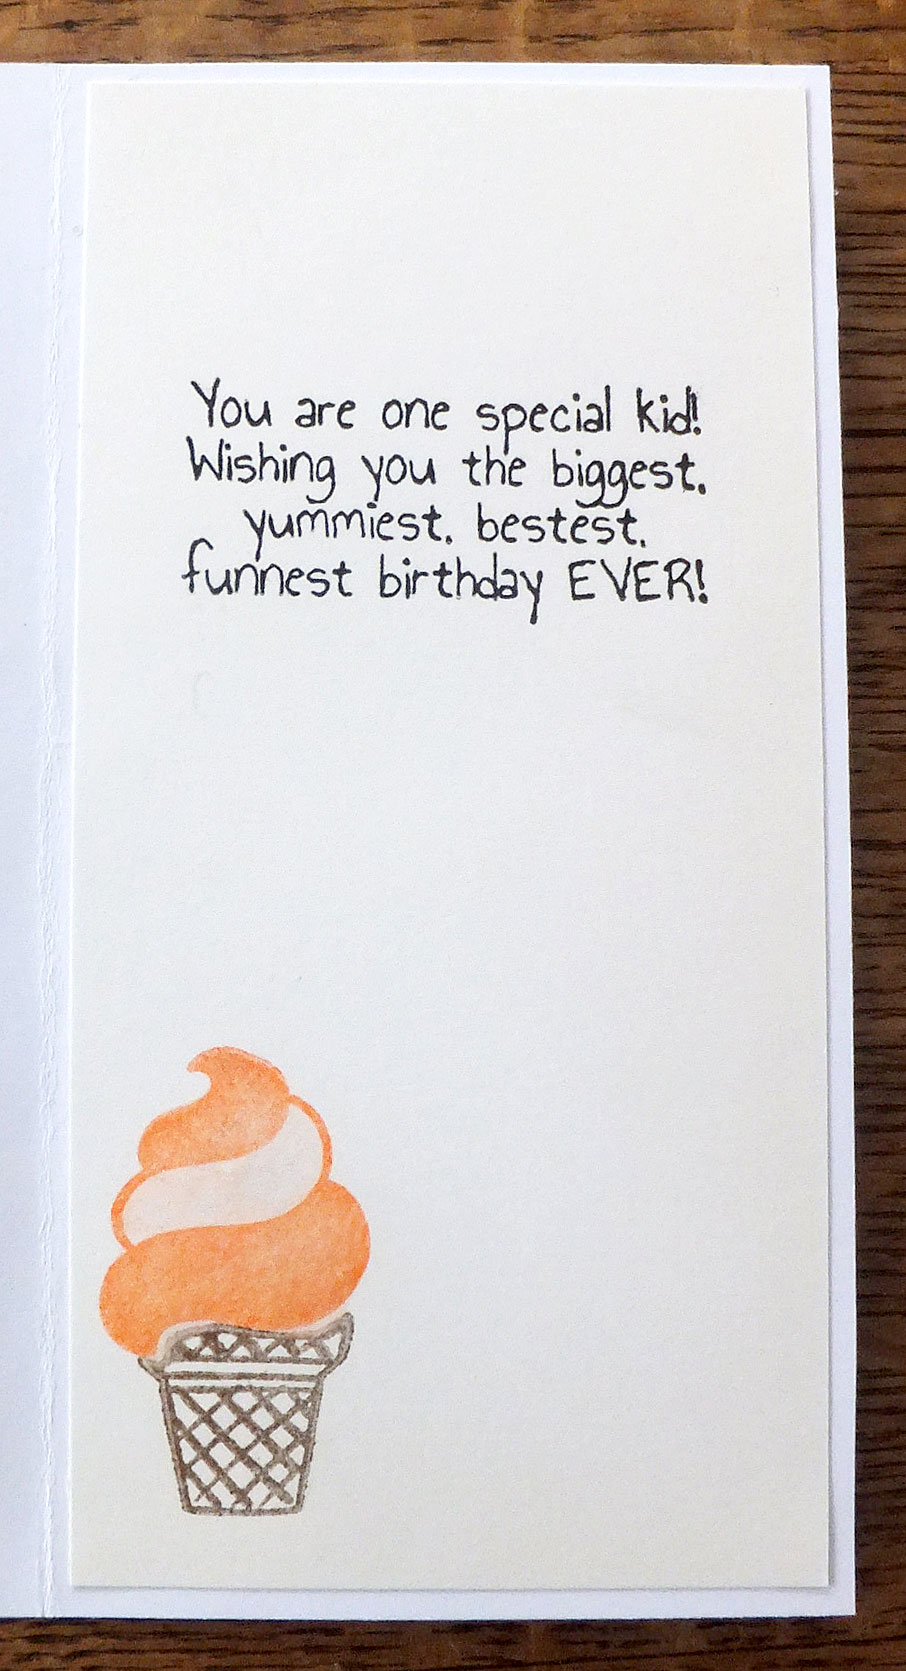
I stamped a sentiment on the inside and also an ice cream cone. This one looks a bit more like a Dairy Queen cone with its flat bottom and curlicue at the top.


This card came about because I had the vase die-cut laying on my desk. The leaf die, which is from Dollar Tree, was also laying there begging me to use it--so I did. I did a little bit of inking around the edges of the leaves before gluing them down.

The sentiment was stamped, die-cut and then popped up on foam tape.


For some reason, I really love making card bases where the front is cut 1" less in width than the back. I think it's because the decorative strip that is invariably added to the right side decorates not only the front when the card is closed, but also the inside.

I added a stamped sentiment to finish the card.


Quite some time ago, when I wanted to make a card with a rainbow on it, I decided to cut the rainbow out of five different colors of cardstock and use the resulting arcs of color to create five different rainbows. The colors are in the traditional order on only one of them--and this is not that one. ha ha

The sentiment was heat embossed onto the DSP.


The clouds were die-cut and popped up on foam squares.


Once a sentiment was stamped on the inside, this card was done.

I like the simplicity of this card, and I think it might brings some comfort to someone who is ill.


Our bleeding heart is quite lovely this year. I not only like the blossoms, but I also like the shape of the leaves. 

Thanks so much for stopping by, and remember to laugh--a little or a lot--every day.

Cheryl

Monday, May 13, 2024

A couple of "fun-gis"...

I made these two cards for two sons-in-law. They both are smart, funny and definitely fun to be around!

I started with some mushroom-printed cardstock for my card base. Then I added a strip of off-white, matted cardstock that had been ink-blended around the edges. The sentiment had been printed on it with the computer.


I added a couple of die-cut mushrooms, popping the caps up on foam squares.


On the inside, I added another computer sentiment and a die-cut mushroom.


This card base was cut from the same paper stack as the first one, and this time I added a circular sentiment (popped up) and two die-cut mushrooms  on the bottom of the card front, adding some dimension to the mushrooms that were already there.


The caps were popped up once again, and I did quite a bit of ink blending on them to make them look a bit more realistic. 


This card has the same sentiment on the inside, and also a little die-cut mushroom.

Both of these cards were mailed more than a week ago, but to my chagrin, one son-in-law has not recieved his yet. I really hate it when the USPS lets me down!

*****

I had a lovely Mother's Day--brunch at my daughter's home and lots of phone calls from our other kids. We also managed to take Mickey to the dog park for an hour or so. 

Thanks so much for stopping by, and remember to laugh--a little or a lot--every day.

Cheryl

Saturday, May 11, 2024

21st birthday card...

 One of my beautiful granddaughters turned 21 on May 9th. This is the card I made for her:

I had some starry, sparkly DSP that I decided to use for this card. I used some gold metallic cardstock for the age number and a "happy birthday" sentiment. I thought it added a little elegance.

I began creating this card by first cutting a piece of cardstock 6" X 12". I scored it at 4" and 8". Then I cut at an angle from the middle (3" mark) of the left side to the top right corner. Before adding the decorative papers and embellishments, I created a mountain fold at the first score line and a valley fold at the second score line, so that the card makes an angled Z-fold.

This is the center of my card. I die-cut a few stars to place around my stamped sentiment. 

The red glittery strips at the top and bottom of each section of the card started out as white glitter cardstock. I didn't have the right shade, so I just used an alcohol marker to color it. I used this same technique to create the word "celebrate" that you see in the first photo.

This is the final panel of the card. More die-cut stars were added around "happy birthday."

Here is the card completely opened up.

It's hard for me to believe that my granddaughter has reached full adulthood. I remember my excitement when she was born. I was able to be there just hours after her birth and hold her soon after that. Now she is a beautiful young lady in college.

*****

I hope you are having a wonderful weekend. We have been able to get some yard work and flower planting done in our yard.

Here is a photo of our azalea bush in full bloom:


Thanks so much for stopping by, and remember to laugh--a little or a lot--every day.

Cheryl

Wednesday, May 8, 2024

Last Mother's Day cards for 2024...


This is a simple gatefold card. In looking at the photo, I feel like I should have matted the small rectangle in the center. Oh well. There's always a next time.


The rose is a four-layer die set that I cut from white cardstock and ink blended before assembling. 

The leaves were also part of the die set.


The inside of the card was lined with some Mother's Day themed paper. The rectangle in the center is exactly the same size as the one on the front. The die-cut rose is a smaller version of the one on the front.

This card made use of a leftover strip of the lilac paper that was sitting on my desk. The embossing was done with one of those narrow strip embossing folders that I've had for a very long time, but have hardly ever used.


I had a bunch of tiny purple self-adhesive gems, so I added them to the curlicues in the embossed design.

"Mom" was stamped on a white oval and popped up with a dimensional.


I even added three tiny gems to the inside between two stamped sentiments.


This card features a dimensional flower sticker from Dollar Tree. I thought it looked so much like the flower on the patterned paper that I just had to use it!

The die-cut sentiment was stamped, matted and popped up on foam squares.


This particular set of Dollar Tree flower stickers was expecially nice. I think I've used nearly all of them, and if they ever stock them again, I'll gladly buy more.


On the inside of this card I added a stamped sentiment and a few lavendar hearts. I actually cut the hearts from some of the spaces on the DSP that had no design. That way, they matched the front of the card perfectly. I did ink around their edges a tiny bit to make them more pronounced.


This was one of my favorite Mother's Day cards. The pansy image is an AI image that was offered for free use on one of the Facebook AI sites that I have joined.

I love the die-cut lace that I used on this card, too. It's so delicate. It's a really old die that I've had for years. I'm not even sure who made it.


Here's a closer look at that pansy design. It's so pretty. I just wish you could see it it person.

The scalloped oval was popped up on dimensionals.


I used a coordinating ink to stamp the sentiment on the inside.

I actually made quite a few more Mother's Day cards than I have shared with you on the blog, but I didn't want to completely bore you by posting all of them.

*****

I purchased a load of flower seedlings yesterday that I will plant today. I have seven or eight pots, a large terra cotta strawberry jar and some empty spaces in our various flower beds that I need to fill. I guess I have my work cut out for me! 

It will be lovely to have the planting done and be able to sit back and enjoy the flowers.

Thanks so much for stopping by, and remember to laugh--a little or a lot--every day.

Cheryl

Sunday, May 5, 2024

Let's Craft and Create Challenge #207: Anything Goes or Baby Blue/Pretty Pink...


It's Spring, it's May and it's time for another Let's Craft and Create challenge!

This month we are offering the usual "Anything Goes" prompt, OR you can choose to create a project in either baby blue or pretty pink. Or both!

I chose to make two cards, one featuring baby blue and the other with some pretty pink elements.

We have a couple of family weddings taking place this summer, so I needed some wedding cards. This challenge was the perfect opportunity to make one featuring pink and another in blue.

This front panel on this card was first embossed with a 3D embossing folder.  It's a simple flower design, and I could have left it white, but I decided to paint it with my metallic watercolors. I love the metallic sheen of these paints.


I tried to capture some of that sheen in a photo, but...no luck!

I used two shades of pink for the blossoms and two shades of green and some burnished gold for the leaves and stems.

I didn't like the starkness of the background, so I rubbed on a little bit of light blue chalk to soften it.

The sentiment was created with a banner stamp. I fussy cut it and popped it up on dimensionals.


I felt like the inside needed a little pink, too, so I added a strip of the same pink I had used for the mat of my image panel.

The stamped sentiment is one of my favorites for wedding cards.


This card began when I printed out a beautiful AI image that was offered on one of the Facebook AI sites that I'm a member of. It really didn't need much to dress it up, so I kept it pretty simple.


I had some sheer blue ribbon in my stash, so I added a bit of that, along with a stamped sentiment and a few gems.

The stamped sentiment (in navy blue) was die-cut and popped up on dimensionals.


On the inside, I used the same navy blue ink to stamp the same sentiment as I had used on the first card.

Now it's your turn. I hope you'll join our challenge by adding your project here. Be sure to check out all the fantastic projects the Design Team has created, too.

Thanks so much for stopping by, and remember to laugh--a little or a lot--every day.

Cheryl


Friday, May 3, 2024

Fun coffee card...

 I'm a daily coffee drinker, so I love when I can make a card that features coffee.

I saw a similar sentiment somewhere online, so I thought I'd recreate it with my computer and use it to make a fun card. I kept the layout simple so that it could be used for either a male or female. 


I stamped some coffee beans beneath my sentiment, and used a much-loved die set to make my carryout cup. The steam was cut from vellum, and I added a tiny bit of shading to the bottom of it.


I stamped a whole row of coffee beans on the inside and added another computer-generated sentiment.

I made a couple of these cards and donated them both to the thrift store. I think they have already sold, so hopefully someone got a chuckle out of them.

Thanks so much for stopping by, and remember to laugh--a little or a lot--every day.

Cheryl


Wednesday, May 1, 2024

More Mother's Day cards...

Mother's Day cards have been selling quickly at the thrift store, so I have been making and donating 6 or more every week since the first of April. 

To create this card base, I cut one inch off the right hand side of the front. Then I adhered some pretty butterfly-patterned paper that had been left over from another project. I cut it to fit my card front, but carefully cut around the butterfly wing and flowers that were on the right edge.


I fussy-cut a couple of small butterflies and added them to the inch wide section on the right.

The sentiment was stamped, cut out with a stitched and scalloped oval die, and popped up on foam squaares.


Here's what the inside looks like. I added a tiny scalloped border at the top and bottom of my sentiment panel.

The sentiment stamp that I used here is actually supposed to be for a birthday card, but I think it works well for a Mother's Day card, too.


This card is really very simple. I chose some bright yellow DSP and then die-cut three layers of petals for my flower along with the center and a couple of leaves.

I added three yellow gems to the flower center and popped the stamped sentiment up on dimensionals.

The inside simply said, "Happy Mother's Day."

These are the cards I actually made for my two elderly aunts. I always try to remember them on Mother's Day as they enjoy receiving handmade cards so much. 

I want to give my online crafty friend, Donna, whose blog is Design by Donna, for the idea for this card fold. She had sent me a similar card, and I just had to give it a try.


The pretty floral image is an AI image that was offered free for personal use online. I backed it with a wonky stitched and scalloped circle.


To open the card, you lift up the top section (with the scalloped circle) and then fold down the inside secvtion with the patterned paper on it. 

This style of card leaves me lots of room to write each of my aunts a personal note.


This card featured a very large dimensional flower sticker that I've had for ages. I'm so glad I hung onto it, as I think it's perfect for this card. I think it looks so pretty against the pinpoint design on the background panel.

The word "Sending" is a layered die-cut that was glued directly to the card front. "Love and big hugs" was popped up on dimensionals.


Here's a closer look at that big flower.  Now I wish I had a few more of these!


There were a couple of small, flat stickers that were a much smaller version of the dimensional flower, so I added them to the inside of my card.

*****

I was able to bring in another bouquet of tulips again yesterday, but the squirrels and bunnies have definitely been feasting on many of them.

Thanks so much for stopping by, and remember to laugh--a little or a lot--every day.

Cheryl