Wish List

Thursday, July 4, 2024

Just a quick post with a masculine card...

My online crafty friend Donna Of Design by Donna has inspired me once again to enter the latest Tuesday Morning Sketches challenge.

Here's the challenge #763 sketch:


Here's my interpretation of the sketch:

I really needed to make more masculine cards, so I used the sketch to create this one.

The die-cut hat and the sentiment panel were both laying on my work desk, left over from Father's Day. I decided they would work just fine for a masculine birthday card, too. 

The hat looks a little strange in the photo because it is cut out of metallic gold CS that has a grainy sheen that doesn't photograph well. I inked the hat band through the die.

The sentiment and the hat were  both popped up on foam squares.

I cut the banners with some long banner dies I have, but don't use nearly enough.


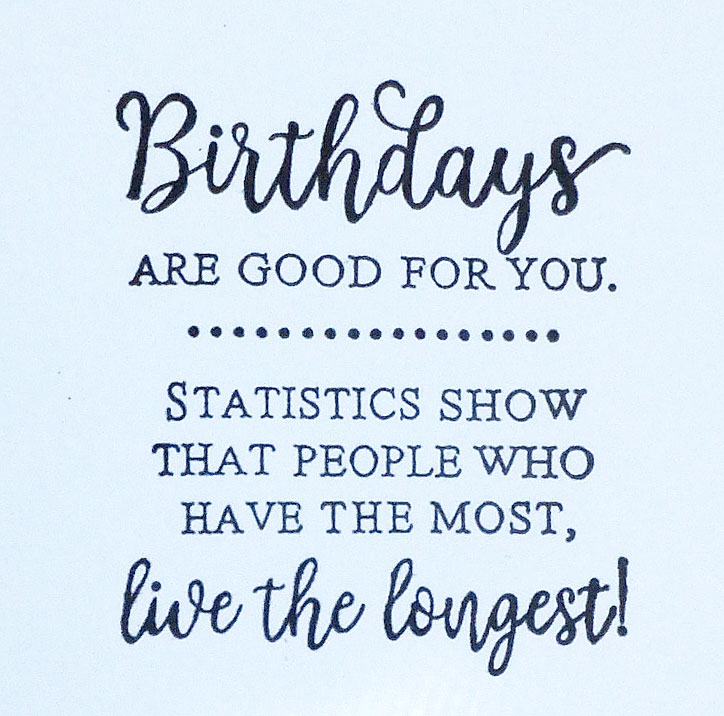
On the inside I added a short gold banner and a couple of stamped sentiments.

I think this sketch was so perfect for a masculine card, which is why I wanted to share it here. I need a record of it so I don't forget to use it again!

I hope you had an awesome Independence Day. We had a lot of rain, but it did stop in time for some fireworks displays.

Thanks so much for stopping by, and remember to laugh--a little or a lot--every day.

Cheryl

Wednesday, July 3, 2024

Happy mice make happy cards...


These two exuberant mice are AI images created by Shari Gravett. She shared them on the Printables and AI Art Sharing Facebook page. 

Aren't they fun? I love their big, happy expressons.


Both of these cards were made as bookbinder cards. 

I added a pink mat to the image on this card and also to the piece of striped paper. A pink piece of twine was used to add the bow.

The sentiments were stamped, cut out and adhered to the image.


This card was made exactly the same way, but with different colors. The mats on this card are navy blue.


This is the sentiment that was stamped on the inside of each card.

I actually made four of these cards (two more just like these two) and donated all of them to the thrift store. I think some little kids will love getting them.

*****

We began hearing fireworks at night this week. Luckily, Mickey doesn't seem to notice them. I know some dogs are terrified and may even require medication.

Thanks so much for stopping by, and remember to laugh--a little or a lot--every day.

Cheryl

Monday, July 1, 2024

Classy masculine cards...


Those of you who have followed my blog know that I struggle with masculine cards. 

Well, a short time ago, I pulled out some black DSP that had a silver stitch line running all over it. The stitch line is made with shiny silver thread sewn onto the card. It's really beautiful paper (I think it's handmade). I don't know when or from whom I got it, but it's been languishing in my stash for years.

I pulled it out and thought, "Why not make some masculine cards with it?" 

I decided to make two slimline cards so that I could feature as much of the stitched paper as possible.


I have a very retro-looking "Happy Birthday" die that I felt was just right for masculine cards. I cut it out of some silver holographic cradstock. It's really eye-catching IRL.

The silver dots on each side added a little more pizzaz to a very simple card.


This is the stamped sentiment I added to the inside.

So, what do you think? Would a man like this card?

They were both donated to the thrift store, so we will see if they sell.

I am trying to make more masculine cards these days, so hopefully I'll have more to share with you in the future.

Thanks so much for stopping by, and remember to laugh--a little or a lot--every day.

Cheryl

Friday, June 28, 2024

Fourth of July cards...


 I made a couple of cards using an old Sizzix die set that creates this card. It cuts the base and the different layers.


I cut the word "Happy" from a Happy Birthday sentiment die. The "4th" was cut using a number die set that also included the "th."


This is how the card looks when it is opened. I left some room on the circle for a signature.


I also made a couple of cards like this one. Again, I used the "Happy" from a Happy Birthday sentiment die. I added thin strips of red glitter cardstock on each side of the white panel. 


I did a bit of inking on the die-cut pieces for my ice cream cone. I didn't pop any of it up. I thought with the busy background paper, this card had enough going on.


I had a couple strips of  this patriotic design that were about 3 inches wide and 12 inches wide. I cut a few banners from it to decorate some cards. The large "4th" was either a Silhouette or Cricut cut that I had in my stash. I simply glued it to my card and stamped "Happy" at an angle.

This is another card I made with one of the banners I had cut. The word "Celebrate" was stamped and the punched stars were glued randomly.

I had some DSP in my stssh that featured this fireworks design, so I used that for my background layer on this card. 

I cut the red and white striped piece from the same paper I had used to die-cut the banners for the previous cards. After adding it on the left, I die-cut a large number four and the "th" and adhered them directly to the card front. The word "happy" was stamped and popped up on a foam strip.


Even though this card front had quite a bit of glitter on it, I added some red gems for even more sparkle.


This is the sentiment I created on my computer and used for all of my Fourth of July card designs except the first one.

I sent out only two of these cards to my two elderly aunts. The rest were all donated to the thrift store.

Thanks so much for stopping by, and remember to laugh--a little or a lot--every day.

Cheryl

Wednesday, June 26, 2024

A little birdie told me...


I had such fun making this card. I loved cutting out the bird and assembling it. I inked all the different parts first, of course.

The sentiment was printed with my computer, die-cut and popped up on dimensionals. The bird is also popped up so that it can properly sit on top of the sentiment panel.

The corner die-cut was made with an old die--I've had it for years--and you can apply ink through the openings in the die, which you can see I have done.


I think the bird is supposed to be a chickadee--one of my favorite birds. I ink-blended it to look somewhat like the chickadees we have around here.


I found a free image of a grumpy cat online and added one of them to the inside of my card.

I have made several cards similar to this one in the past, and I always hope they bring a smile to the recipient's face.

Do you enjoy making "funny" cards? I know that Riley & Company  has a lot of funny sentiments and images. I've been very tempted to buy some of their products, but I've resisted so far. I'm not sure I can hold out much longer, though!


Finally, here is a photo of the waterfall that is just blocks from our home. It is really roaring after all the rain we've had. Some years it has dried to a trickle, so it's a treat to see it so robust. We could feel the spray from the high ground where we took the picture.

Thanks so much for stopping by, and remember to laugh--a little or a lot--every day.

Cheryl

Monday, June 24, 2024

Adding a bit to the background...

I always admire card makers who can add some texture, color, and other special features to the backgrounds of their cards--features that are simple, sometimes elegant, and do not overpower the card design. I added a couple of dies to my collection that will (hopefully) help me do just that.

The special background piece for this card is the double line corner. That was actually cut with a single die. The lines are so narrow that it's hard to get them straight when you put liquid glue on them. I have vowed to cut them from adhesive backed cardstock in the future.

The white strip in the background was embossed with a leafy design. The polka dot panel was popped up on dimensionals.


The flower was cut with an old Tim Holtz die and the "Just Because" die is one I've had for ages.

I added a few Nuvo Drops to the flower center.


I stamped a sentiment on the inside with navy blue ink.


The white die-cut in the background is another new die that I got recently. I love the simple texture it adds behind my flower. 

The little white tag is a pre-cut one I had in my stash. I stamped it with "Happy Birthday," added a bow, and popped it up on dimensionals.


I have a few old factory-made paper flowers in my stash that the thrift store gave me. i took a dark pink (mauve?) colored one and added some die cut flowers to it. Before gluing them all together, I did a little inking on the die-cuts and also die-cut and inked some leaves.


I stamped a fun sentiment on the inside.

*****

We are having a light fixture moved this morning. When our kitchen was remodeled, we had to move our dining room table a bit because of a doorway change, and now the ceiling light is not centered over it. It's been bugging me ever since! 

I finally contacted some electricians and found one who could come right away and move it. I will be so happy to have it centered once again.

Thanks so much for stopping by, and remember to laugh--a little or a lot--every day.

Cheryl

Friday, June 21, 2024

Wedded bliss...


I purchased a new wedding die recently. It cuts this blissful, newly married couple, and I thought it would make some fun wedding cards.

The taupe-colored paper that I used for the mat and the die-cuts has a lovely sheen to it, but, of course, it doesn't show up in the photos.

The die used for the fancy corner is an old one that I've had for years. I like it because it is so delicate.


I did my best to match the ink I used for the sentiment to the taupe color in the die-cut. I used a couple of different colors of ink that I had in my stash. It doesn't match exactly but it looks pretty close IRL I die-cut the sentiment and popped it up on foam tape.

The background DSP is a white on white pattern with a bit of a sheen to the swirly design. It was perfect for this card.


I added another fancy corner die-cut on the inside, as well as a stamped sentiment.

I made a couple of these cards to donate, and I'm sure I'll be making more. I think they'd be pretty using other soft colors for the die-cuts and mat.

*****

Today was my day to volunteer at the thrift shop. It seemed extra busy with lots of customers. That may have been because it was raining almost all afternoon and everyone was looking for an indoor activity. Some of them seemed very happy when I added a new pile of handmade cards to the basket. All of the ones I had brought last week had sold, so the regular card buyers were anxious for more to choose from.

Thanks so much for stopping by, and remember to laugh--a little or a lot--every day.

Cheryl