Hello, friends and fellow crafters. If you've noticed that I haven't been writing as many comments on your blog lately, it's because I've either had company or I've been helping out with grandchildren or both.
Right now, a daughter and granddaughter from Oregon are visiting for a few days. It's so much fun to have the people I love come and stay, but it does mean that I'm not able to tend to my own blog or the blogs I follow. I'm usually busy cooking, or planning what I'll cook, or buying groceries to make what I've planned to cook. It all takes so much time...or maybe I'm just getting slower and slower. Yeah, that's probably it.
I did manage to make a couple of thank you cards using a die that came with my last issue of Cardmaking & Papercraft.
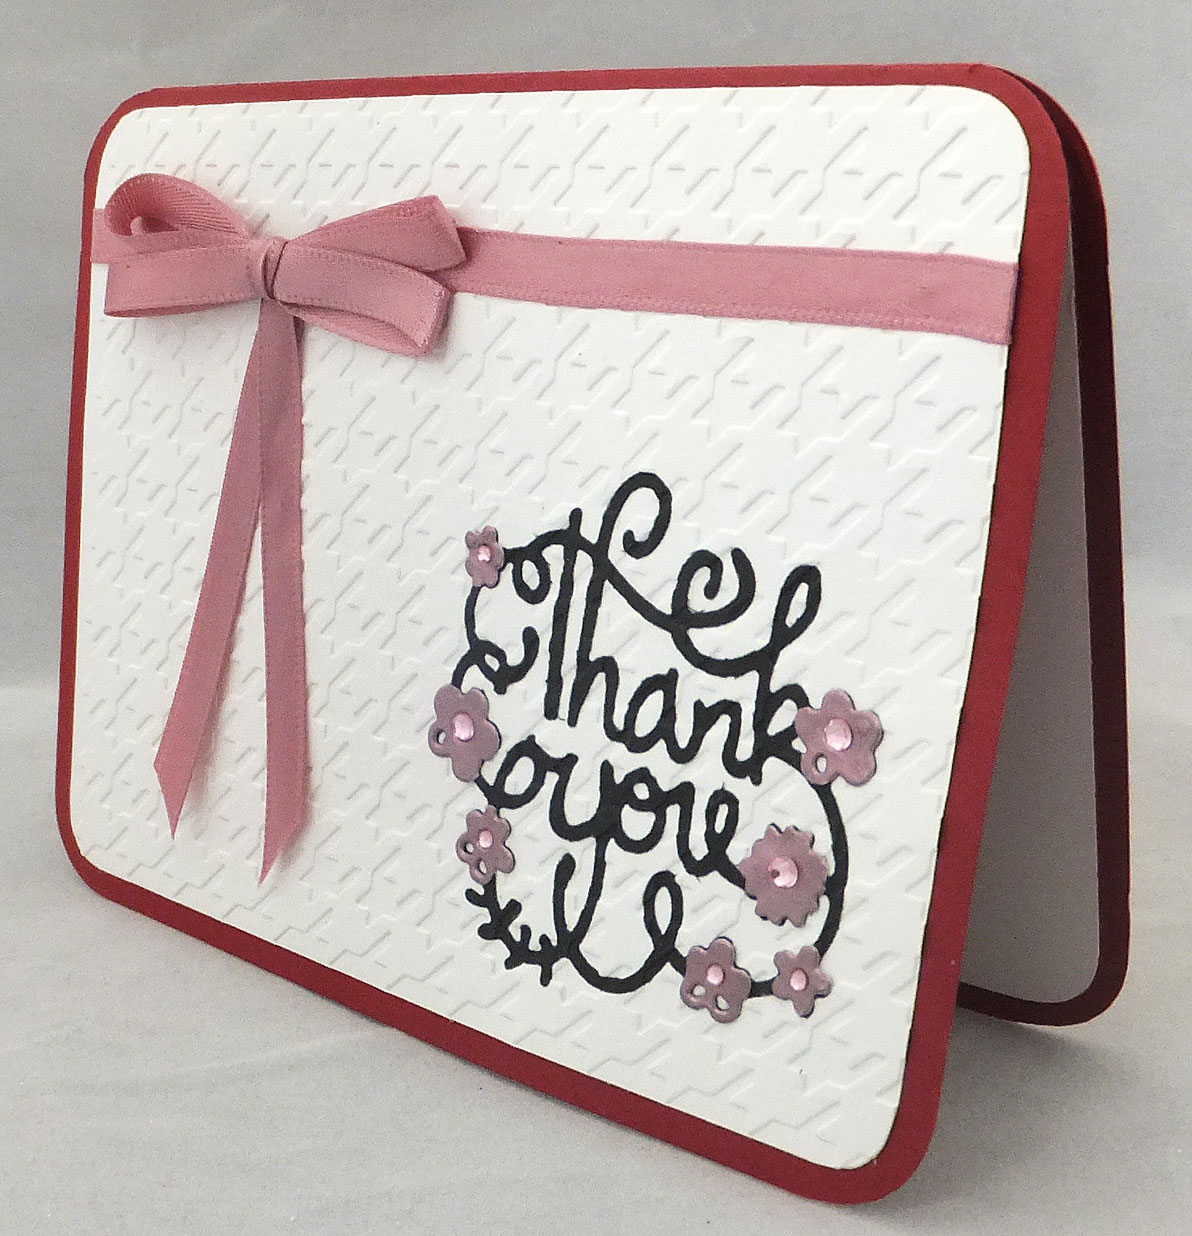
I didn't take as much care as I should have in removing the little slivers of black paper from around my die-cut. I did work on it a bit more after my pictures were taken, but I was just too tired to retake the photos!
You can really see those little black threads of paper around my die-cut in the photo at left. Eek!
I also cut the thank you image out of pink paper. Then I fussy-cut the flowers off of it and glued them on top of the same flowers on my black die-cut. Finally, I added the gems for a little sparkle.
I always need thank you cards, so I think I'll get a lot of use out of this die. It dresses up a card lickety-split. The embossing folder that I used on my white mat is by Cuttlebug, and the ribbon is from my stash.
Here's another quick card done with a stitched oval die-cut to hold my sentiment. Very CAS, but I quite like it.
I should have some free time to do some serious card-making next week, and I have to say I'm looking forward to it. I really want to get some of those Easter cards done. I've managed to get the exteriors done on a few, but now I've got to work on the insides, as well.
Have a great weekend, and thanks so much for stopping by. Remember to laugh--a little or a lot--every day.
Cheryl
Thursday, February 25, 2016
Monday, February 22, 2016
Spring-like Happy Birthday...
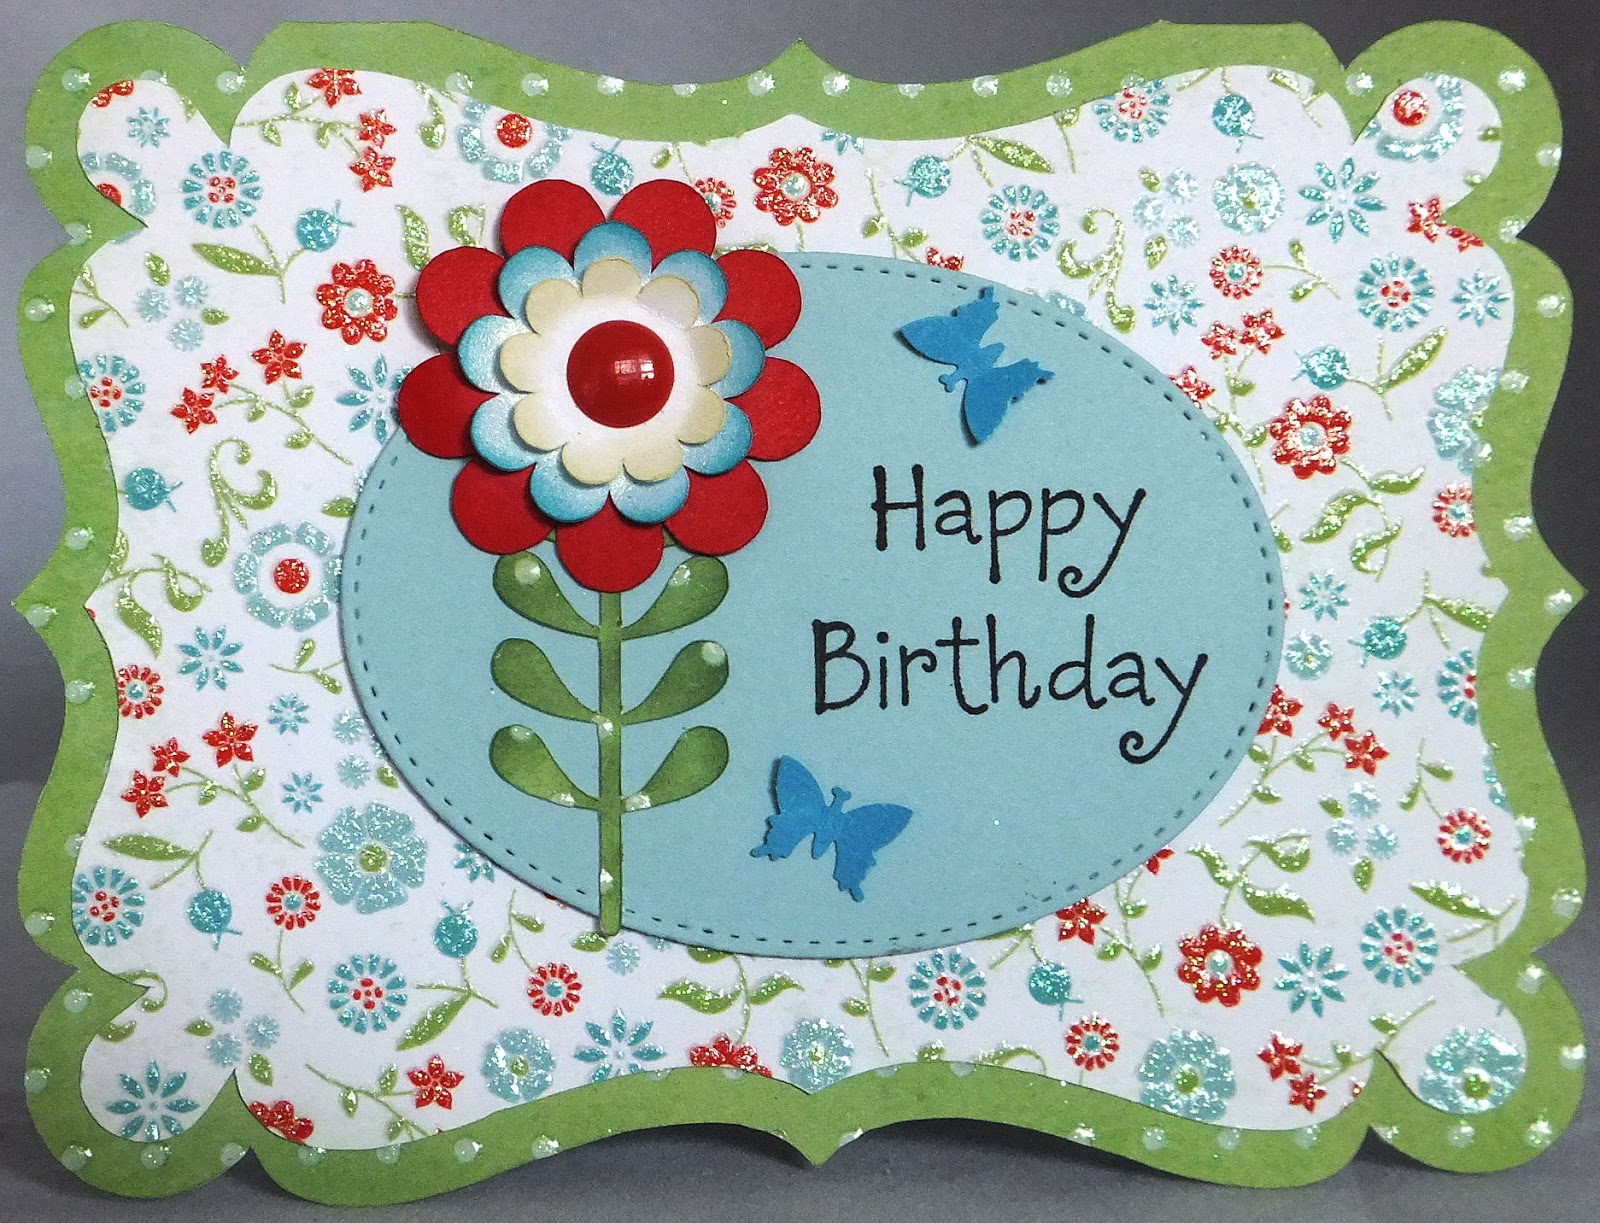
I'm really getting anxious for Spring to arrive, but since it's still rather cold and snowy outside, I decided to create some Spring in a birthday card.
This card was created using a cut file from the Silhouette Online Store.
I love this funky flower that was part of the card file. I inked the edges of the petals and leaves to give them a bit more dimension.
I added the butterflies using a small Fiskars punch.
The stamp is an old one - not sure of the manufacturer.
On the inside of my card, I added a white mat and stamped my sentient from a Fiskars clear stamp set. A couple more butterflies finished off my card.
I really love the Silhouette card files, as they are usually complete - they cut everything out for you and you simply have to assemble and embellish as desired.
This card is for a friend, and I think it will bring a smile to her face. I think she's going to like the fun shape, brightly colored paper and funky flower!
Thanks so much for stopping by, and remember to laugh--a little or a lot--every day.
Cheryl
This card was created using a cut file from the Silhouette Online Store.
I love this funky flower that was part of the card file. I inked the edges of the petals and leaves to give them a bit more dimension.
I added the butterflies using a small Fiskars punch.
The stamp is an old one - not sure of the manufacturer.
On the inside of my card, I added a white mat and stamped my sentient from a Fiskars clear stamp set. A couple more butterflies finished off my card.
I really love the Silhouette card files, as they are usually complete - they cut everything out for you and you simply have to assemble and embellish as desired.
This card is for a friend, and I think it will bring a smile to her face. I think she's going to like the fun shape, brightly colored paper and funky flower!
Thanks so much for stopping by, and remember to laugh--a little or a lot--every day.
Cheryl
Tuesday, February 16, 2016
You are my cup of tea...
This is the Valentine I made for my husband with my Cameo, but I think this could definitely be used for other occasions - like an anniversary.
The cuts for the words and the cup were made in the turquoise mat. I backed the cup area with a beige cardstock and added a slightly larger black mat to the whole piece. The heart and brown "tea" oval were cut (Cameo again) and added after I had my card front put together.
Did you notice that I stamped some steam with an ink that was nearly the same turquoise color as my mat? Then I went over that with a Wink of Stella brush pen.
The inside of my card is pretty simple with a sentiment stamp by Fiskars. The three little hearts are a tiny stamp from another sentiment stamp set, but I'm not sure which one.
I loved making this card with my Cameo. Luckily, the machine did most of the work for me, as I was tight on time.
And speaking of time, I am CRAZY busy this week, taking care of three grandkids (Wed. through Sat.) while their parents take a little trip. I will be driving them to two different schools (at two different times) each day, packing school lunches, picking them up from school, taking them to swim practice, taking one to a swim meet, making sure they do their homework and get to bed on time. I also have a night class of my own to attend (my husband will stay with the kids), a volunteer commitment on Thursday and a book club meeting. My sister is also coming for a brief visit. Phew! Hope I don't get mixed up on who needs to be where and when!
Thanks so much for stopping by, and remember to laugh--a little or a lot--every day.
Cheryl
Thursday, February 11, 2016
Happy birthday, Sis...
Today is my younger sister's birthday, so
I added a black "pearl" to her necklace with my black Viva Décor pen and some Diamond Glaze to her shoes to make them shine.
A tiny black pearl (Viva Décor pen again) was also added to her purse.
On the inside of my card, I added another piece of my matted DSP and a larger stitched rectangle to hold my sentiment. Both this sentiment and the one on the front of the card were computer-generated.
My sister Deb is incredibly crafty. She makes me look like a complete dullard in comparison. Click here to see an example of her crafty talent.
Happy birthday, again, Deb! I hope you're treated like a queen today, including back rubs and bon bons.
Thanks so much for stopping by, and remember to laugh--a little or a lot--every day.
Cheryl
HAPPY BIRTHDAY, DEB!
We always have fun when we're together (which doesn't happen often enough), so I wanted to make a fun card for her.
This image is from Inky Antics. I paper-pieced her dress and colored the rest of her with my ProMarkers. Her earrings, necklace and purse were colored with a metallic gold pen, and her boa was given lots of texture with my Snow Writer marker.
For some sparkle on my card front, I added a few sequins in different sizes and different shades of turquoise. I always use Gem Tac glue to adhere my sequins. It seems to work really well to keep them in place.
And I just wanted to mention that my speech bubble was cut using my Cricut and the George cartridge.
Just look at the great dimension I got when I heated the ink from the Snow Writer. I also sprinkled the boa with some clear glitter before I heated it, so it has nice bit of sparkle.
I added a black "pearl" to her necklace with my black Viva Décor pen and some Diamond Glaze to her shoes to make them shine.
A tiny black pearl (Viva Décor pen again) was also added to her purse.
On the inside of my card, I added another piece of my matted DSP and a larger stitched rectangle to hold my sentiment. Both this sentiment and the one on the front of the card were computer-generated.
My sister Deb is incredibly crafty. She makes me look like a complete dullard in comparison. Click here to see an example of her crafty talent.
Happy birthday, again, Deb! I hope you're treated like a queen today, including back rubs and bon bons.
Thanks so much for stopping by, and remember to laugh--a little or a lot--every day.
Cheryl
Wednesday, February 10, 2016
Happy Birthday to my son...
Today is my son's birthday,
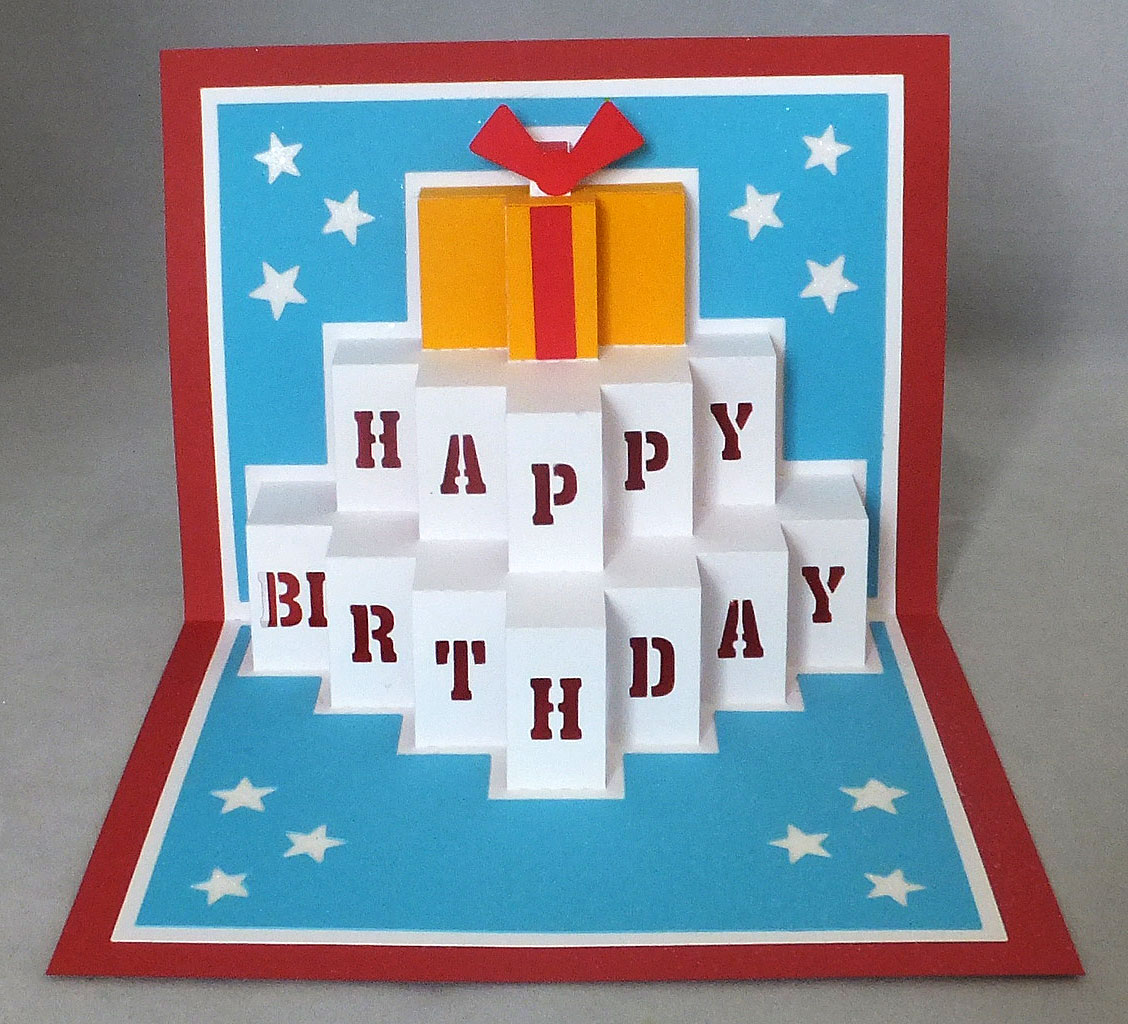
and I hope he has a wonderful day and a year filled with every happiness. I decided to use my Cameo to make him a pop-up birthday card. Who doesn't like pop-ups?
This is a file from the Silhouette online store and includes a base card but no embellishments for the front of the card. I decided on a "star" theme, because the inside design also includes some stars.
I used a couple of Lifestyle Crafts label dies, a computer-generated sentiment and some stars that I die cut from glitter paper. If you look closely, you'll see that I also added some glitter to the word "star-studded" with a glitter pen.
Here is a photo of the spectacular pop-op on the inside. When I showed this card to my husband, he said, "Wow, that's impressive!" And I think it's impressive, too.
I added glitter to my stars on the inside, too. I think my son will be okay with a few glittery stars.
I know that I will use this cut file again and again. It's a little tricky to fold, but if you patiently pop each section out and carefully use your bone folder to crease each fold, it'll all come together in no time.
I have to share a short, personal anecdote. The other day I was cleaning my house and vacuuming all the floors, including the basement floor and steps. My craft area is in the basement, so I definitely needed to spend some of my cleaning energy down there. As I was vacuuming up the basement steps, I noticed that there was a trail of glitter all the way to the top. Guess I leave a little sparkle as I walk from my craft room to other parts of the house! he he
Thanks so much for stopping by, and remember to laugh--a little or a lot--every day.
Cheryl
HAPPY BIRTHDAY, SCOTT!
and I hope he has a wonderful day and a year filled with every happiness. I decided to use my Cameo to make him a pop-up birthday card. Who doesn't like pop-ups?
This is a file from the Silhouette online store and includes a base card but no embellishments for the front of the card. I decided on a "star" theme, because the inside design also includes some stars.
I used a couple of Lifestyle Crafts label dies, a computer-generated sentiment and some stars that I die cut from glitter paper. If you look closely, you'll see that I also added some glitter to the word "star-studded" with a glitter pen.
Here is a photo of the spectacular pop-op on the inside. When I showed this card to my husband, he said, "Wow, that's impressive!" And I think it's impressive, too.
I added glitter to my stars on the inside, too. I think my son will be okay with a few glittery stars.
I know that I will use this cut file again and again. It's a little tricky to fold, but if you patiently pop each section out and carefully use your bone folder to crease each fold, it'll all come together in no time.
I have to share a short, personal anecdote. The other day I was cleaning my house and vacuuming all the floors, including the basement floor and steps. My craft area is in the basement, so I definitely needed to spend some of my cleaning energy down there. As I was vacuuming up the basement steps, I noticed that there was a trail of glitter all the way to the top. Guess I leave a little sparkle as I walk from my craft room to other parts of the house! he he
Thanks so much for stopping by, and remember to laugh--a little or a lot--every day.
Cheryl
Sunday, February 7, 2016
A couple of Valentine cards...
I have finished all my Valentine cards, and this was actually one of my favorites. The heart tree is a Penny Black stamp that I colored with a Letraset Aqua marker. My XOXO sentiment is a Recollections stamp.
As a final touch I added a little sparkle to the heart flower centers with a glitter pen. I know you can't see it in the pic, but it adds a nice tiny bit of shine.
To give my tree a base to stand on, I put a piece of red-patterned Washi tape across the bottom of my card.
The inside was simple with a heat-embossed sentiment. I thought the red ribbon added a nice bit of color on the inside, too!
My next Valentine features a scalloped edge, made with a Sizzix die and a fancy heart die-cut from Spellbinders. I backed my fancy heart with some double-sided sheet adhesive and then added glitter to the adhesive in the negative spaces of the heart. The sentiment stamp is by PSX.
Another simple interior so that I can write a personal message.
These Valentines have to be in the mail very, very soon, so I've got to get cracking!
Thanks so much for stopping by, and remember to laugh--a little or a lot, every day.
Cheryl
Friday, February 5, 2016
Let's Craft and Create Challenge #110: Lace and Pearls
Today a new challenge has been launched on Let's Craft and Create, and what could be more fun than lace and pearls? Nearly all of us have an easier time making "girly" cards, rather than masculine ones, and with this challenge, we're asking you to do just that! Dig out some of those lace remnants and flat-backed pearls and go to town.
As a LC&C DT member, here's what I came up with to help inspire you to join our challenge:
I really love a kraft/white/pale pink combination, so I chose those colors for my card.
I've had this intricate heart stamp for a long time. I bought it when a local craft store was closing and selling all their merchandise - even the items they had used for demonstrations. This stamp was not in the original packaging when I bought it, therefore, I have no idea who the manufacturer is.
It's a cling stamp and is quite large, as you can see, so I don't use it too often. I think it looks very dramatic when it's heat-embossed in white onto colored cardstock.
I added some pale pink pearls and lace, which perfectly matched my pink mat.
I really wanted my lacy heart to take center stage, so I didn't add anything else to detract from it.
The inside of my card is very simple - just a pink mat and a stamped sentiment (by Woodware).
Now, it's your turn! Think about the lace and pearls you have in your stash and how you can use them with a favorite stamp, image, sentiment or cardstock.
Visit Let's Craft and Create to find more inspiration from my teammates and to enter your creations in Challenge #110: Lace and Pearls.
Thanks so much for stopping by, and remember to laugh--a little or a lot--every day.
Cheryl
Subscribe to:
Posts (Atom)