Wish List

Monday, December 16, 2024

Over the hills we go, laughing all the way...


This AI image made me think of the song "Jingle Bells," especially the line "over the hills we go, laughing all the way." The houses are set in a hilly neighborhood and are painted such cheery colors. I just had to use it for a Christmas card.

As you can see, I added a couple of thin strips on each side of the image and popped up a sentiment that had been heat embossed with silver EP.


You can't really see it in the picture, but I added some glitter to the snowy roofs and hillsides. It's really very sparkly IRL.


I also heat-embossed the sentiment on the inside.


This card was the first time I had used this tree die set. I really like it. There are two dies for the branches, which I cut in two different shades of green, and a die for the trunk and branches.

The sentiment was stamped in green, and I used some dark green cord to tie a bow around my white panel, which was popped up on foam tape.

I think this makes a nice masculine Christmas card, don't you?


I added some glitter to areas of the tree, hoping it resembles snow. 


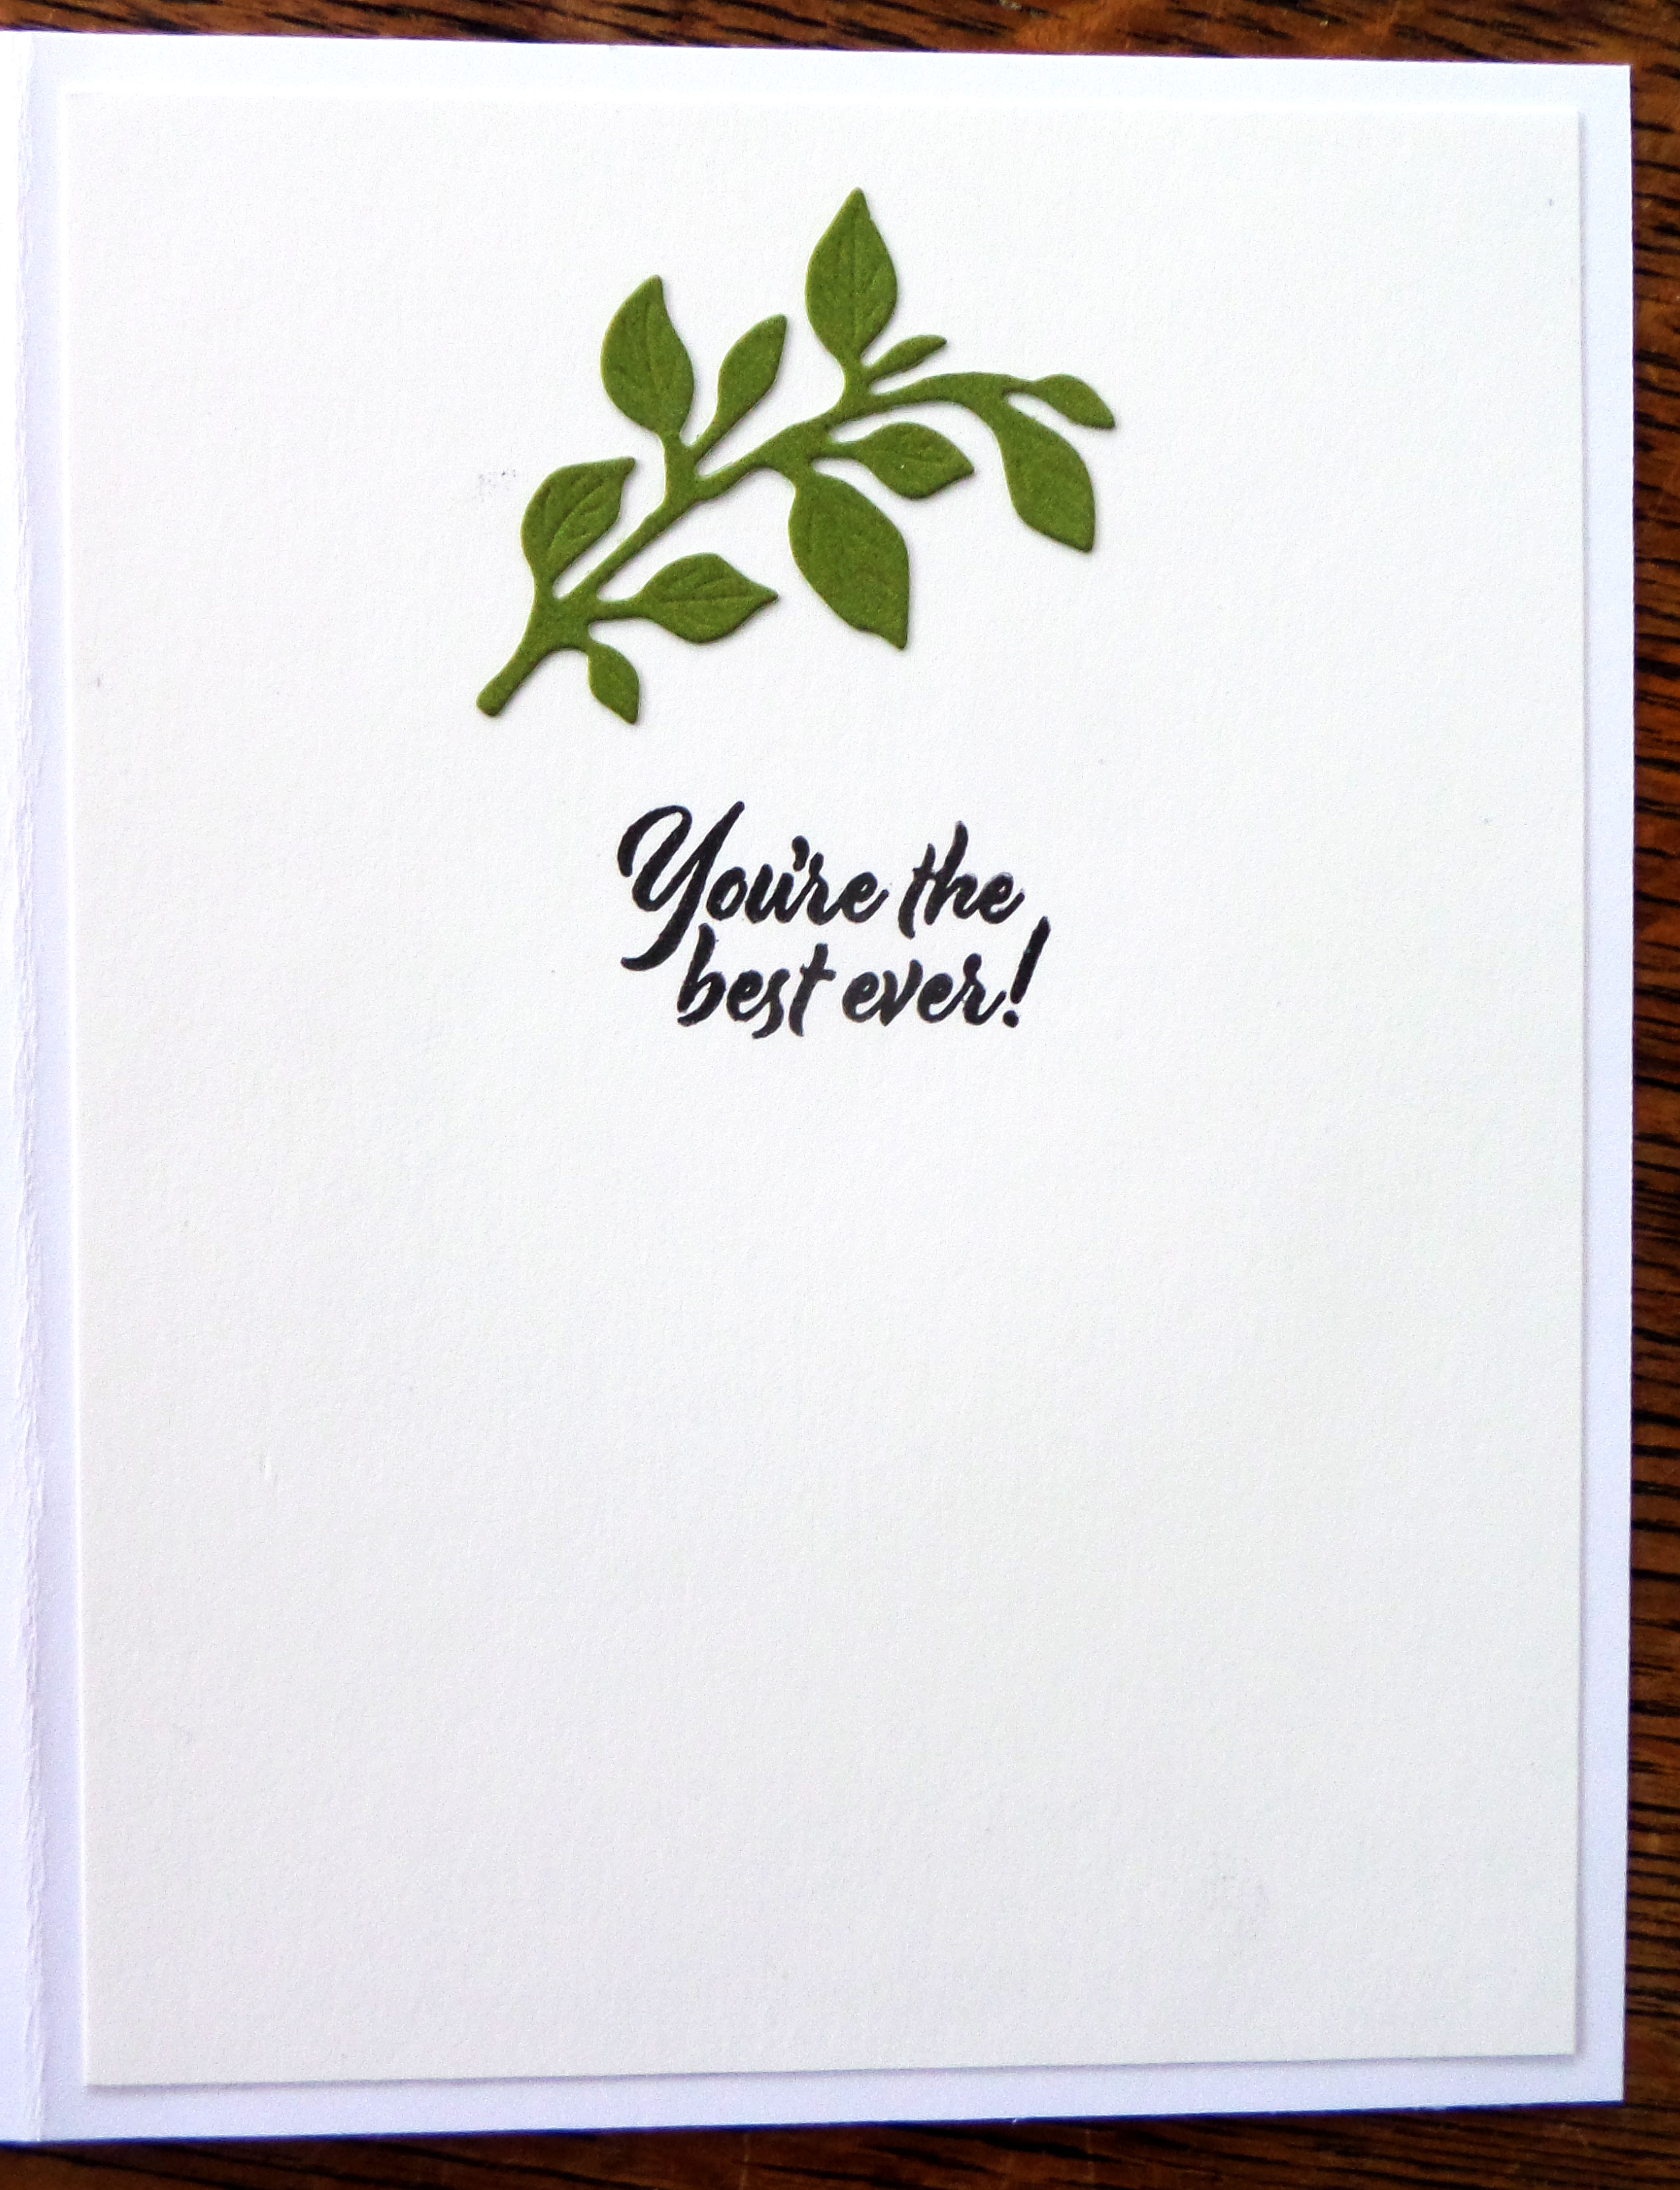
The sentiment on the inside was also stamped in green. 

I think I will use this tree to make some masculine birthday cards and Father's Day cards. I just have to come up with a few sentiments to go with it. Any ideas?

I am very happy to announce that I have finally made some Christmas cookies. Time was getting short, and I began to feel the pressure of not having gotten them done yet. We always give boxes of cookies to our neighbors and platters of them to our kids who come over for the holidays, so I just HAD to get moving on them. I'm trying a couple of new ones this year, so we'll see how they turn out.

Thanks so much for stopping by, and remember to laugh--a little or a lot--every day.

Cheryl

Friday, December 13, 2024

Shiny ornament card...


Gold metallic cardstock is horrible to photograph, so please excuse all the shadows and reflections.

For this card, I first created a 4" X 6" card base and rounded the two right corners. I had some pretty striped cardstock with gold stitch lines running through it. I added a 3" wide piece to my card front and then started die-cutting my ornaments.


After the ornaments had been cut out, I backed them with red glitter CS so that the open design would be filled with some red, glittery goodness.

After popping them up with foam squares on the edge of my striped CS, I added a red gem in the little hanger of each one. 

The sentiment was printed with my computer and then foiled with a laminator. I die-cut it and popped it up on foam strips.


I stamped the inside sentiment with gold, metallic ink.

I made as many of these cards as I could, given I had only one 8 1/2" X 11" sheet of the striped CS. I will definitely be keeping my eye out for more paper with some gold accents in it to use for Christmas cards.

Today was my day to volunteer at the thrift store. A Xyron personal cutting machine had been donated, and those types of craft tools come to me to test, price and display. I had never used a Xyron cutting machine before so it was fun to figure out how it worked. The user manual was included, but it wasn't very good. I did get it to work, and it cut paper just fine. The big drawback was that the shapes it would cut were very limited and they had to fit on a 4" X 4" piece of paper. It seemed really archaic after using a Cricut and a Silhouette Cameo for many years. I think they cost about $100 when they first came out, but this one went on the shelf for just $9.00!

Thanks so much for stopping by, and remember to laugh--a little or a lot--every day

Cheryl

Wednesday, December 11, 2024

I'll have a blue Christmas without you...

I love the version of that song as sung by Elvis Presley. In fact, I have a CD of Christmas songs by Elvis, and that's one of them. I get it out every year and listen to it (over and over again!!).

With that song in mind, I made these Christmas cards, using some parts from a partial kit that had been given to me.

The blue-striped, glittery cardstock was from the kit, as was the scalloped circle. I made the card base out of some blue cardstock I had on hand, and the die-cut sentiment circle was made from a scrap of white and popped up.

The sheer ribbon was tied around the top to add some interest and break up the strong, striped pattern of the cardstock.

The fancy snowflakes were stamped with some blue ink. I think I did a pretty good job in finding the right color of blue ink for them.


This is how the card looks when opened. I used a darker blue ink for this sentiment and for the one on the front.


Here's another card I made with more of the striped cardstock and a snow couple image from the kit. The image was matted with a die-cut, scalloped circle. I also die-cut a couple of snowflakes from scraps and the strip sentiment, which was popped up on thin foam strips.

I did the same stamping of a line of fancy snowflakes down the right side of the inside panel.


Here's a photo of the inside of this card. Once again I used a darker blue ink for the sentiment.

Do you listen to some favorite Christmas music at this time of year? If so, I hope you'll share your favorite performers and/or songs. 

If you'd like to listen to Elvis sing "Blue Christmas," here's a link.

Thanks so much for stopping by, and rmember to laugh--a little or a lot--every day.

Cheryl

Monday, December 9, 2024

Still making Christmas cards...

I'm still making Christmas cards to donate, and I expect I'll keep making them until the last week of December. 

While I have finished making cards for my personal use, I haven't shared all of them here on the blog. Today's post shows you a couple of them that were a lot of fun to make.

The Santa image used on these two cards was a free AI image available online. I love the look of a traditional Santa, so I printed out a few and made several of these cards.

I used some mat silver cardstock to die-cut a frame for Santa before adhering the image to a die-cut red banner. I embellished my frame with a little holly cluster that had some self-stick gems in place of the berries.


The banner was popped up with foam tape and the sentiment was popped up with thin foam strips (they're great for sentiment strips!).


When I have the time, I love adding a little decoration to the inside, too. I used a scalloped border punch and a thin strip of red CS to create this embellishment. 

The sentiment is a stamp that I have used on a lot of cards this year.


This card was made the same way, with a couple of small differences. I added silver dots with a Viva Decor pen, and I matted the sentiment with red CS before popping it up beneath the banner.

I used a different sentiment on the inside of this one. I added the scalloped strip of DSP at the bottom, but I did not add the thin strip of red cardstock. In looking at the photo, I wish I had!

The days are zooming by, and I am doing my best to get everything ready for the big day. I still have some decorating, wrapping and baking to do. I think I'll let my DH take care of some of the cleaning. He's actually pretty good at that!

I hope your Christmas preparations are well underway. I'm sure some of you are even done and just enjoying the days leading up to the 25th!

Thanks so much for stopping by, and remember to laugh--a little or a lot--every day.

Cheryl 

Thursday, December 5, 2024

Let's Craft and Create Challenge #214: Anything Goes or (Option) Black and White...


Oh my stars, it's DECEMBER! I can hardly believe that we are in the last month of 2024, soon to celebrate the beginning of 2025. 

Since this is the final challenge of the year on the Let's Craft and Create blog site, I hope you'll join in the fun. The option for Decenber is "Black and White," and I decided to use that suggestion to create a couple of Christmas cards. Sound crazy? I wasn't sure I'd like the end result, either, but...I really do. 

I'd love it if you'd enter some black and white Christmas cards so I can add them to the "ideas" file in my head. Sometimes I have to print those ideas out, because my head's file system is not terribly reliable. LOL

I started by making a couple of black A2 card bases. Then I searched for some buffalo check paper. I didn't have any so I found a free clipart image of it online that was perfect.


The sentiment was printed with the computer, die-cut, and adhered to a black, die-cut, scalloped square.

Finally, I die-cut three different snowflakes out of glitter cardstock and added them to the card front. There is a sparkly gem in the center of each one, although the gems are a little hard to see in the photos.


I thought the inside deserved a little decoration, too, so I stamped a line of fancy snowflakes on the center top at the same time that I stamped the sentiment.

If you look at the first photo, you'll see that I stamped the same line of snowflakes on the envelope flap, as well.


Because I liked the first card so much, I decided to make a second one. This one has different sentiments (inside and out) and the snowflakes were in different positions. Other than that, it was made exactly the same way.

Now it's your turn to create something fun. I'm excited to see all your creations, but especially the black and white ones! If you need a little inspiration, just click over to the Let's Craft and Create blog to see what the rest of the Design Team has posted there.

Thanks so much for stopping by, and remember to laugh--a little or a lot--every day.

Cheryl

Wednesday, December 4, 2024

A fun layout...


I don't recall where I saw this layout, but I wanted to give it a try.

The green layer was cut at 4" X 5.25" for my A2 card base. The floral DSP, which is the other side of the green stripe, was cut at 3 3/4" X 4 1/2". Then I cut that piece at a diagonal before adhering both pieces onto the green panel. 


I cut two circles, one out of the dark gray that is included inthe floral print, and one out of white. I stamped my sentiment, glued the white circle to the gray one and popped them both up on foam squares.

I added a portion of a leafy sprig and three pink gems for embellishment.


I stamped a sentiment on the inside and added the rest of the leafy sprig. I trimmed it down so that it wasn't readily apparent that it was only a part of the original die-cut.

This is a fun layout to make, and I can see it being used for all kinds of cards, even Christmas and other holiday cards. Other shapes and die-cuts could be used in place of the circle, too. 

I hope you'll give it a try.

Thanks so much for stopping by, and remember to laugh--a little or a lot--every day.

Cheryl

Monday, December 2, 2024

From our house to yours...


I had a number (maybe 8 or 10) pre-printed, pre-cut window frames in my stash. I think they came with other crafty odds and ends that the thrift store had given me. I decided to use some of them for Christmas cards. Since this is the first time I've used any of them, I am entering this card into Challenge #69 on the NBUS blog.


After inking the edges of all the frames, I went online to the Bing.Create program to create an AI image for a scene outside the window. 


I ended up printing an entire sheet of cardstock full of the small images I had created, I began by gluing the window frame directly over an image and then carefully cutting around it.

I added some DSP to my card front, with a strip of gold DSP to cover the splice. Then I popped up my window onto the front of the card.

Finally, I die-cut a white cat, inked its edges with some gray ink and adhered him to the window sill, as though it is watching the lighted tree.

The sentiment was stamped, die-cut, and popped up on thin foam strips.


The inside was stamped with a sentiment to finish the card. 

This is a larger card--4 1/2" X 6"--to better accommodate the window frame.

I have really enjoyed using AI images on my Christmas cards this year. They have made it so much easier to carry out a card idea like this one.

Thanks so much for stopping by, and remember to laugh--a little or a lot--every day.

Cheryl