Saturday, February 9, 2019
Tic, tac, toe...
This is a Valentine I made for some of my grandsons. It's always a challenge to make one that isn't too "girly" for them, but still incorporates the loving spirit of Valentine's Day.
I found this little unbranded tic, tac, toe die-set online, so I ordered it for just this purpose! It even included the skinny arrow underneath the sentiment.
Here you can see how I've popped my little hearts up on foam squares.
I love being able to add a little dimension this way.
Both my front and inside sentiments were computer-generated.
This was a quick card to make, once my computer file was set up and printed. The only fiddly part was dealing with the x's and o's. I kept losing them in my messy work space!!
We are staying inside today (Saturday), sitting by the fireplace with a nice fire flickering away. That is the ONE nice thing about a Minnesota winter - sitting by the fire.
I hope you're having a wonderful weekend, wherever you are. Thanks so much for stopping by, and remember to laugh--a little or a lot--every day.
Cheryl
Tuesday, February 5, 2019
Let's Craft and Create Challenge #144: From the Heart...
Since it's February and Valentine's Day is soon upon us, the challenge theme of "From the Heart" at Let's Craft and Create is the perfect one to help us all get those Valentines made. Be sure to click on the link and look at all the inspiring creations from the Design Team.
For my part, I decided to make a "wiper card" Valentine. There are lots of video tutorials on YouTube, Splitcoaststampers and other sites if you do a little search, but I followed the tutorial from Jess at Simon Says Stamp.
It's a simple card. My cute cat is an unbranded die which I have dolled up a bit. I've given her a rhinestone collar and some gray flocking on her chest. My sentiment was computer-generated.
I've popped my cat up a bit with some foam tape, as well as the punched heart on the sentiment label.
In the photo above you can see the "wiper" in action. I've also made a little video (below) so you can see how it works. I haven't done a video in a very long time, so I hope it works!
I put a Valentine greeting on the back, and there's still plenty of room for a personal note and signature.
I had a good time making three of these wiper cards, but I feel I'll have to send a little instruction sheet with the card, letting the recipient know how they work. Otherwise my grandchildren may struggle to figure it out. Here are the instructions I plan to include:
Grasp the front of the card on the right side and the back of the card on the left side. Gently pull in opposite directions to see the "wiper" hidden inside. Push the sides back together to return the "wiper" to its original position.
Now I hope you'll take some time to visit Let's Craft and Create and join in the fun of this month's challenge.
Thanks so much for stopping by, and remember to laugh--a little or a lot--every day.
Cheryl
Friday, February 1, 2019
You're so sweet...
January 30 was my granddaughter's birthday, and this is the card I made for her.
To start, I found some pretty patterned cardstock in an old 12" X 12" stack and used that to make my card base. I liked that it not only had a couple different shades of pink in it, but also some metallic gold on random hexagons.
I have an unbranded cupcake die set, and used it to make three little cupcakes on the front of my card.
On the inside of my card I added this bigger, pop-out cupcake with a cherry on top. All of the dies used for this were part of the same cupcake die set.
The swirls in the frosting of this cupcake were made with the Cuttlebug D'vine Swirl embossing folder. I've added an enamel dot to the center of my bow, too.
This card was really fun to make--especially the pop-out part of it. I love it when I can put a little surprise on the inside of my cards!
I'm entering this card into Crafty Hazelnut's Patterned Paper February 2019 Challenge. If you've been paper crafting for any length of time, I'm certain you've got some patterned paper in your stash. Why don't you pull some of it out and join in the fun over on Hazel's challenge blog. There will even be a prize for the randomly chosen winner!
Well, we have made it through the worst of the cold weather. We managed to stay warm and to keep our pipes from freezing and bursting. We have an old house (built in 1927), and the water pipes for our main bathroom were put in an exterior wall!!! It's hard to believe they would have done that in this part of the country, even then. We have added insulation over and around the pipes, plus we add more insulation on the outside of the wall during the winter, but when it's really, really cold, we can still have a problem. My husband thinks he has a new idea that will solve this problem going forward. He plans to divert some heat from our ductwork in the basement to the inside of this wall. I hope it works!!
Thanks so much for stopping by, and remember to laugh--a little or a lot--every day.
Cheryl
To start, I found some pretty patterned cardstock in an old 12" X 12" stack and used that to make my card base. I liked that it not only had a couple different shades of pink in it, but also some metallic gold on random hexagons.
I have an unbranded cupcake die set, and used it to make three little cupcakes on the front of my card.
On the inside of my card I added this bigger, pop-out cupcake with a cherry on top. All of the dies used for this were part of the same cupcake die set.
The swirls in the frosting of this cupcake were made with the Cuttlebug D'vine Swirl embossing folder. I've added an enamel dot to the center of my bow, too.
This card was really fun to make--especially the pop-out part of it. I love it when I can put a little surprise on the inside of my cards!
I'm entering this card into Crafty Hazelnut's Patterned Paper February 2019 Challenge. If you've been paper crafting for any length of time, I'm certain you've got some patterned paper in your stash. Why don't you pull some of it out and join in the fun over on Hazel's challenge blog. There will even be a prize for the randomly chosen winner!
Well, we have made it through the worst of the cold weather. We managed to stay warm and to keep our pipes from freezing and bursting. We have an old house (built in 1927), and the water pipes for our main bathroom were put in an exterior wall!!! It's hard to believe they would have done that in this part of the country, even then. We have added insulation over and around the pipes, plus we add more insulation on the outside of the wall during the winter, but when it's really, really cold, we can still have a problem. My husband thinks he has a new idea that will solve this problem going forward. He plans to divert some heat from our ductwork in the basement to the inside of this wall. I hope it works!!
Thanks so much for stopping by, and remember to laugh--a little or a lot--every day.
Cheryl
Tuesday, January 29, 2019
Owl always love you...
I was going to join in on the Twofer Card Challenge for January, but I was a tad too late. No matter. I decided to use the theme of "Birds" as my own personal challenge anyway, and this is what I came up with.
My little stack of owls and birdie is an unbranded die. Isn't this die perfect for the theme? This one die puts four birds on each card!
For my Valentine, I thought the little red bird should be singing (tweeting?) a love song, so I used a small note punch and a few of the little hearts from the heart borders (also unbranded). My sentiment is computer-generated, except for the word "Love."
My inside sentiment was also computer-generated. And I thought another little heart border would spice up the inside just a bit.
The fluffy clouds on this card were cut with Impression Obsession dies, and the sentiment is computer-generated. Can you see that I used a very light gray marker to add a bit of shading to their undersides.
My stash of cards is seriously low, so I really needed to make these. Thanks, Darnell, for your inspiring challenge blog!!
We are bracing for 72 hours of dangerously cold weather. They've even closed many of the schools in the metro area for the next couple of days. And it's really rare for them to be closed because of cold. Tomorrow night our temperature is forecast to hit -25 F (-31.5 C) with winds that will make it feel like -61 F (-51.5 C).
I hope to get out to the beauty salon to get my hair cut tomorrow. Hopefully, we won't have any trouble starting our cars!!
Thanks so much for stopping by, and remember to laugh--a little or a lot--every day.
Cheryl
My little stack of owls and birdie is an unbranded die. Isn't this die perfect for the theme? This one die puts four birds on each card!
For my Valentine, I thought the little red bird should be singing (tweeting?) a love song, so I used a small note punch and a few of the little hearts from the heart borders (also unbranded). My sentiment is computer-generated, except for the word "Love."
My inside sentiment was also computer-generated. And I thought another little heart border would spice up the inside just a bit.
The fluffy clouds on this card were cut with Impression Obsession dies, and the sentiment is computer-generated. Can you see that I used a very light gray marker to add a bit of shading to their undersides.
My stash of cards is seriously low, so I really needed to make these. Thanks, Darnell, for your inspiring challenge blog!!
We are bracing for 72 hours of dangerously cold weather. They've even closed many of the schools in the metro area for the next couple of days. And it's really rare for them to be closed because of cold. Tomorrow night our temperature is forecast to hit -25 F (-31.5 C) with winds that will make it feel like -61 F (-51.5 C).
I hope to get out to the beauty salon to get my hair cut tomorrow. Hopefully, we won't have any trouble starting our cars!!
Thanks so much for stopping by, and remember to laugh--a little or a lot--every day.
Cheryl
Friday, January 25, 2019
Simple birthday card...
This birthday card was one I included in two sets of ten all-occasion cards that I made for friends we visited recently in Arizona. I liked the Stampin' Up background paper, as it reminded me of tile work you might have in your kitchen or bathroom, so I just selected colors from it for making the rest of the card.
My card base is navy blue. I know you can't really see it against the black background, but it's there! The stars were cut from pale blue glitter paper, the banner is a coordinating Stampin' Up paper and the "Happy Birthday" was cut from the same navy blue as the card base.
My sister sent me a bunch of crafting supplies for my birthday and the square brads at the top of my banner were part of that gift.
On the inside of my card I used a Fiskars stamp for my sentiment, along with a solid star stamp. I thought this card would work well for a guy.
In my sets of cards for my friends, I included four birthday cards (2 male, 2 female), two sympathy cards, two thank you cards and two thinking of you cards. They seemed to really appreciate them. They, themselves, or family members are dealing with difficult health concerns, so it can be difficult for them to go shopping for a card when they need one.
I renewed my driver's license today. I had to wait in line for nearly two hours after I got there to actually take the vision test and get my photo taken. It was such a cold, wintery day, that I was hoping few people would actually venture out to the County Service Center. Boy, was I wrong! I think it must have been the number one errand on everyone's to-do list.
Thanks so much for stopping by, and remember to laugh--a little or a lot--every day.
Cheryl
My card base is navy blue. I know you can't really see it against the black background, but it's there! The stars were cut from pale blue glitter paper, the banner is a coordinating Stampin' Up paper and the "Happy Birthday" was cut from the same navy blue as the card base.
My sister sent me a bunch of crafting supplies for my birthday and the square brads at the top of my banner were part of that gift.
On the inside of my card I used a Fiskars stamp for my sentiment, along with a solid star stamp. I thought this card would work well for a guy.
In my sets of cards for my friends, I included four birthday cards (2 male, 2 female), two sympathy cards, two thank you cards and two thinking of you cards. They seemed to really appreciate them. They, themselves, or family members are dealing with difficult health concerns, so it can be difficult for them to go shopping for a card when they need one.
I renewed my driver's license today. I had to wait in line for nearly two hours after I got there to actually take the vision test and get my photo taken. It was such a cold, wintery day, that I was hoping few people would actually venture out to the County Service Center. Boy, was I wrong! I think it must have been the number one errand on everyone's to-do list.
Thanks so much for stopping by, and remember to laugh--a little or a lot--every day.
Cheryl
Tuesday, January 22, 2019
Robot Valentines...
I made a couple of Valentines that feature some cute little print-and-cut robots from the Silhouette Design Store.
I used a Sizzix Framelits die set by Stephanie Barnard to create my card base. The hearts were all made with various heart dies. My little robot was Design ID #113365 from the Silhouette Design Store. Since she's a print-and-cut item, it's really quick and easy to print out several and then let the Cameo cut them out. No fussy cutting!
In this photo you can see that I've dry-embossed some of the hearts to add a little texture. I also popped the polka-dotted hearts up on foam squares.
The inside of my card has a simple stamped sentiment.
This robot was Design ID #113368 from the Silhouette Design Store. I think this little guy is great for a "boy" Valentine. Both this robot and the previous one are popped up on foam squares, though it's difficult to see that in the photos.
Once again, the inside of my card is pretty simple with just a stamped sentiment.
These cards may look complicated, but with the Sizzix die set and the print and cut feature of my Silhouette Cameo, they're quick and easy.
We returned from Arizona last night to some freezing temps in Minnesota. Guess we'll have to tough it out from now on until Mother Nature turns up the heat a bit around here.
We had a great time in Phoenix visiting with old friends. They have a pool, and while we didn't go swimming, we did sit out by the pool and enjoy the warm sunshine.
Thanks so much for stopping by, and remember to laugh--a little or a lot--every day.
Cheryl
I used a Sizzix Framelits die set by Stephanie Barnard to create my card base. The hearts were all made with various heart dies. My little robot was Design ID #113365 from the Silhouette Design Store. Since she's a print-and-cut item, it's really quick and easy to print out several and then let the Cameo cut them out. No fussy cutting!
In this photo you can see that I've dry-embossed some of the hearts to add a little texture. I also popped the polka-dotted hearts up on foam squares.
The inside of my card has a simple stamped sentiment.
This robot was Design ID #113368 from the Silhouette Design Store. I think this little guy is great for a "boy" Valentine. Both this robot and the previous one are popped up on foam squares, though it's difficult to see that in the photos.
Once again, the inside of my card is pretty simple with just a stamped sentiment.
These cards may look complicated, but with the Sizzix die set and the print and cut feature of my Silhouette Cameo, they're quick and easy.
We returned from Arizona last night to some freezing temps in Minnesota. Guess we'll have to tough it out from now on until Mother Nature turns up the heat a bit around here.
We had a great time in Phoenix visiting with old friends. They have a pool, and while we didn't go swimming, we did sit out by the pool and enjoy the warm sunshine.
Thanks so much for stopping by, and remember to laugh--a little or a lot--every day.
Cheryl
Friday, January 18, 2019
Valentine flip card...
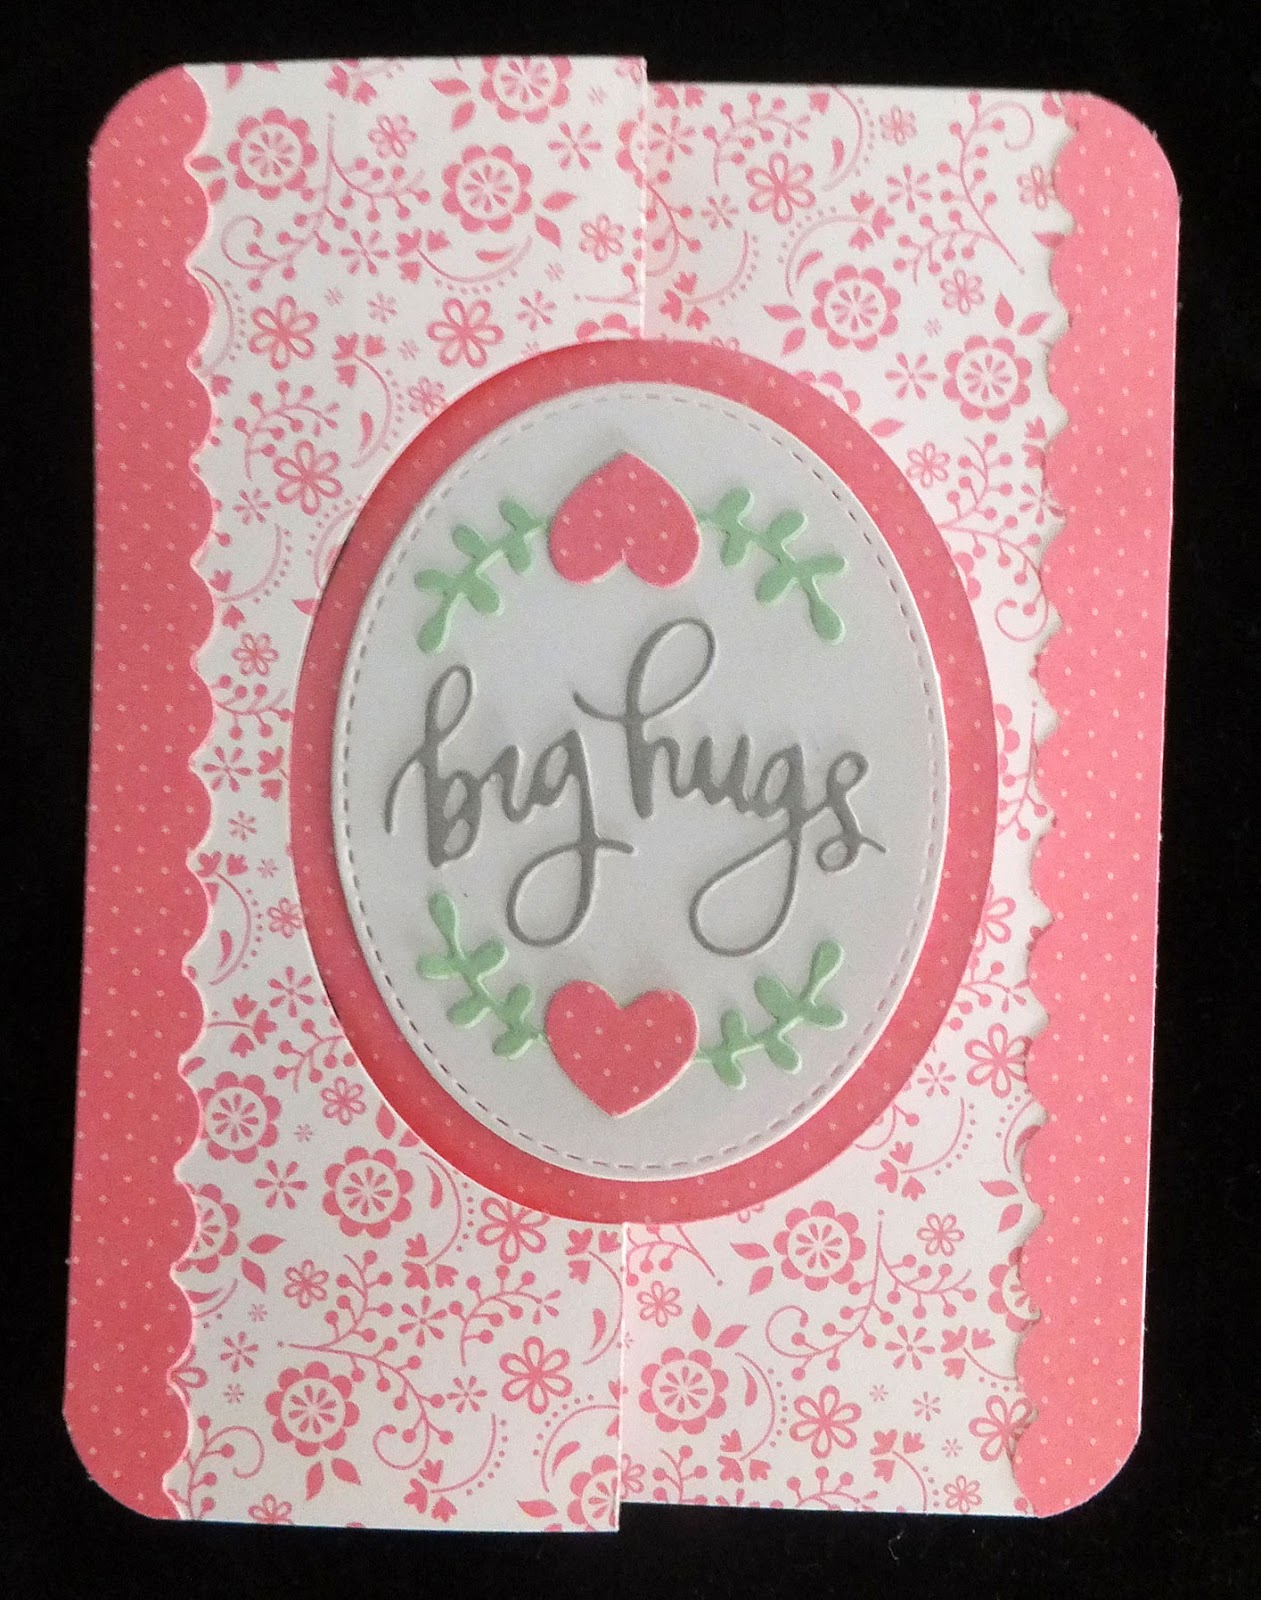
After a little bit of trial and error and some mathematical calculations, I came up with some instructions that worked for me. I am able to make this cute card, which ends up being 4 1/2" X 6" when closed, out of a piece of cardstock that is only 6 3/4" X 6". I make this size of card because I still have hundreds of envelopes this size. I'm certain I could calculate the dimensions and figure out the instructions for an A2 card, as well.
I used a Fiskars border punch for the scalloped edge and a corner rounder for my corners.
This picture shows the flip a little better. The dies that I have used on the white oval are also unbranded.
Here's a peek at the other side of the oval. The sentiment here is a stamp from Simon Says Stamp.
Here's a peek at the backside when the card is folded.
This type of card works especially well for Valentines. I usually don't write long notes inside my Valentines, and since this really doesn't offer space for that, it's perfect!
This weekend, we are enjoying the warmth and sunshine of Arizona. We're staying with friends and enjoying a reunion of sorts with some of my DH's college roommates.
I hope you have some fun plans for the weekend, too. Thanks so much for stopping by, and remember to laugh--a little or a lot--every day.
Cheryl
Subscribe to:
Posts (Atom)