Wish List

Sunday, December 13, 2015

A 10-minute Christmas card...

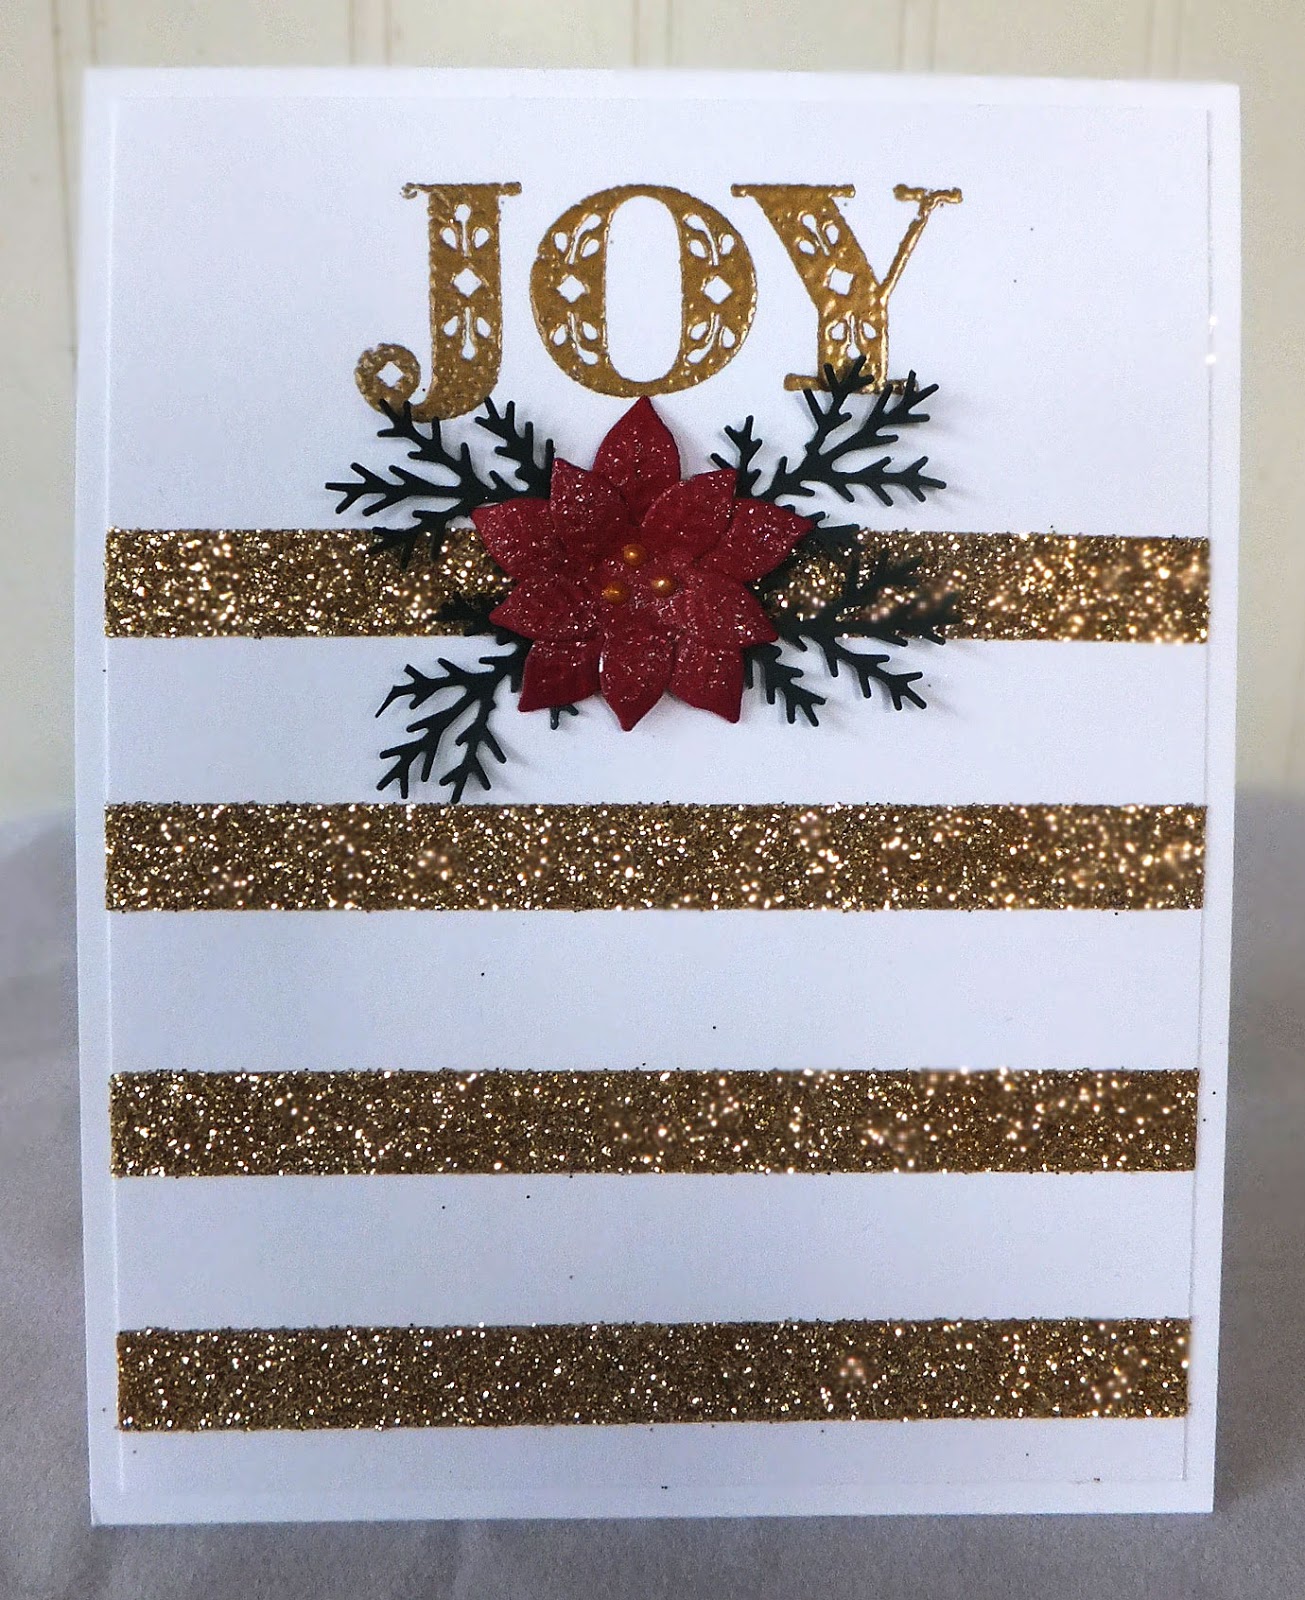
Really! This card only took about 10 minutes to put together.

I cut a white mat for the front of my card. Then I stabilized it on my cutting mat with washi tape so that I could use the grid lines on the mat to position my strips of glitter tape. If you don't have glitter tape, you could use strips of glitter cardstock or even just double-sided tape and loose glitter.

Once the stripes were done, I stamped "JOY" with Versamark ink and heat-embossed it with some gold embossing powder.

Next, I cut out my little poinsettia with a Marianne Creatables die and my pine branches with a Martha Stewart punch.

I added some Wink of Stella to the petals and used a gold Viva Décor pen for the center of my poinsettia,.

I used some Gem-Tack glue to adhere my poinsettia and branches to make sure they stuck to the glitter tape.


Finally, I used a stamp I picked up at a thrift store for my inside sentiment. It's an older wooden stamp - not sure of the maker. I stamped it with Versamark and used some more of my gold embossing powder.

That's it. My card was done!

Honestly, if you have all your supplies on hand, it truly comes together quicker than any other card I have made this year. And it looks so sparkly and pretty IRL.

I actually got all 85 of my Christmas cards in the mail yesterday. It's such a relief to have that job done. Now I've got to move on to baking, cleaning, decorating and finishing up my wrapping. No time to sit around. There's still a lot to do!

Thanks so much for stopping by, and remember to laugh--a little or a lot--every day.
Cheryl

Thursday, December 10, 2015

Well, Merry Christmas to me!!!

This morning my doorbell rang as I was downstairs in my craft area finishing up a card. I thought to myself, who could be ringing my doorbell at this time of day? When I went to answer it, this is what I found on my front step:

I thought it might be a package from one of my kids, but when I looked a little closer at the address label, I could see it was not from them.
Yup, that's right. It was from Silhouette!!

On November 30, I found out that I had been selected to win a Silhouette Cameo on Linda Kaiser's blog, the Paper Boutique. I was over-the-moon excited to win such a fantastic giveaway. THANK YOU, LINDA AND SILHOUETTE!


Linda said it would take about three weeks to arrive, so I was not expecting it to arrive today.

I was excited to open the box.

I took out all the components that came with the machine. I have yet to download the software or plug it in. All in due time... First, I want to study the manual, watch some YouTube videos and maybe do a little research on line for advice for Cameo beginners. I wish there was a book called Silhouette Cameo for Dummies! That's me! A Silhouette Dummy!

If you own and/or know anything about successfully using a Silhouette Cameo, please leave me a comment with your best advice. I'm a little apprehensive, but also anxious to get started.

Once again, I just want to say a BIG, HUGE THANK YOU to LINDA AND SILHOUETTE! This is already a fantastic Christmas for me.

Thanks so much for stopping by, and remember to laugh--a little or a lot--every day. I know I've got a big grin on my face as I write this post.
Cheryl

Tuesday, December 8, 2015

It's beginning to look a lot like Christmas...

We finally purchased our Christmas tree, and it is in the stand and decorated! Now I've got to finish getting those gifts wrapped and get them under the tree. The grandkids love to see the gifts under the tree whenever they stop by. I've only got one gift yet to buy and I. AM. DONE! It always feels like such an accomplishment to be done with my shopping.

I will also finish up my cards today and then finish the decorating and bake some cookies. The cookie baking is not as onerous as it used to be, since we don't have as many people around to eat them. I will only bake enough to have plates to share with a few neighbors and family members with some left to eat over Christmas.

I have a couple of Christmas cards to share with you today.

I have this Marianne Creatables snowman die that I really love. He is such a happy, friendly-looking fellow! My little lace edge under my strip of red cardstock was made with another Marianne die called "Border Stitch Lace," and my two little snowflakes were made with a small punch (I think it's by Recollections).


I cut my snowman out of white cardstock and then used a combination of chalk and ProMarkers to color a few areas. Once that was done, I covered the entire die-cut with spray adhesive and sprinkled on some clear glitter. He looks sparkly and snowy!

To create my snowy background, I put some white craft paint onto an old toothbrush and flicked it onto my DSP. Note, that I masked off the bottom 2 inches or so before I did that. I love how this turned out. It looks so...so...well, snowy!


I added a couple of layers and a few snowflakes to showcase my sentiment on the inside of my card. My sentiment label was die-cut with a Spellbinders Label 8 die.


Here's my second snowman card. For this one, I did a little light inking on my white CS before dry-embossing it with a "Falling Snow" embossing folder.by Sizzix. The "flakes" that were a little too blue were touched up with a tiny bit of white craft paint. My snowman on this card received the same treatment as the one on my first card.

The inside of this card is very simple. But one thing I did that I LOVE was to run a glue stick along all the edges of my sentiment panel and then dip those edges in clear glitter before adhering it to the inside of my card. If you look closely, you'll see the glittery edges. It adds such a finishing touch and a nice sparkle to the inside. Give it a try. I think you'll love the effect, and it is so quick and easy.

How are your holiday preparations coming along? Nearly there? Or a long ways to go yet?

Thanks so much for stopping by, and remember to laugh--a little or a lot--every day.
Cheryl
Saturday, December 5, 2015

Let's Craft & Create Challenge #108 - Christmas...

The new challenge over at Let's Craft & Create is "Christmas." It's the perfect challenge for this time of year as most of us are frantically trying to finish up our cards.

As a member of the LCC design team, I decided to try my hand at a pop-up card. And to make it just a bit more interesting, I chose to use kraft card stock for my card base. Not the usual Christmas choice, right? Here's how it turned out:
I used my Sizzix "Elegant Edge" card die to create my card base and to also create a liner with a pop-up mechanism.


I used some Impression Obsession snowflake dies and one Spellbinders snowflake die to cut my snowflakes and inlay them into the same die-cuts in my card front.

Each snowflake was sprayed with adhesive and colored with clear glitter before it was inlaid. I tried and tried to get a picture of the pretty sparkle, but no luck! Maybe if you click on the picture to look at a larger version, you can see just a bit of it.


The inside of my card features more snowflakes (not inlaid this time) and a cute little snowglobe stamp, also by Sizzix. The sentiment is a stamp by Hero Arts.


My little snowglobe was covered with clear glitter to make it look as though someone has just shaken it. It looks so sparkly and fun in real life!

I apologize for the funky lighting on this photo. I tried to remove a yellowish colorcast, and now it's bluish! I think I just made it worse. Oh well, you get the idea.


Now please take a little time to check out the Christmas creations the rest of the Design Team has made to inspire you.

Aren't they a fantastic team of crafters? Now, it's your turn. Why not make something for the Christmas holiday. Then upload it here. There's a prize to win!
 
Thanks so much for stopping by, and remember to laugh--a little or a lot--every day.
Cheryl 

Thursday, December 3, 2015

I promised you pink mittens...

In my last post, I mentioned that I had also made a mitten Christmas card in pink and teal. Well here it is:

This time I mixed light pink and medium pink embossing powders for my mittens. I also used the light pink embossing powder for my sentiment, which was heat-embossed on a strip of vellum. In retrospect, I wish I had used the darker pink for this. But hindsight is 20/20, right?

My white piece of cardstock was embossed with a falling snow embossing folder, and my little snowflakes were made with a Recollections punch (except for the larger one, which is an Impression Obsession die).


Here's a little closer look at those mittens. I really love how the mix of two different embossing powders adds so much texture.

I also love that the Sizzix Mittens & Snow Globe set has dies for all the stamps. It really speeds things up and they look so much better when cut with a die!


The inside of my card is pretty plain, but I did add a little sparkle to the two little snowflakes and the word "Christmas" in the sentiment, which is a Recollections stamp.

We are having some unusually warm weather here today. We've only gotten a couple of inches of snow so far, and it will be gone in the next few days with temps in the 40s. I won't be surprised if I see people outside without jackets and maybe even with shorts on this weekend. Minnesotans are like that. Whenever it's unseasonably warm - even though it's only in the 40s - they seem to think that summer clothing is in order!

I hope you're having wonderful weather wherever you are. Thanks so much for stopping by, and remember to laugh--a little or a lot--every day.
Cheryl

Tuesday, December 1, 2015

Wooly mittens...

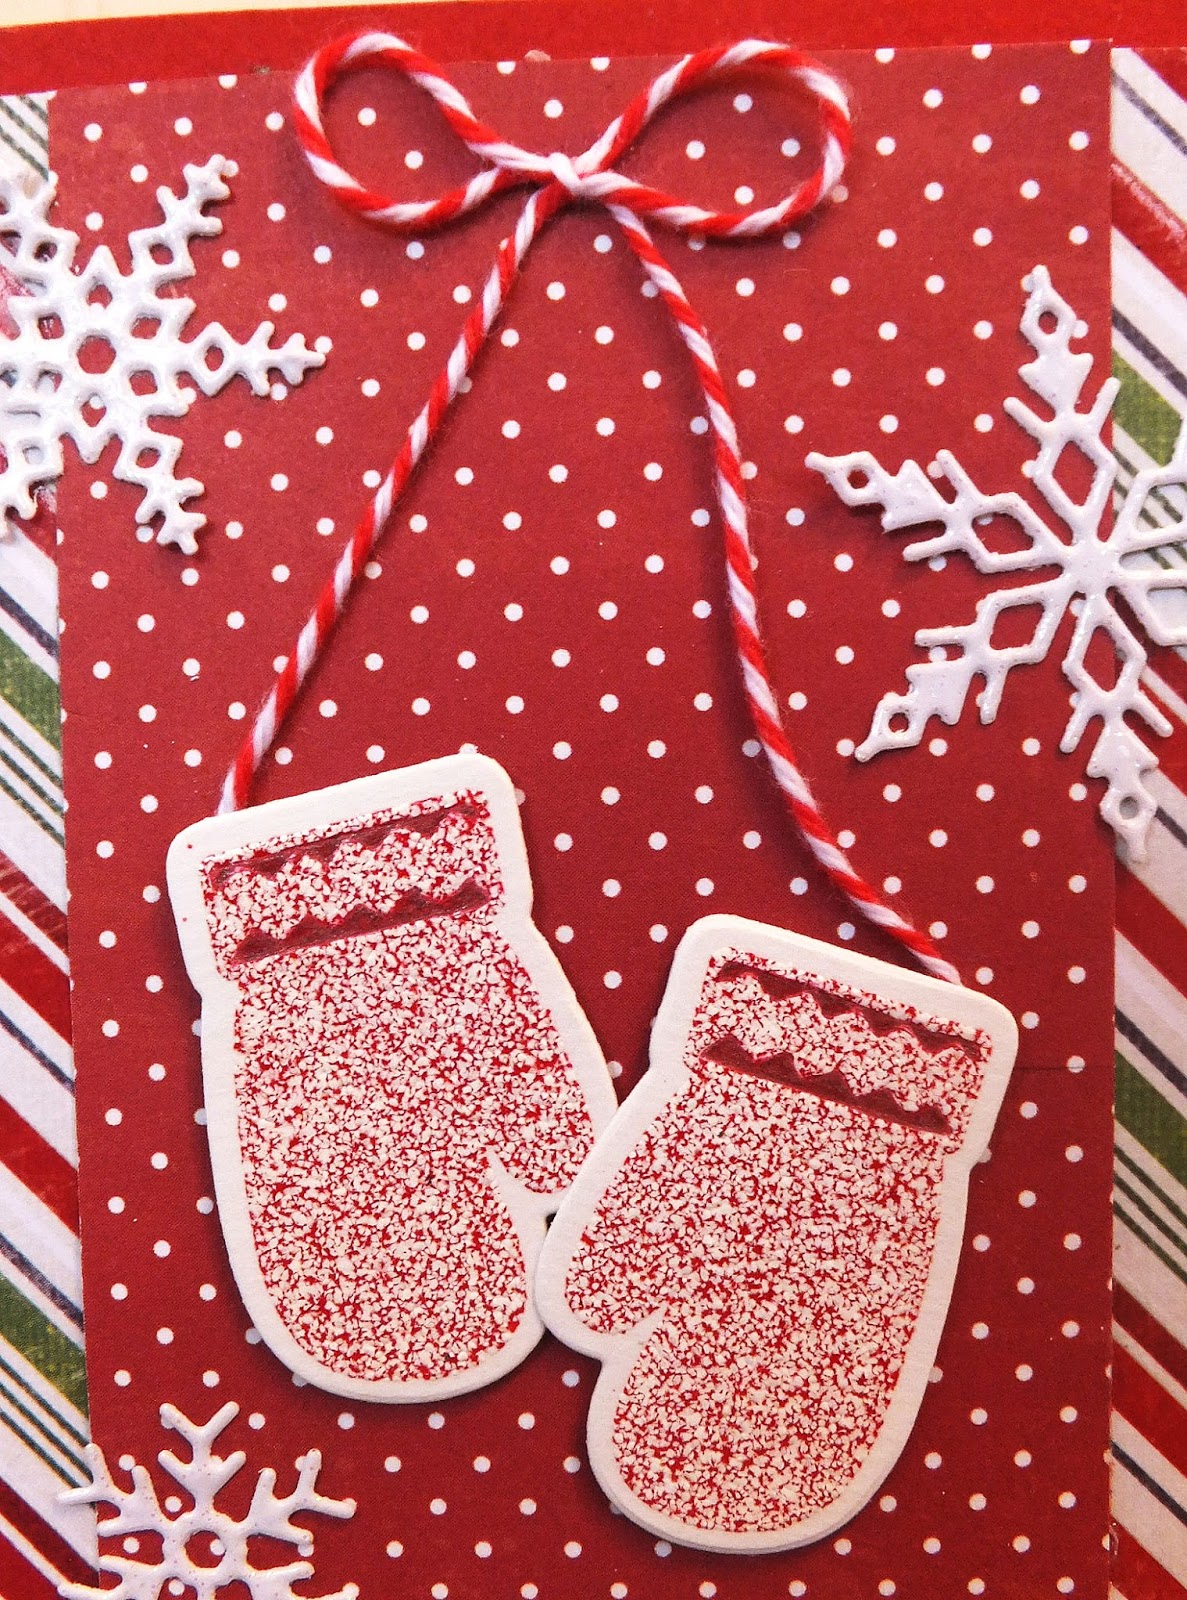
I recently made this Christmas card using a mitten stamp with matching die by Sizzix. They are from a set called "Mittens & Snow Globe," which includes some really cute images besides these mittens.

Don't those mittens look absolutely wooly?

I achieved this look by stamping them with Versamark and then sprinkling them with a mixture of red and white embossing powders. When I first tried it, I didn't know if the colors would remain separated or if they would mix to a greater degree when melted. They clearly stayed separate and created a very textured look. I love it! I colored the little zigzag areas with a red pen to add some contrast.

My snowflakes were cut with some Impression Obsession dies and my "Warm Wishes" sentiment stamp was one from the $1.50 bin at Michaels.


My inside sentiment is from a Recollections set called Christmas/Noel. I added some sparkle to the snowflakes and the word "Christmas" with a glitter pen. It doesn't show in the photo, but adds a nice sparkle.

I'm entering this card into the Dies R Us Challenge #38: Christmas.

This card was so much fun that I also tried it in pink and teal, which I'll share with you at a later time.

I hope your Christmas shopping, wrapping, decorating, cookie-baking and partying is going well. Mine own efforts are plugging along. Hope to get the Christmas tree up and decorated this coming weekend. I've got to get some cookie-baking done, too. Where does the time go?

Thanks so much for stopping by, and remember to laugh--a little or a lot--every day.
Cheryl

Friday, November 27, 2015

Happy birthday silhouette...

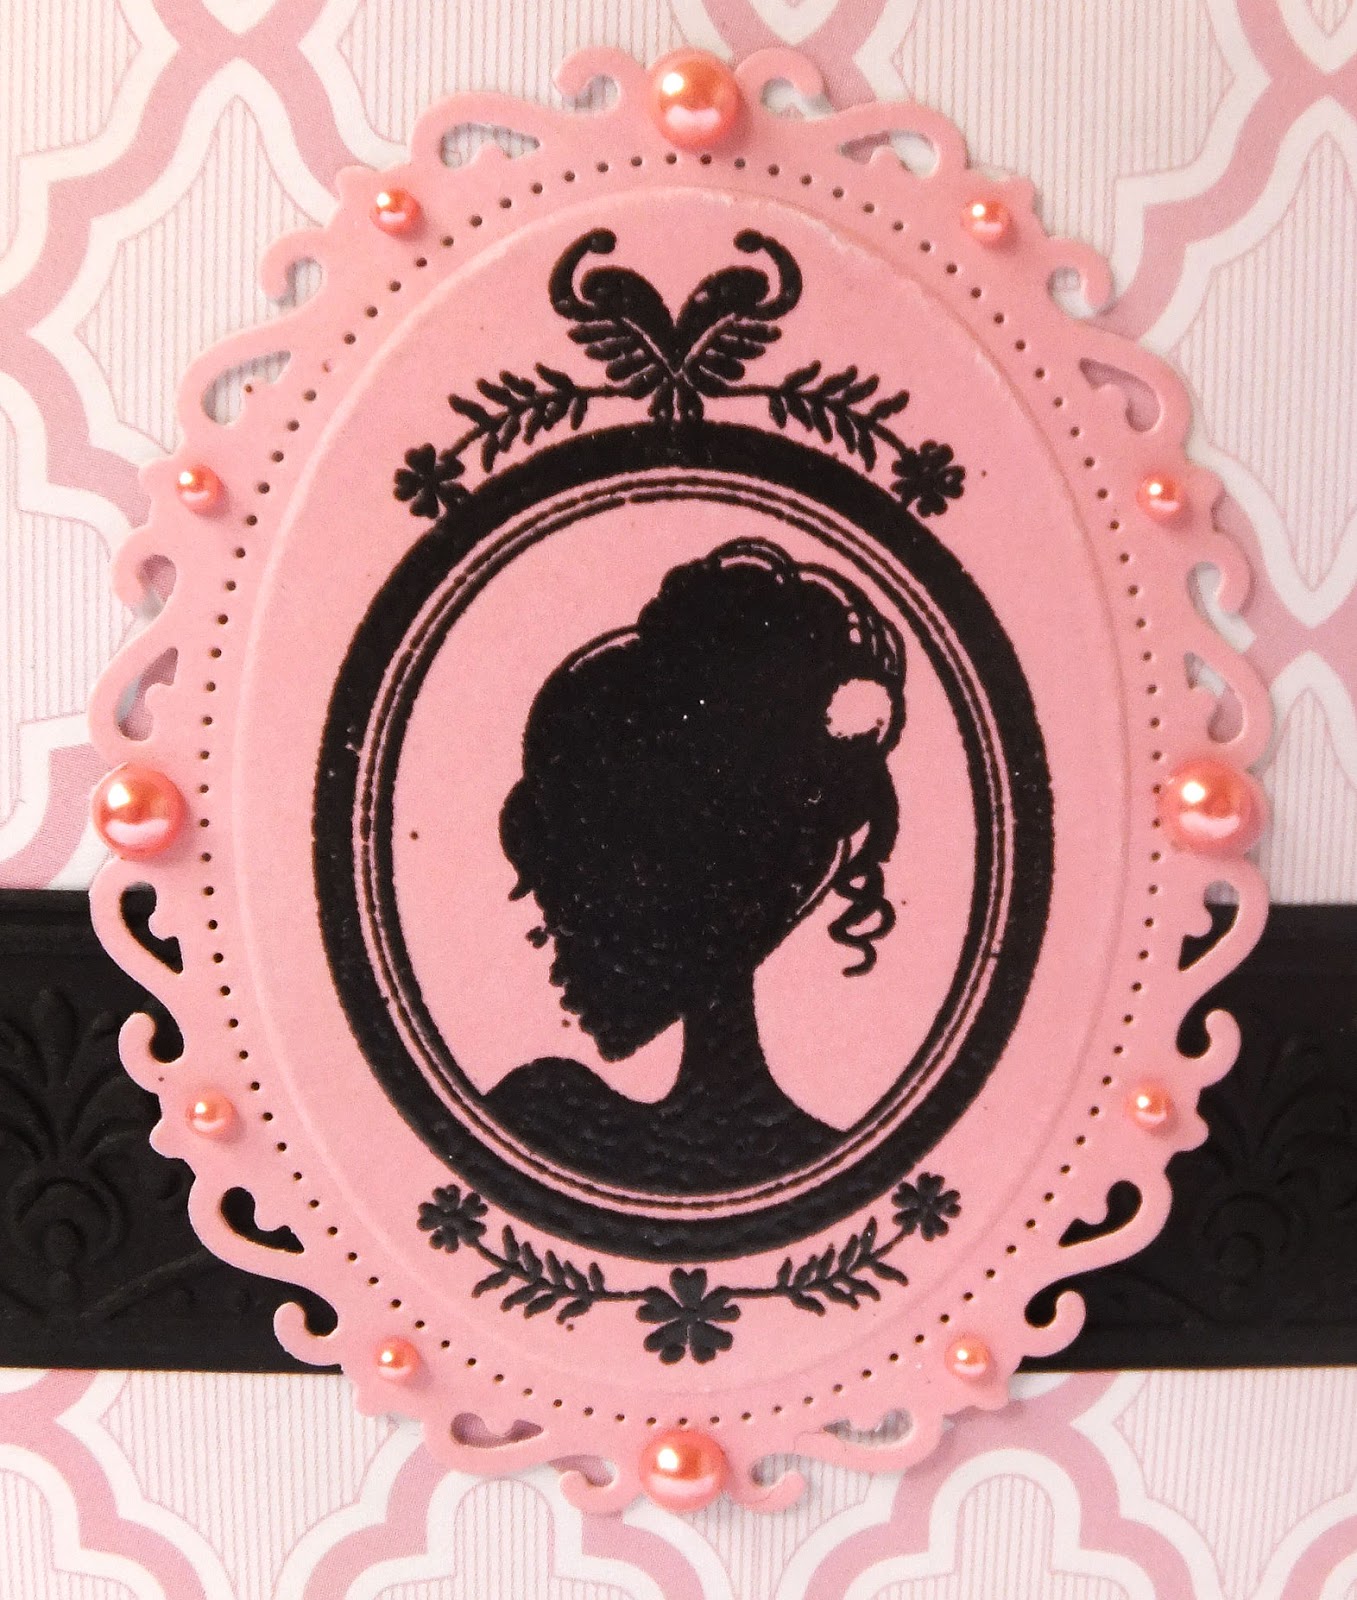
One of my beautiful granddaughters turned 9 recently, and I made this card for her. I used a freebie silhouette stamp that came with my last issue of Cardmaking & Papercraft magazine. I heat-embossed the stamped image with black embossing powder and then cut it out with a Spellbinder's Floral Ovals die.

It's difficult to see in either off these photos, but the black strip of cardstock across the center is embossed with a border embossing folder that also came with the magazine. My sentiment is framed with a Spellbinder's Fancy Tags die.


I love this little Silhouette stamp, and I can see myself using it again - especially for those girly cards I will need for my other four granddaughters. Yup - I've got 5 granddaughters and 5 grandsons. It's so nice that they're evenly split like that!


I used a larger oval die from the same Spellbinder's set for my inside. It's such a pretty die and nicely dresses up my card's interior.

If you live in the U.S., did you go out shopping today to catch some of the Black Friday sales? I'm writing this post ahead of time, but as I write this, I am planning on going for a couple of hours with my daughter and her husband. My husband will definitely NOT be going. That is so not his idea of a good time. lol

I enjoy sharing this U.S. tradition with my kids, but I never go out if it's just me. I just wish that none of the stores would open until 5:00 a.m. Friday morning. Some of them are now open on Thanksgiving Day, and I always feel bad for those who have to work instead of spending the day with their families.

Thanks so much for stopping by, and remember to laugh--a little or a lot--every day.
Cheryl