Wish List

Tuesday, June 5, 2018

Let's Craft and Create Challenge #138: PUNCH IT! (Use any or your favorite punches)...

I can hardly believe that May is already behind us and we're on to the June challenge at Let's Craft and Create. This month we're asking that you use one or more of your favorite punches to create your project. If that idea doesn't fit your fancy, you can always enter via our "anything goes" option.

Of the punches I do have, more than half of them are border punches! I decided to go through my bin of border punches for a few ideas and some inspiration.


I picked out a Martha Stewart Birds on a Wire border punch. This is one my daughter gave me a couple of years ago, and I really do love it. It can not only be used as a border punch, but with a few snips, it can create a stand-alone image, too.


I found some inspiration on Pinterest and decided to run with it. First, I used a rectangle die to cut an aperture in my card base. Then I used a slightly larger rectangle die to cut a slightly larger aperture in my pink dot-embossed cardstock. I made sure the larger aperture fit perfectly over the smaller one, leaving a narrow edge all the way around.

Then I cut a piece of vellum to fit over my opening. Before adhering down the vellum. I punched out three bird borders, snipping their tails free from the rest of the cardstock and coloring the birds with some pastel ProMarkers. I put a small dot of glue on the back of each bird and glued them to my piece of vellum. Once that was done, I could adhere the vellum to the back of my pink cardstock.

The word "hello" was cut out three times and layered together to give it some dimension. Then it was glued to my yellow ribbon.

Once my pink card front was done, I adhered it to my card base. This resulted in the vellum being sandwiched in between the pink CS and the base.


This photo shows you how neat and tidy my aperture looks on the inside. I punched an extra line of birds to decorate the inside. I glued them to the bottom so that they didn't show through the aperture.


Here's a little closer look at my birds on a wire.

I hope you'll dig out your punches and use some of them to create and enter your project into our current challenge. You'll find lots more inspiration over at Let's Craft and Create, so head on over and have a look-see.

Thanks so much for stopping by, and remember to laugh--a little or a lot--every day.
Cheryl


Thursday, May 31, 2018

Thank you in my favorite color...

I needed to add to my stash of thank you cards, so I pulled out some papers in my favorite color: purple!


Isn't that fancy thank you so pretty? It's an unbranded die set that also includes the little heart and leafy branch at the bottom. The heart has been popped up on foam tape. The lacy-edged circle is a Lifestyle Crafts die.

I've left the inside blank, as I do with 99% of my thank you cards.

Well, that's it for me--short and sweet! In my next post I'll tell you all about my train trip. I hope to share a few pictures with you, too.

Thanks so much for stopping by, and remember to laugh--a little or a lot--every day.
Cheryl

Tuesday, May 29, 2018

A card for dad...


I've had these Cuttlebug alphabet tag dies for years and years. In fact, they were some of the first dies I ever bought. I got them on Craig's List shortly after I bought my Cuttlebug.

Isn't it fun to pull out old dies from time to time and use them again?

I backed my tags with some green CS that matches the green in my plaid cardstock. Then I tied a little green twine at the top of each and popped them up on foam tape. Easy peasy!


I had an issue on my inside panel when I printed it out with my computer--the sentiment was too far to the left! After thinking about it for a moment, I decided to just add a little bit of that plaid cardstock and a piece of twine to make the sentiment look more balanced. And truth be told, I actually liked the result.

When you read this post, we will be on the train on our way back to Minneapolis. We will first take the train from Vancouver, WA, to Seattle where we have a 5-hour layover. We actually planned it that way so that we could spend a couple hours with friends there. Then we'll board the train again for the 37-hour ride back to Minneapolis. We have reserved a "roomette" that has bunk beds, one of which turns into two chairs during the day. I'm actually looking forward to sleeping on the train, and I'll tell you all about it when I get back!

Thanks so much for stopping by, and remember to laugh--a little or a lot--every day
Cheryl

Thursday, May 24, 2018

Father's Day is coming...


This was a quick and simple Father's Day card. The moustache is a sticker from a whole set of moustache stickers that my daughter gave me a couple of years ago. I'd only used one or two of them in all this time, so I decided it was time to use a couple more!

My sentiment was computer-generated.


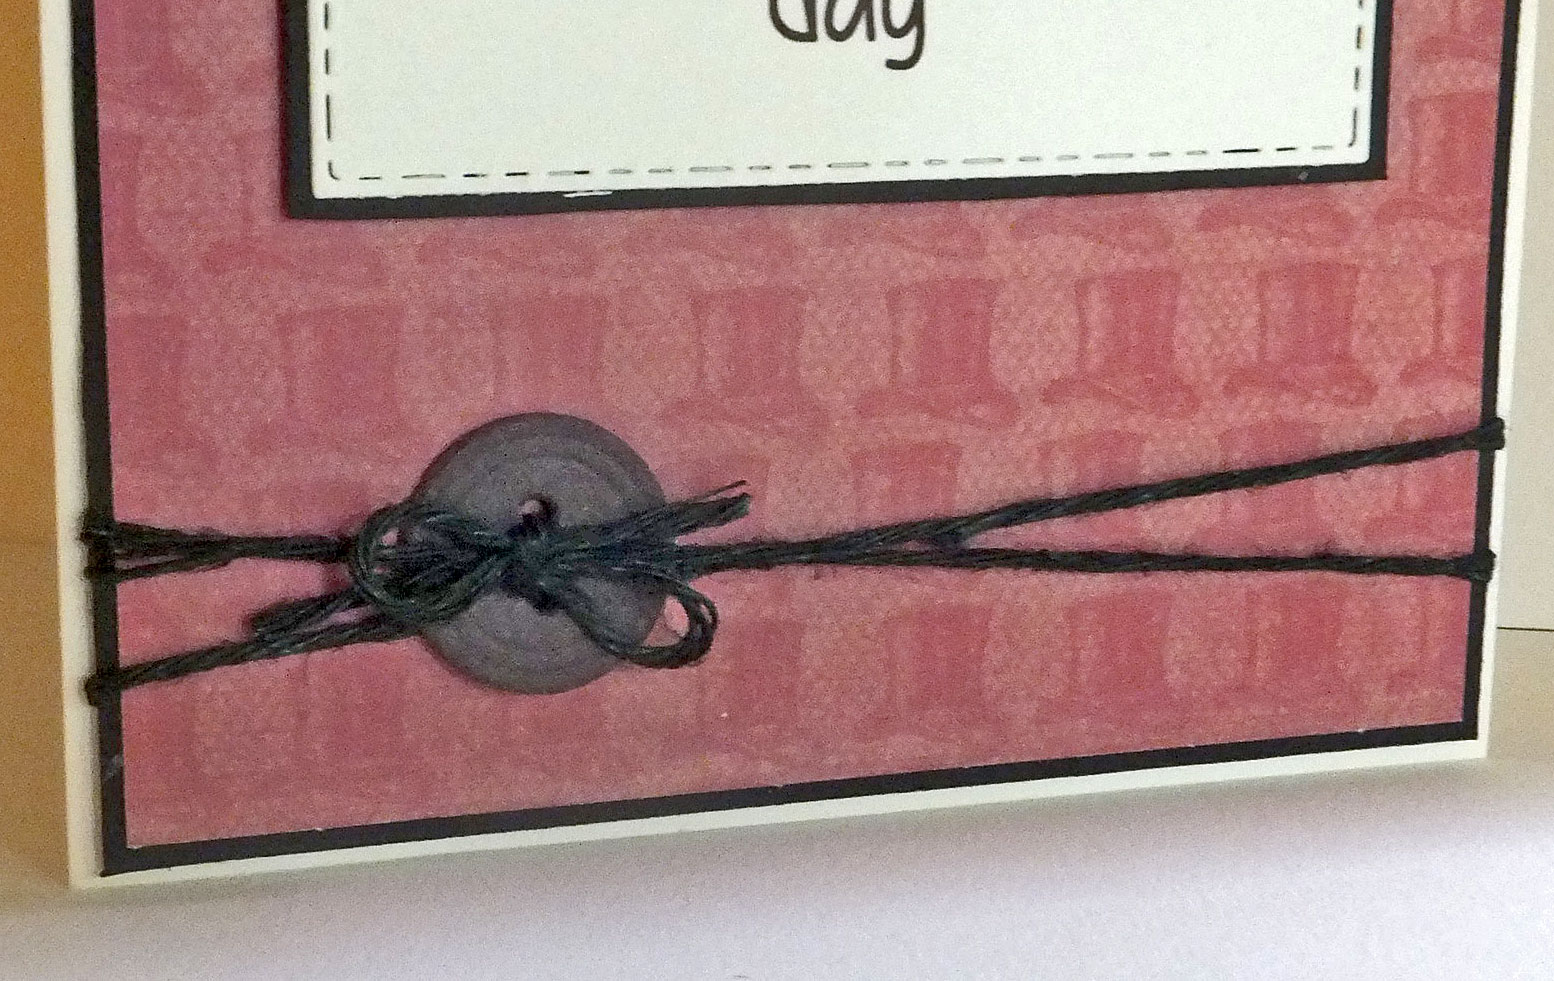
My button was actually made with an Impression Obsession die. Doesn't it look real? I cut it out four times and glued them together in a stack to give it some strength and dimension.


The sentiment on the inside was stamped (I think with a Kaisercraft stamp). I added a strip of cardstock and a smaller button die-cut for a little embellishment.

Pretty simple card, I know, but it was fun to make. It will be donated to the thrift shop to sell there.

When you read this, we will be on our way to Portland, Oregon. I'm so excited to visit our kids out there. We don't get to see them nearly enough.

Thanks so much for stopping by, and remember to laugh--a little or a lot--every day.
Cheryl

Monday, May 21, 2018

Twofer Challenge #5: Butterflies


This month, the challenge over at Twofer Card Challenge blog is butterflies. Well, I definitely had to join in as I have quite a few butterfly dies.

Here's what I came up with:


Since my stash of cards was getting low on both sympathy and thank you cards, I decided to make one of each.

I opted to make an all-white sympathy card. The background was dry-embossed with a Cuttlebug embossing folder. Then I cut a fancy label shape and a couple of butterflies (unbranded dies). The sentiment is from Technique Tuesday. I heat-embossed it with some silver embossing powder.

I used a Versamark marker to add some Versamark ink to the bodies of my butterflies. Then I covered the bodies with silver embossing powder and heat-embossed them.

The inside of my card is very simple (please excuse the bad photo). I heat embossed the stamped sentiment (also from Technique Tuesday) with some of the same silver embossing powder that I used on the front of the card. It's quite reflective, so I had a really hard time photographing it.


For my thank you card, I used some pretty DSP, which had some gold foil in the pattern. Can you see it in the first photo of both cards? I added some die-cut flowers (unbranded) and a scalloped oval (Lifestyle Crafts), to help showcase my butterfly. 

The "Thank You" sentiment was a freebie that came with a magazine. 

This time, for my butterflies body, I used some black Nuvo Crystal drops and drew on some antennae with a black fine-point pen.

I left the inside of this card blank so that a personal note could be written there.

I truly enjoy the Twofer challenges. They really spark my imagination, and I love trying to use the same dies or stamps in a couple of different ways.

My DH and I will be traveling most of next week, so I'm not sure how much posting I'll get done. I'll try to write and schedule a couple of posts to go live while we're gone, but I won't make any promises! 

Thanks so much for stopping by, and remember to laugh--a little or a lot, every day.
Cheryl

Thursday, May 17, 2018

Mother's Day has come and gone, but...

I still have cards to share that I made for that special day.

The two cards in today's post were commissioned by a friend for her daughter and daughter-in-law.


This card was made using a butterfly panel die (unbranded) and a computer-generated sentiment. I cut the butterfly panel out of turquoise cardstock, then cut it again out of shiny vellum. I "released" the butterflies from the vellum by carefully cutting them apart. Then I layered the vellum butterflies over the turquoise panel and added some flat-backed pearls from my stash.


Here you can see a little better how the vellum wings of each butterfly are bent slightly up. They were all adhered only under the body. Any apparent adhesive was covered by the pearls.


I searched the internet for ideas on what to say on the inside. I found a few ideas I liked and combined and changed them to suit my needs.


For this card, I once again used a couple of unbranded dies: poppies and bow. My dry-embossing was done with a Cuttlebug embossing folder.


The bow on this card was cut out of the same shiny vellum that I used on the first card. It doesn't look so dark IRL.


I again looked for inspiration online for the sentiment inside this card. After combining ideas and making a few changes, I came up with this and printed it out with my computer.

I hope all who celebrated Mother's Day last Sunday enjoyed a very special day with loved ones. I had a wonderful day, with lunch at my daughter and son-in-law's home. I received flowers from my son and a gift certificate to a local plant store from another daughter. I also enjoyed phone calls with my children who live in other states.

Thanks so much for stopping by, and remember to laugh--a little or a lot--every day.
Cheryl

Friday, May 11, 2018

Best fishes and an origami butterfly...


My son-in-law turns 40 this week and, because he is such a fun guy, I made him a fun card. I just love this card fold. It has become my "go to" fold when I want to make a 3D type card.


In this photo, you can see how I've suspended three fish on strips of acrylic. You can also see my pink "coral" a little better and the inside sentiment. The small blank panel on the bottom is where I wrote a short note and signed the card.

All the dies used in making this card were unbranded and the sentiments were computer-generated.

My granddaughter turned 15 this week, as well. I find teenage girls a bit hard to buy gifts for. They have very specific ideas about what they like (and I'm usually clueless!). I gave her a couple of small items (earrings and a book), and I also gave her a little money.

Here's the money I gave her:


I made an origami butterfly with a couple of bills. It was quick and easy, and you can find a video tutorial here. Since any denomination of bills can be used for this, it works for any size gift!


Here's a close-up of my butterfly. I probably could have worked a little harder on those antennae, but I figured she'd take it apart right away, anyway. I was right!

Today was a chilly day, only reaching the low 50s. Mother's Day is supposed to be fabulous, though, and I'm looking forwarding to it. If you're celebrating Mother's Day on Sunday, I wish you lots of pampering and love from your family and friends.

Thanks so much for stopping by, and remember to laugh--a little or a lot--every day.
Cheryl