Wish List

Tuesday, May 17, 2016

A Brusho background...

Back in March, I was fortunate enough to win a starter set of 12 Brusho Crystal Colours from the dynamite Darnell at DJKardKreations. THANK YOU, AGAIN, DARNELL!!! 

Darnell is an amazing blogger and hosts the NBUS (Never-before-used-schtuff) challenges. If you haven't visited her blog before, you really should. It's entertaining and inspiring at the same time.

In my quest to learn more about Brushos, I went searching the internet. They're made in the UK, and I think they must be similar to Ken Oliver's Color Burst powders. If you would like to see a short video of introduction to Brushos, click here.

I am almost always a bit tentative when I try something new, so for my first attempt at using the Brushos, I decided to create a simple background for a card.


I sprinkled some of the orange and yellow crystals on some watercolor paper and then spritzed them with water until I had the desired look. I don't think my photo really captures the vibrancy of these colors. They nearly pop off the surface of the paper!


I added a Spellbinders die-cut (Shapeabilities Whimsical Tree), some sequins and a heat-embossed sentiment to finish my card.

The black tree looked awesome against the vibrant background.

I am going to try my hand at making a few more backgrounds and mixing colors before I move on to anything that actually requires some skill. :)

These crystals are oh so fun to play with, but because of the intensity of the colors when water is added, you have to be a bit careful not to use too much and not to sprinkle them where you don't want them. But they are definitely fun to use.

Today is going to be a beautiful day here in the Land of 10,000 Lakes, so I need to get some outside time. I think a brisk walk is in order!


Thanks so much for stopping by, and remember to laugh--a little or a lot--every day.
Cheryl

Friday, May 13, 2016

Pretty closure birthday card...


This is the card that I made for my now 13-year-old granddaughter. It coordinates with the "Orange you glad..." basket that I shared with you in this post.

I used another Silhouette file, ID #61678, to make this card. I love the happy birthday on the front, and I think I'll be using this sentiment cut file on other card designs, as well.


As you can see in this photo, I added some Wink of Stella for a bit of shimmer on "birthday."


This photo shows you just how the ribbon closure works. You can also see here that I added some yellow paper on the inside of my card (only on the right side), because my CS was white on the backside, and I wanted the yellow to show through when the card was closed.

My inside sentiment was stolen CASE'd from a wonderful cardmaker named Donna at Design by Donna. She created this sentiment (I changed it only slightly) and used it on a card in this blog post.


I added some sparkle with a glitter pen to the word "sparkly." What 13-year-old girl doesn't like a little sparkle? Thank you, Donna, for creating such a wonderful sentiment!


In this Silhouette cut file, even the back is covered with DSP, as you can see on the right. Isn't that awesome?

I really LOVE this card design, and I know I'll be using it again and again. It's so quick and easy to cut out and put together.

Have a great weekend, everyone! I hope the sun is shining wherever you are.

Thanks so much for stopping by, and remember to laugh--a little or a lot--every day.
Cheryl

Wednesday, May 11, 2016

Orange you glad it's your birthday...

I had a little lightbulb moment when I thought of creating a little basket of goodies for my granddaughter who just turned 13. Wow! T.H.I.R.T.E.E.N. It seems like we were celebrating her birth just a couple years ago!!!

Anyway, to celebrate her special day of becoming a teenager, I decided to create a fun little basket of goodies as one of her gifts. Here's a peek:


As you can see, I made a fun little tag to hang on the handle of the basket. I used my favorite tag again from the Silhouette Online Store (Design ID #77389). The flowers were some that I had in my stash and the bit of greenery was made with an EK Success punch.


I really didn't use a specific pattern for this basket. I simply took a 12" X 12" sheet of cardstock and scored it at 3" on every side. I followed the usual instructions for making the bottom half of a box. Then I took a strip of coordinating cardstock, scored and folded it in half the long way and glued this onto the edge of my basket to give it  finished look. The handle was added with yet another strip of CS that was adhered to two opposite sides.


One of the fun parts of making this basket was shopping for lots of "orange" goodies to fill it. I found the "My Goodies" bag in Joann's for less than $3 (on sale, of course). I also found the orange bandana there for just a couple of dollars. I added some orange nail polish, Reese's candy, orange Tic Tacs, orange gum, hair elastics and some cute striped panties. My granddaughter was SO embarrassed by the addition of the panties. They're so cute though, and I think they'll be really comfy to wear.

I've got some ideas for other colors of baskets (For example, "Don't be blue, it's your birthday!"). I think they're a fun way to honor a special birthday, and the kids sure seem to like them.


I kept my orange theme going and made this decoration for one of her other gifts, which I had wrapped in a yellow and white patterned paper. I used more flowers from my stash, and the letters were stamped individually and then heat embossed.

Her birthday card also fit in with this theme, but I'll share that with you in my next post.

I finally got my seedlings and seeds (lettuce, onions, squash, etc.) planted yesterday before the rains rolled in. Our weatherman is saying it will rain every day this week. I don't usually luck out by getting my planting done BEFORE it rains. I guess the force is with me this year. he he Hopefully, everything doesn't get too waterlogged.

Thanks so much for stopping by, and remember to laugh--a little or a lot--every day.
Cheryl

Friday, May 6, 2016

One more Mother's Day card...

I couldn't resist making this last Mother's Day card with a Betsy Bluebell image by Penny Black. She's just so darn cute!


I used some Spring-like DSP for my background and then added lots of little red butterflies (Fiskars punch).

Betsy was stamped and colored with ProMarkers (love them!) and then cut out with a stitched oval die and layered onto a red oval.

There was a bee and butterfly included on the stamp, but I was careful not to ink them up when I stamped Betsy, because I wanted to add a 3D butterfly, instead.

My sentiment stamp is one of those random ones that I picked up at a thrift store.  If you look closely, you'll see that I outlined my circle with some Wink of Stella glitter and also added some to the butterfly there. It seems I just HAVE to add a little sparkle every chance I get.


The red lace you see peeking from behind my oval is a Recollections adhesive-backed lace that I picked up at Michael's after Valentine's Day. I think it was 70% off at the time.

On the inside of my card, I simply added another matted oval with my sentiment and some more butterflies.

I'm entering this card into the current challenge (Week 344 - Nature) over on the Passion for ProMarkers Challenge blog.

Speaking of nature, I was able to get out and mow the lawn for the first time today. It's supposed to hit 87 degrees Celsius here, which is absolutely heavenly!

I hope you all have a fabulous weekend and are able to enjoy Mother's Day with an important woman in your life -- who doesn't necessarily have to be your mother!!

Thanks so much for stopping by, and remember to laugh--a little or a lot--every day.
Cheryl


Thursday, May 5, 2016

Let's Craft and Create Challenge #113: Breast Cancer Awareness, Pretty in Pink...

The challenge this month at Let's Craft and Create is a very special one. It seems we all know someone who has been affected by breast cancer, and we simply must continue to bring attention to this disease and support those who work to find a cure. One of the ways that we, as crafters, can do this is to focus some of our creations on this important cause.

Here is my card for this challenge:


To create the pretty background pattern for my card, I used the embossed wax paper resist technique. I learned this technique by watching Gina K on Stamp TV here. This technique was super fun and resulted in a gorgeous pattern the very first time I tried it!

My wavy scalloped border was made with Spellbinders S5-180 Borderabilities A2 Curved Borders Dies. Love the special touch they add to a card!


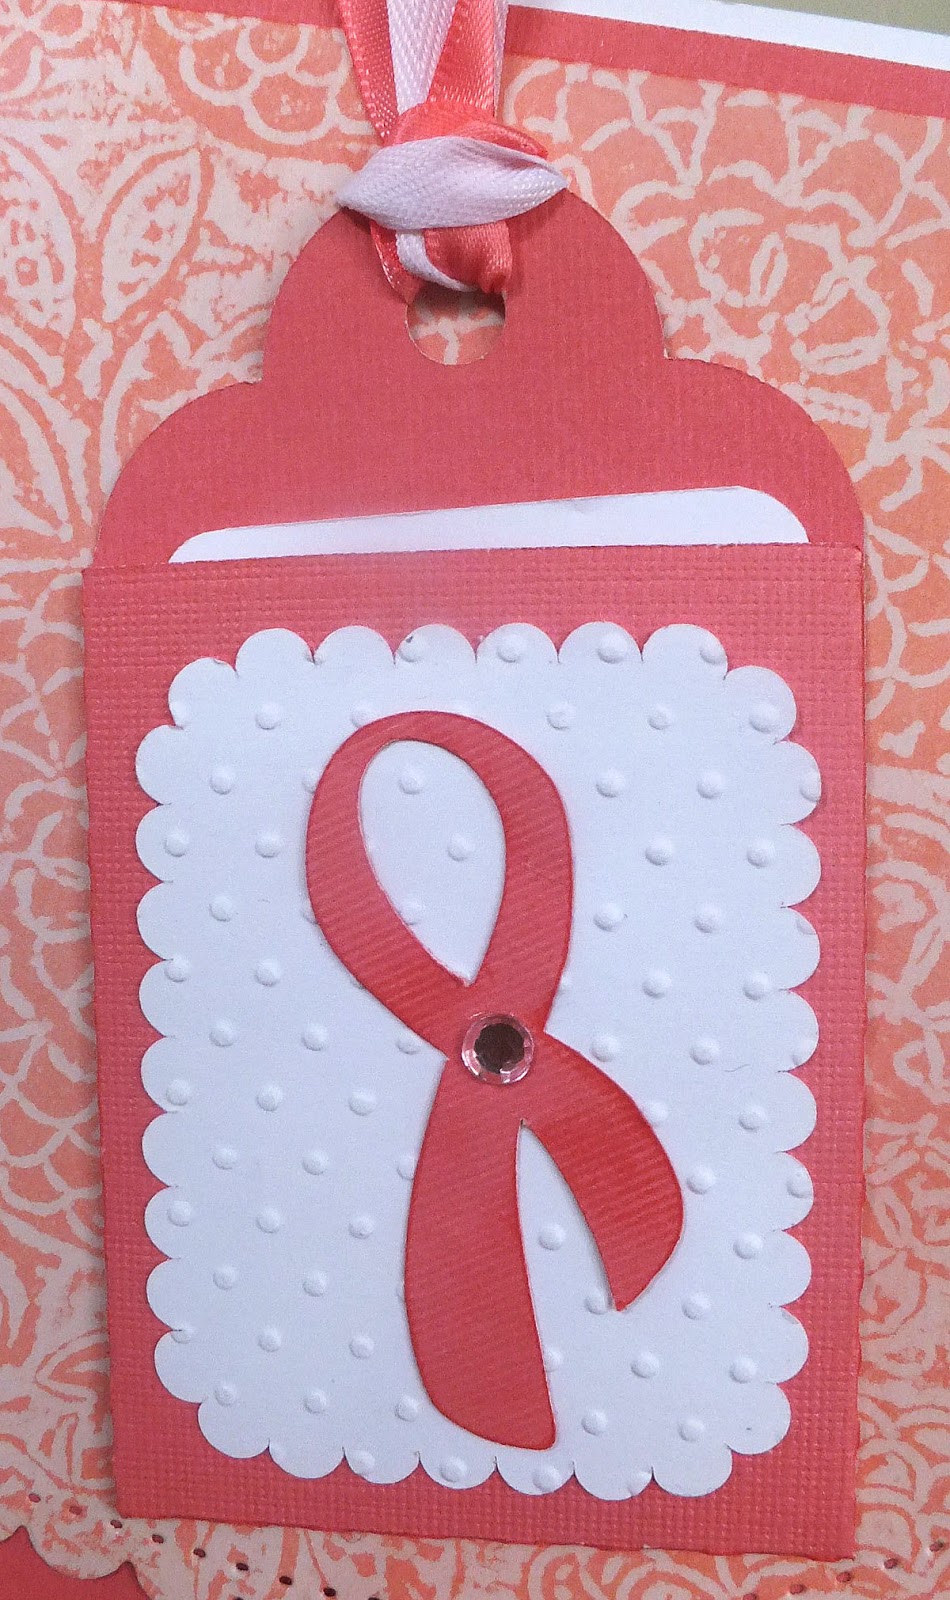
The tag on my card was cut out with my Silhouette. It is Design ID #77389. I just love this tag because it's designed with a little pocket that contains a card on which you can write to/from or a little message to the receiver.


I used my Silhouette to write "Believe" on the front panel on my card and to write the affirmations on the little white card that fits into the tag pocket.


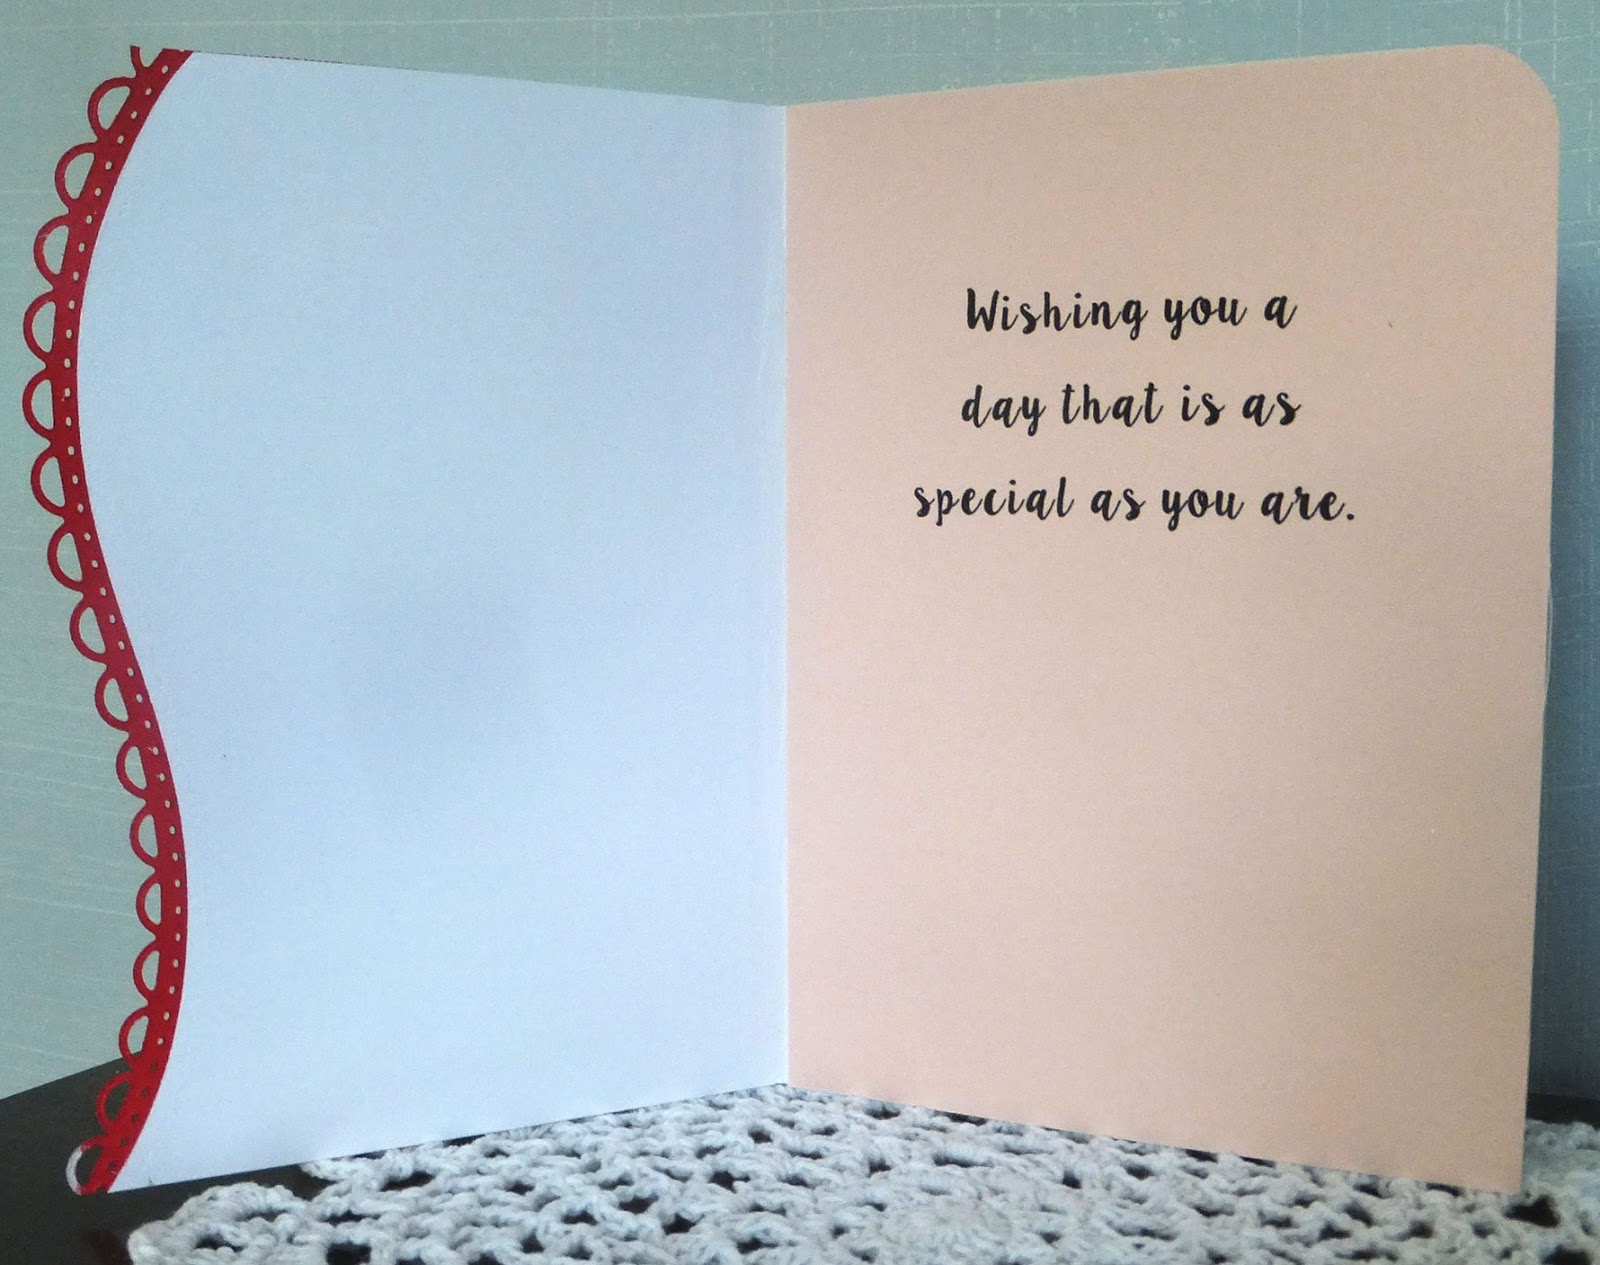
I left the inside of my card blank and adorned it with only the ribbon for breast cancer, which was also cut with my Silhouette (Design ID #102637).


Now it's time for you to head over to Let's Craft and Create to see what the rest of the Design Team has created. I know you will be blown away by their awesome creations and inspired to head straight to your crafting space.

Please join us this month by sharing your own creation that helps continue the fight for breast cancer awareness. I can't wait to see what you make!

Thanks so much for stopping by, and remember to laugh--a little or a lot--every day.
Cheryl

Tuesday, May 3, 2016

Mother's Day is around the corner...

Here are a couple of cards I made to send to some special mothers in my life.


I decided to use a Betsy Bluebell image by Penny Black, colored with my ProMarkers.


I did alter the image just a bit. There was a butterfly and a bee above the watering can, but I was careful not to ink them up when stamping. I wanted to add my own 3-D butterfly (Fiskars punch) to add a little dimension to my card.


My sentiment was computer-generated. I also took a small leftover piece of ribbon, tied it in a single not and adhered it to the left of my sentiment with some Glossy Accents.


Inside, I covered the right side of my card with some thinner pink cardstock. This view also clearly shows the edge treatment on the front, which was made with some Spellbinders Borderabilities dies.


Here's a second card, made the same way, but with different papers. Instead of a little piece of tied ribbon on my sentiment banner, I added another butterfly.


I also cut my image out with a stitched oval die instead of a circle.

I've definitely got to get my cards in the mail today or they'll be late!!

My big plans for Mother's Day are to spend some time in my flower beds, planting some annuals. We've had a bit of sunshine and warmer weather, so the landscape looks very green right now. In fact, I also need to start mowing the lawn.

Thanks so much for stopping by, and remember to laugh--a little or a lot--every day.
Cheryl

Friday, April 29, 2016

Heartfelt thanks...

 If you're a regular to my blog, I know you've seen me use this die (my sister's) before, but it's such a great die by Memory Box and helps to make a very quick thank you card.


I used the die on some kraft colored cardstock. Then I inked the tips of all the butterfly wings with metallic gold ink and added a black gem to the centers. Do you see that one that slipped off center? I did fix it after I took the photo.  I used a striped embossing folder on the bottom of my card front and then tied on a sparkly black ribbon. Easy Peasy!


Lifting all the wings a bit, adds some wonderful dimension and allows the color of the black mat to peek through.


I just happened to have this stamp, which I thought was perfect for the inside!

If it hadn't taken a wee bit of time to ink each of the butterfly's wings, this card would have been done in a flash. But even with the inking, it didn't take very long at all.

I am looking forward to a weekend with my sister, so I may not be floating around blogland very much. I will try to get back on my blog-visiting schedule come Monday, though.

Thanks so much for stopping by, and remember to laugh--a little or a lot--every day.
Cheryl