To start, I took two of the base images for this game controller and welded them together to form my card base. I then cut the layers and adhered them. Easy peasy! The left button (is this the directional button?) is several of the same cut stacked and glued together to give a little added dimension. It actually protrudes--almost like a real button! The pieces that are embossed on either side were actually supposed to be taken out to show the gray cardstock underneath, but I liked this look when I embossed them and adhered them back into the cutouts.
 |
To give some dimension to the colored "buttons," I added some glitter to the cutout circles and then coated the glitter with Glossy Accents. I love that I can add a little bling, even to a boy's card!
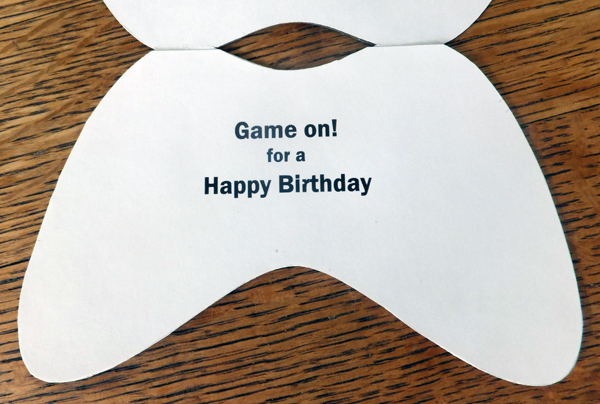
I left the inside plain except for the sentiment.
I wasn't able to be with this grandson for his birthday, but I do hope he liked his card and had a fantastic day.
Thanks so much for stopping by, and remember to laugh--a little or a lot--every day.
Cheryl


1 comment:
How cute and creative. I know your grandson loved it!
Post a Comment