Wish List

Friday, May 16, 2025

Cards for 2025 graduates...

We have two granddaughters graduating this year--one from high school and one from college. We're excited for both of them as they start a new phase in their grown-up lives, and, of course, I had to make each of them a card.

I made this one for our college graduate. I think she'll feel like doing a celebratory dance once she's handed that diploma.

I embossed a panel of white cardstock with the only graduate-specific EF that I have and glued it to a purple cardbase.

Then I cut an arched rectangle from the purple cardstock and a smaller one from white.


I stamped the image, which is of a female (from the back) in a sleeveless dress. I simply used a black marker to color in the dress and add the belled sleeves that make it look like a graduation gown.

I cut a small square of black cardstock for the mortarboard and popped it up with a dimensional on the back of her head. I hand-cut the tassle out of a bit of purple cardstock. It's SO small that it was a bit of a challenge, but I think it turned out ok.

Finally, I stamped "Celebrate..." at the top before gluing the two shapes together and then popping them up on my card.


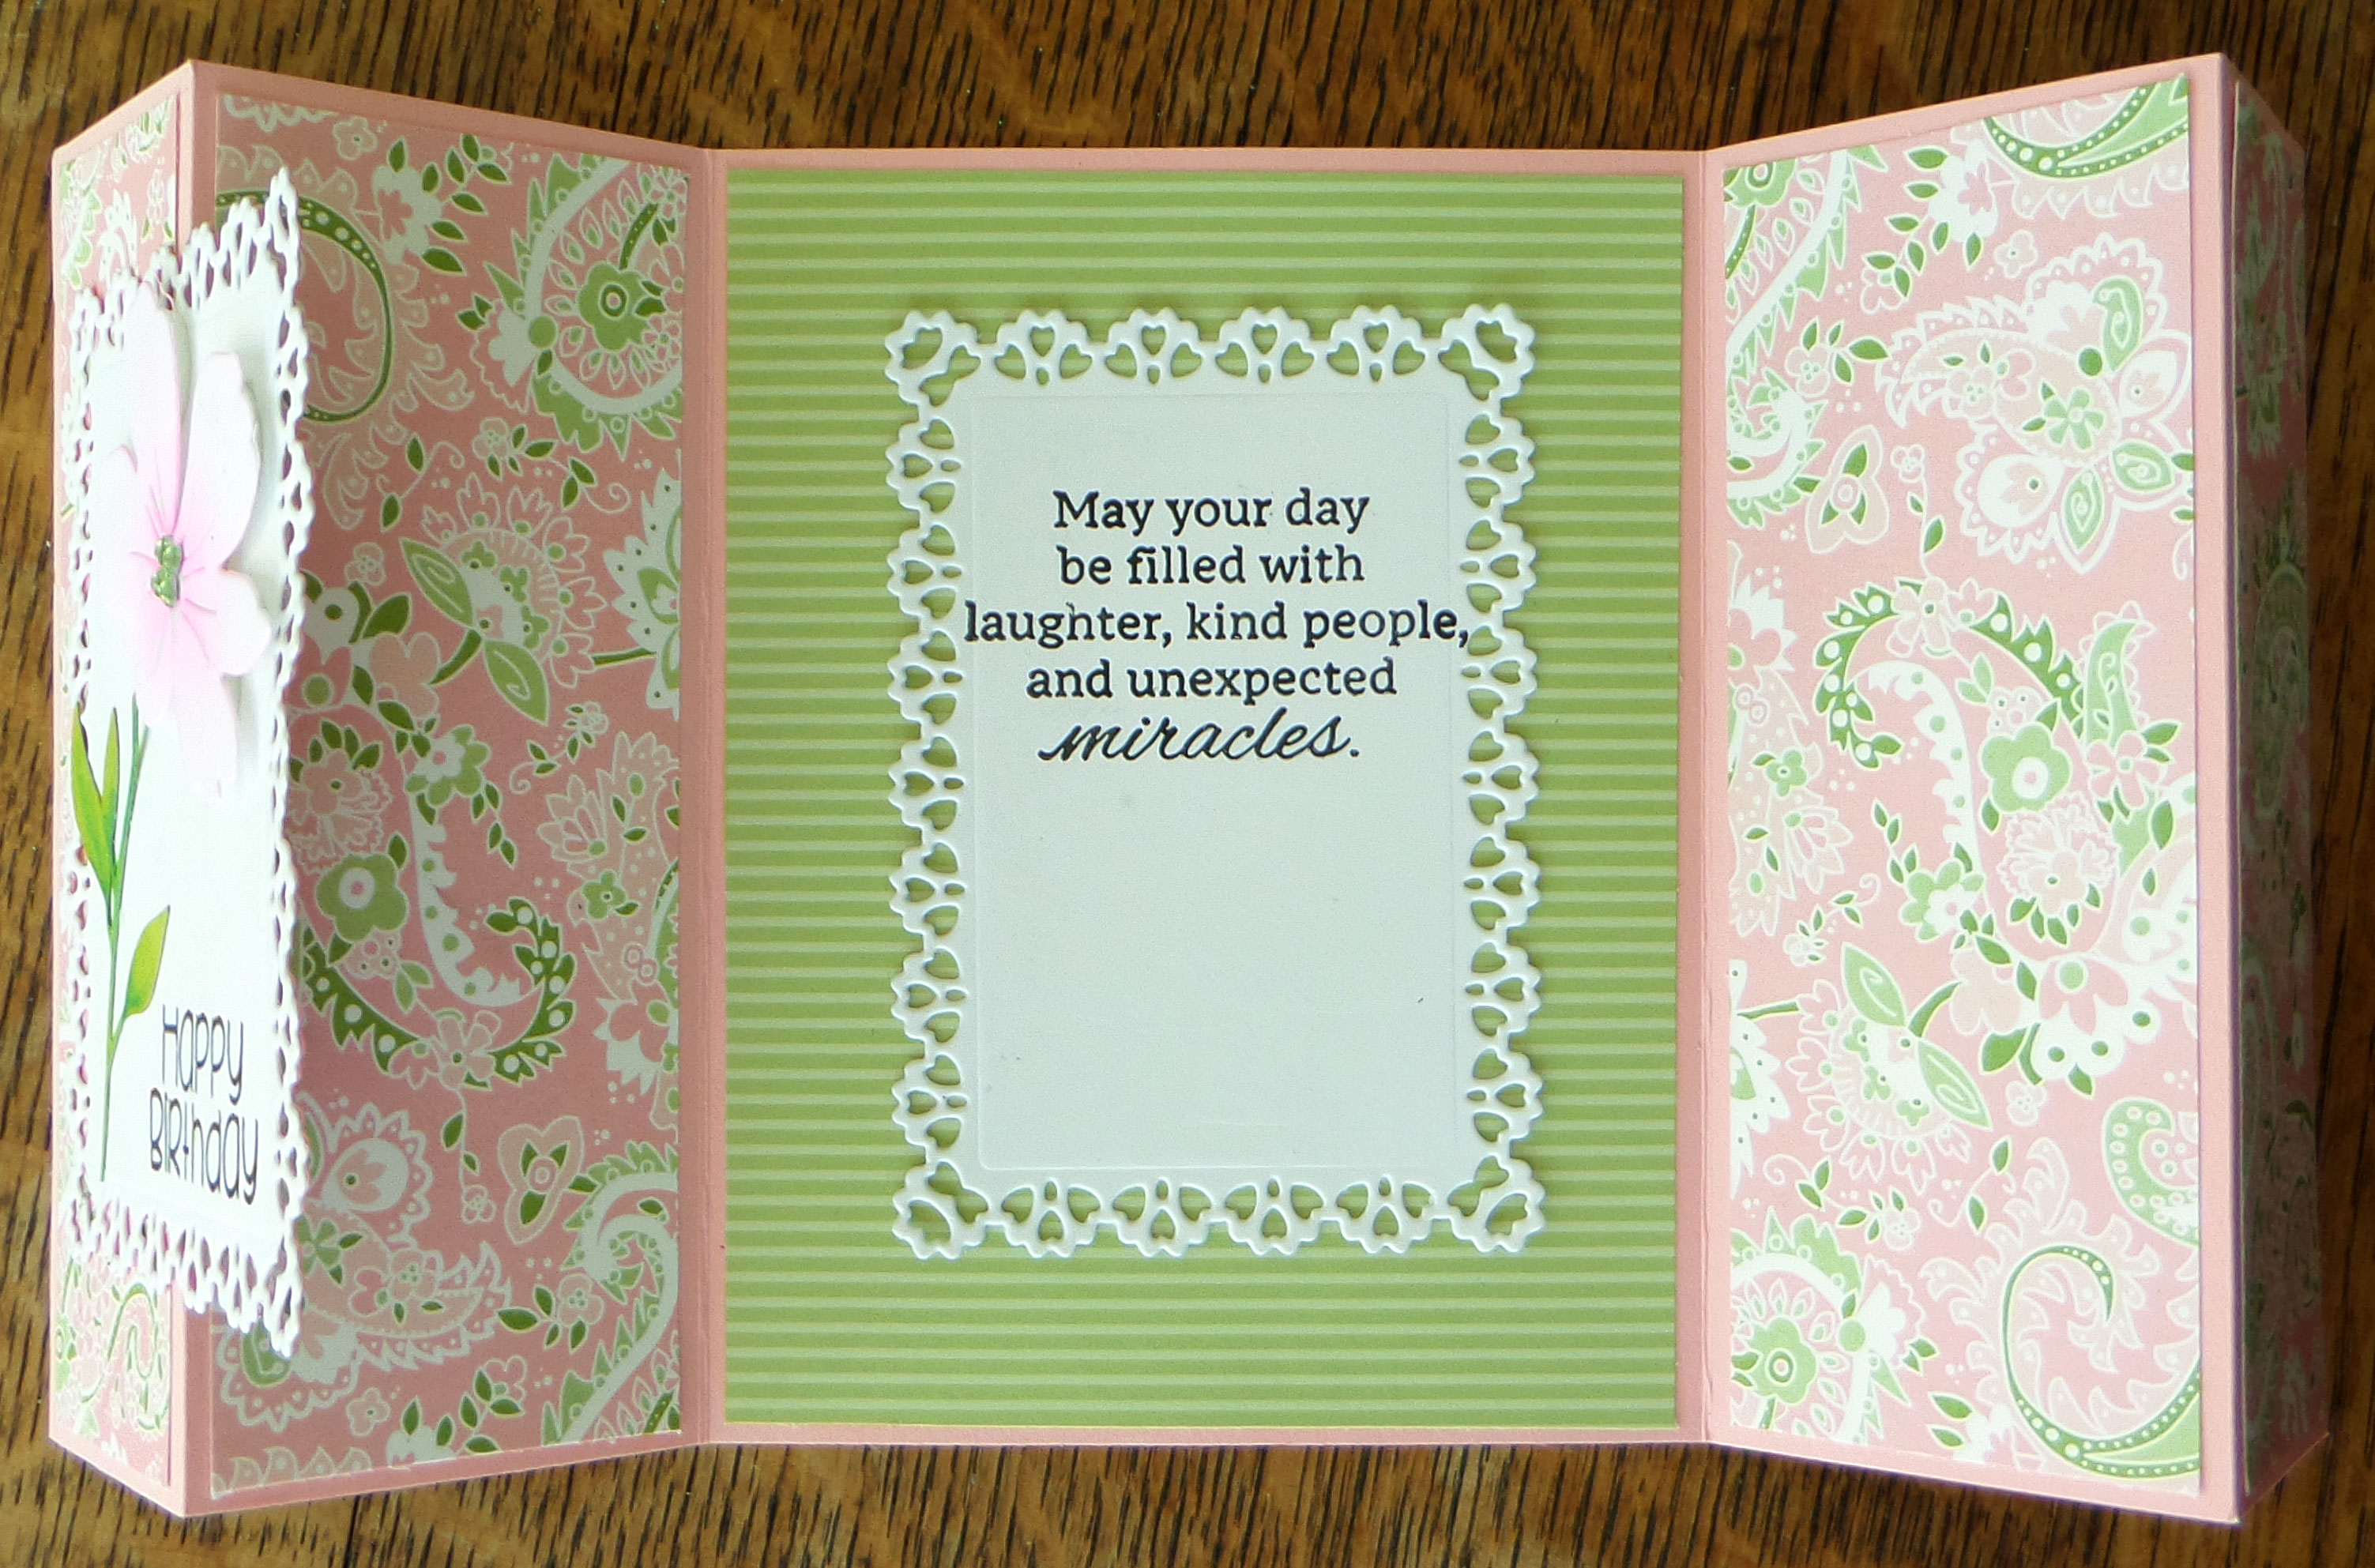
I stamped a sentiment on the inside to finish the card.

My granddaughter's school colors are purple and white, so I think this card will fit the bill.


I believe I saw the idea for this card on Facebook. I liked the composition of elements and I had what I needed to put it together. 

This granddaughter's school colors are blue and orange, so I started with a blue cardbase. Then I added a white panel that had been embossed with a stripe EF.  I adhered a strip of blue cardstock across the center with a strip of orange polka-dot cardstock on top of that. The "Big Congratulations" was popped up with foam tape.

I used dies to create the mortarboard and tassel.

I also used dies to cut my banners and numbers. I wish I had number dies that looked more "scholarly" in this small size, but I had to go with what I had. I guess I could have cut some out with my Silhouette, but my crafting space is so tiny, that I don't use it unless I have a bunch of cutting to do. I have to clear a space and hook my computer up to it, so it doesn't seem worth it for four little numbers.

Each flag on my banner has been popped up with foam tape. I added an orange string to hold my banner flags, but it's only visible at each end.


I added the same sentiment inside this card. I just didn't add the "congratulations" because it already says that on the front.

*****

We are working hard, getting ready to have our wood floors and steps to the second floor refinished in June. We're getting some much needed painting done and getting rid of some furniture we don't want to use anymore. We have to get everything out of our front entry, entry closet, living room, dining room and hallway. It makes me ask, "Why do we have so much stuff!"

Thanks so much for stopping by, and remember to laugh--a little or a lot--every day.

Cheryl

Wednesday, May 14, 2025

Let's dance like no one is watching...


 I had a leftover bee and a leftover hexagon of yellow cardstock from some other projects. I embossed the hexagon with a honeyconb EF and popped it up on my card front. Since the cardbase was blue and the background DSP had some blue in it, I die-cut a couple of blue corners and glued them on, as well.


I love this particular bee. He's from a stamp and die set of six (I think) bees, all in different happy poses. I've colored him with markers and added some sparkle to his wings.

The bee has been popped up on foam squares.

I stamped and die-cut the Happy Birthday and glued it directly to the hexagon with a bow at one end.


I saw a similar sentiment somewhere online, so I created this one with my computer. This card was donated to the thrift store, and I thought someone would get a kick out of it.

It was great fun to make this card and use up some random bits in the process.

*****

We are currently trying to give away our sofa sleeper by offering it on several giveaway sites online. We've been rather surprised by the interest in it. I hope it eventually goes to someone who can really use it.

Thanks so much for stopping by, and remember to laugh--a little or a lot--every day.

Cheryl

Monday, May 12, 2025

Sometimes the paper makes the card...


This card came together with just a strong, masculine piece of DSP and a large sentiment. When I saw this DSP, I immediately thought of a masculine card. But then I wondered, "How, exactly, I would use it?"

I decided that it would be okay to just let the paper do all the work on this card. I stamped the sentiment, added a couple of scored lines above and below, and matted it with red cardstock and then with black before popping it up on my card front. This card measures 4 1/2" X 6", so it's a bit bigger than the usual A2.

I added two stamped sentiments on the inside along with a couple of stamped flourishes.

Since I had the leftover strip of DSP, I added it at the bottom of the inside panel. Card done!

*****

We have had a beautiful weekend and I finally got some flowers planted. We've been enjoying our tulips and daffodils, but now there are lots of flowering annuals to enjoy, too. The lilacs are also in full bloom and they smell heavenly. What a fabulous time of year!

Thanks so much for stopping by, and remember to laugh--a little or a lot--every day.

Cheryl

Friday, May 9, 2025

Have a wheelie great day...


I made two cards like this one to donate. I have this bicycle die and have rarely used it, so I thought it was time to use it for a couple of cards.

I started by cutting a piece of cardstock that was 5 1/2" X 11" and scoring it at 4 1/4" and 8 1/2" on the long side.

I ended up cutting a tiny sliver off the first 4 1/4" section so that it would fold easily under the top flap.

The sentiment was stamped, die-cut and popped up on foam squares.


After gluing some DSP to the top flap, I added a darker blue border (it was a punch-out) before adhering the bicycle. 

The dark circle in the center of each wheel is an enamel dot.


This is what you see when you lift up the top flap. 


When that inside flap is turned down, this is what you see on the inside of the card.

I added a pocket where a gift card, money or note can be inserted. It also added a bit of color to the inside of the card.

These were fun to make, and I'm thinking of some other ideas for decorating the fronts. 

I think this fold would make a good Father's Day card with some tools on the front and a suggestion to add a gift card to his favorite home improvement store.

A girly dress on the front would be fun for a girl with a suggestion to add a gift card to her favorite clothing store.

A teddy bear on the front would be cute for a baby card with the suggestion to add a gift card to a favorite baby store.

I think these will sell well at the thrift store. I guess I'd better get busy making some more!

Thanks so much for stopping by, and remember to laugh--a little or a lot--every day.

Cheryl

Wednesday, May 7, 2025

A new flower die, and I love it...


This flower die is so simple (all one piece) and such a nice size that I know I'll use it often. In fact, I've already used it on several cards.

I used some ink and blending brushes to add color to the flower which had been cut from white cardstock.


I loved the effect of adding only a bit of pink ink to the center of the flower. 

The stem is glued directly to my lacy rectangle, and the blossom part is popped up with foam tape.

Four gems were added to the flower's center.


This card has a lovely surprise when it is opened. Lots more DSP inside! The white rectangle I added here is exactly the same size as the one on the front, and I made sure that I placed it exactly beneath it.

If you want to know how to make this fold, check out my post here.


I decided to use the die again when making these two cards. This time I cut it first from green cardstock and then just the flower head from the deep red cardstock, which was layered over the green.

Then, after cutting two pieces of DSP that each measured 3 3/4" X 5", I placed one on top of the other and cut them once horizontally and once vertically. I simply eyeballed where I wanted the cuts to be. Then I placed them on a pink mat (4" X 5 1/4") in the order you see above.


I popped up the stamped sentiment on both cards and added two die-cut flowers to this one. Their centers are circles that were made with a 1/8" one-hole punch.


Once again, on this card, I glued the flower stem directly to the front of the card and popped the blossom up with foam tape.

The dots in the center were made with a 1/16" single-hole punch and gold metallic cardstock.


I printed sentiments with my computer for both cards and added a couple of die-cut flowers for embellishment.

*****

We will have two graduates in the family this month--one from high school and one from college--so I am working on cards for them. It's so exciting to see them heading off on a new adventure, whether it be college, work or something else. Our high school graduate will be heading to college and our college graduate will be heading to yet more schooling, in a whole new direction. I am proud of what they have achieved and for their desire to do even more.

Thanks so much for stopping by, and remember to laugh--a little or a lot--every day.

Cheryl


Monday, May 5, 2025

Let's Craft and Create Challenge #219: Anything Goes or No Patterned Paper...


April showers bring May flowers, and the flowers in my yard are growing like mad and bursting with color. They inspired me to create two flower-themed cards for this this month's challenge at Let's Craft and Create...without using any patterned paper.

I began making this card by cutting 1 3/4" off the front of a white cardbase. I had some pink copy paper on hand, so I cut a piece to fit my card front and embossed it to give it a little texture before gluing it down.


The flower spray was created with a stencil and die set. After inking through the stencil, I also added some details with pens and colored pencils.

Once my coloring was done, I glued the spray to the right edge of the card front.

As a final touch, I added Glossy Accents to the round, pink flower buds. This helped them stand out with a little shine.

The sentiment was stamped, punched out with the Word Window Punch, and popped up on foam tape.


I did some light inking on the portion of the inside that showed when the card was closed.

I also added a stamped sentiment.


This card began with a white panel embossed with an oval floral frame embossing folder. I matted the embossed panel with pink cardstock and then adhered it to a 5" X 7" white cardbase.


A die-cut sentiment was added in the center of the card. I also used my chalks to add just a touch of color to each of the flowers.

For sparkle, I added small pink gems wherever there was a little swirl in the embossed design.


The sentiment on the inside of the card was stamped with an ink color that matched the color of the sentiment on the front.

Now I hope you'll head over to Let's Craft and Create to see all of the inspiration the Design Team is offering there.

I'm looking forward to seeing your creations linked to the post. You always inspire me!

Thanks so much for stopping by, and remember to laugh--a little or a lot--every day.

Cheryl

Friday, May 2, 2025

Fun kitty-cats for Mother's Day...


I think it's fun to use some unexpected images for cards when I can. I purchased a set of cat dies a while ago, and this is the first time I've used them. There are four cats in the set, but I thought these two were just the right pair for a Mother's Day card. They look like they could be a mama cat and her kitten, don't they?

I've decided to share this card on the NBUS blog. If you haven't visited yet, you really should. It's a wonderful blog where owner Darnell encourages all of us to use the "Never Before Used Schtuff" we have amassed. I'm a little embarrassed by the size of my own NBUS pile, which is why I'm so thankful to Darnel for the encouragement to use it. Be sure to check it out!


I cut the whiskers out of silver metallic cardstock. They're a bit too prominent for my liking, so I think next time I'll cut them out of a dark gray cardstock. That way they'll show up, but not grab so much attention.


I stamped a couple of sentiments on the inside with a purple heart to separate them.

I volunteered today and was pleased to see a couple of customers purchasing some of the cards I donated. I sometimes wish I could ask them what they think about them and how I might improve their design or even the selection of cards I put out. I don't want to bother them, though, or put them on the spot, so I keep quiet.

Thanks so much for stopping by, and remember to laugh--a little or a lot--every day.

Cheryl