Wish List

Tuesday, March 29, 2016

Gear up for an amazing year...

I always struggle to find ideas for masculine cards. That's why I was thrilled to find this card base and gears in the Silhouette Online Store. I cut my card base and backed the front with some white CS on which I had printed the sentiment with my computer.

I cut several layers of my gears out of some charcoal-colored CS and adhered them together for some extra dimension. I also glazed the top of each one with Glossy Accents to make them look metallic.

On the inside of my card, I printed another computer-generated sentiment and a couple of the gears I had left over after finishing my card front.

I liked the way this card turned out, and I thought it worked perfectly for the men in my family.  I've been working on some other masculine cards, too, which I'll share with you in the days ahead.

While we had a lovely Easter, we are still working on eating up the leftovers! It's nice not to have to cook, though, or even think about what to make. I'm also lucky that my DH actually really likes leftovers. Bless him!

Thanks so much for stopping by, and remember to laugh--a little or a lot--every day.
Cheryl

Friday, March 25, 2016

Glittery Easter eggs...

I have a couple more Easter cards to show you that feature some fancy eggs cut with my Silhouette.

After my eggs were cut, I colored them with ProMarkers. Then I backed them with double-sided sheet adhesive and added glitter to the negative spaces on the front of each one.

For this card I also added a Spellbinder's flourish die-cut that I cut apart to fit around my eggs. The lacy edge on the right was made with a Martha Stewart punch.


For the inside, I used a couple of tiny egg stamps and stamped them in different colors under my sentiment.

The sentiment was a stamp that I purchased at my local thrift store. Not sure of the brand.


I used the same process for my eggs on this card. My "Happy Easter" was cut with my Cricut and the grass layers were created with a Fiskars punch.


For an extra little "something," I added some Liquid Pearls to the pink egg.


Another interior that was created the same way as the first card's.

I am slowly getting ready for Easter. I was ill this week and even went to my local clinic today, but I am determined to have everything ready for Sunday. We are hoping for a sunny, warm day, as we would like to grill our meat outside.

I hope your Sunday is warm and sunny, too!

Thanks so much for stopping by, and remember to laugh--a little or a lot--every day.
Cheryl

Wednesday, March 23, 2016

Closing in on Easter...

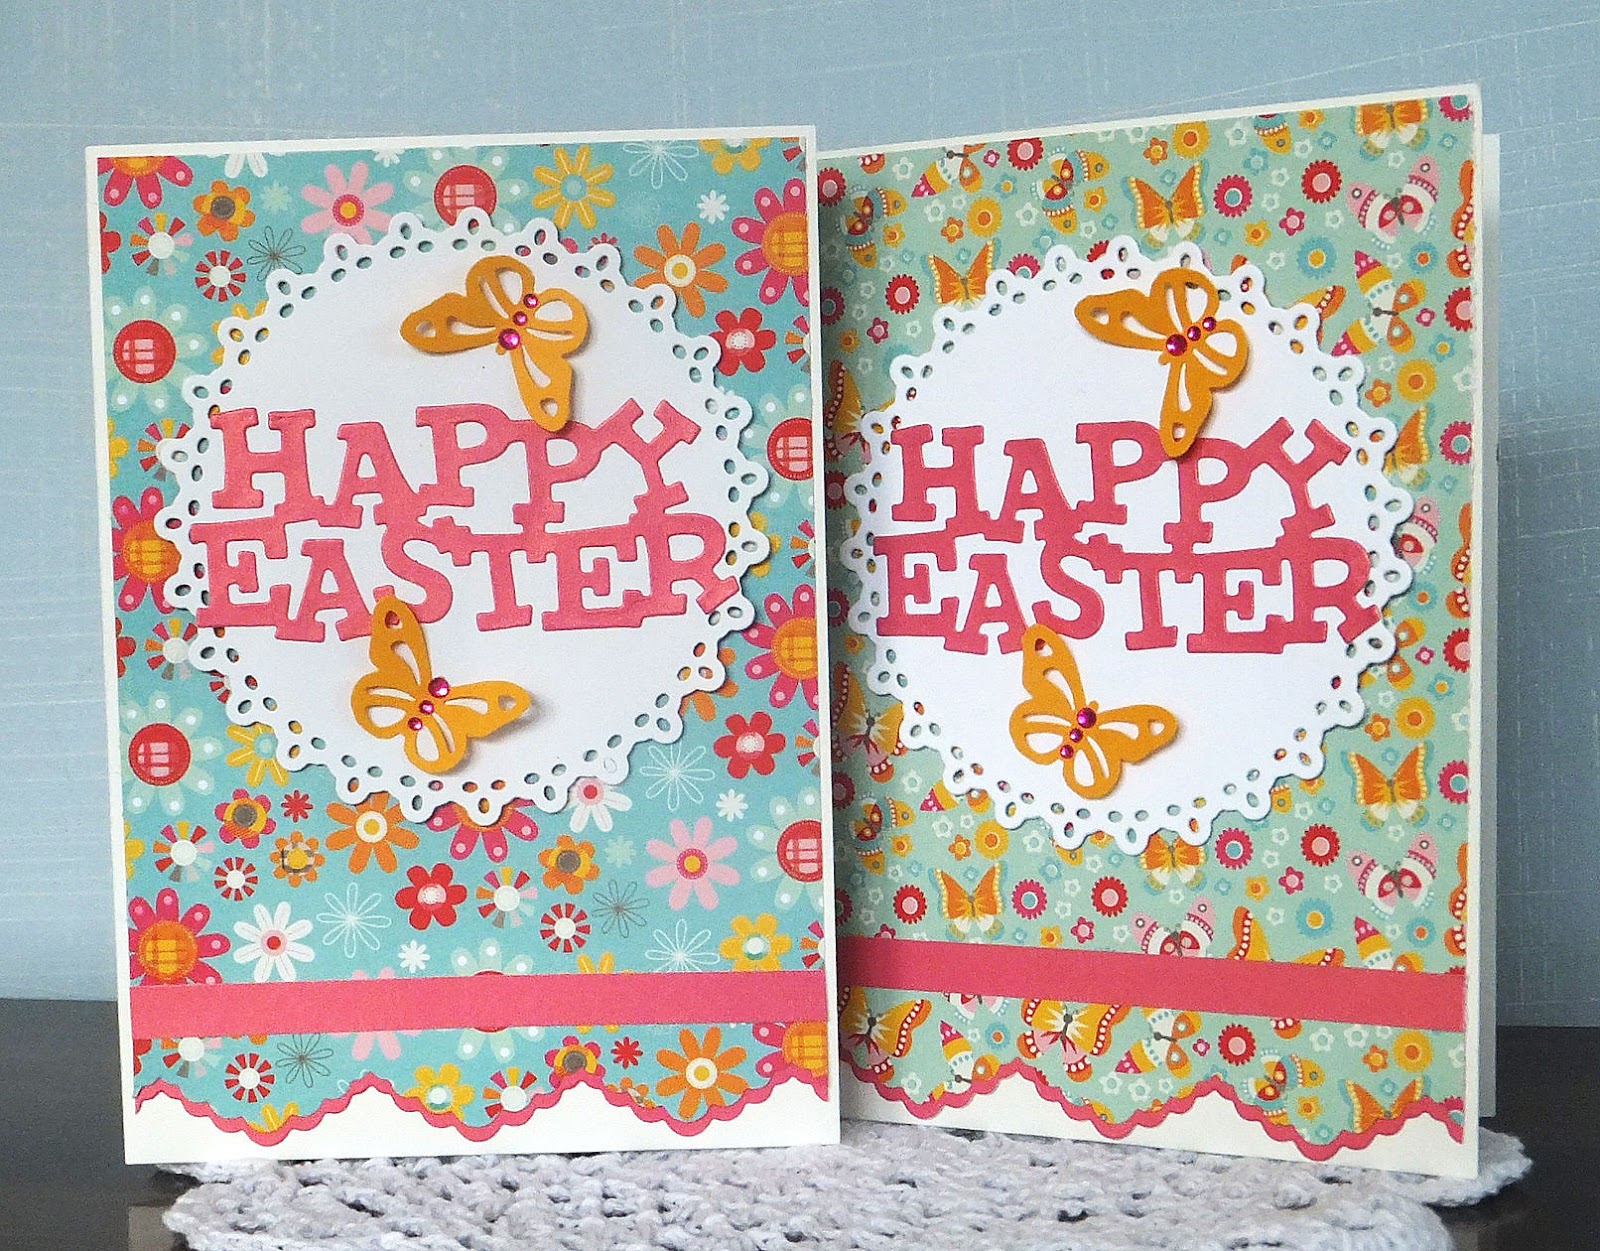
It won't be long now and the Easter holiday will be upon us. Here are a couple more cards I made to send to family and friends.

I used a Stampendous border die to cut my cute scalloped border at the bottom of my DSP. I cut another one out of pink CS to help define the edge a little.


The DSP is from "My Girl" by My Mind's Eye. It is so busy that I needed something plain to tone it down a little and allow the receiver to focus on my sentiment. I decided a white doily was the answer, so I cut one out with a Lifestyle Crafts die.The butterflies were made with a Martha Stewart punch.

Finally, my "Happy Easter" die-cut is by Cheery Lynn. A few gems on my butterflies and a strip of the pink CS across the bottom finished my card front.


I used a leftover strip of DSP on the inside of each card. I just LOVE when I can use an entire 6" X 6" sheet with virtually no leftovers.

Well, we had about 4" of snow here today! It made a mess out of the roads and will probably cause some icy spots on sidewalks and such when the temperature dips below freezing tonight. It always seems that Spring has to struggle mightily to truly make an entrance in my part of the world.

Thanks so much for stopping by, and remember to laugh--a little or a lot--every day.
Cheryl

Monday, March 21, 2016

A couple pretty Easter cards...

The following two cards were made with Silhouette cut files. These cards were quick to cut out and assemble - perfect when you need to make a lot of cards!


For this card, I cut the lacey green card front, the flowers and the "Easter" oval. I inked the flowers and added pearls to their centers after gluing them to my card. The oval was backed with some pink glitter paper and rimmed with tiny pearls made with Liquid Pearls.


I'm hoping in this photo you can see the pink glitter paper in the openings of my letters. It really adds a nice bit of sparkle IRL.


Here's the inside of my card. My sentiment is from My Sentiments Exactly (MSE).


For this card I cut the center tulip and the tulip doily with my Silhouette. My label was cut with a Spellbinder's die.

I backed part of my doily with a green circle of card stock so that my tulips would all have green stems. I thought that little trick worked out really well!

You may have noticed that I sponged some ink on the edges of my center tulip flower head and added a little gem to it. That little gem tied in with the gems I added to each side of my label.


This card honestly looks so much better IRL. I wish I could take pictures that ENHANCED the look of my cards, rather than the opposite.

You may have noticed all those tiny little tulips that were cut out of my white CS doily. I couldn't just throw them away! So I took out some alcohol markers and colored them to match the front of my card...


...and then I used three of them as decoration on the inside of my card! Aren't they so cute? My sentiment is once again from MSE.

Today, I asked my 10-year-old granddaughter if she was looking forward to coming over for Easter dinner on Sunday. Her instant reply was, "Are you having mashed potatoes?" I guess that's the criterion to get my grandkids to enjoy dinner at my house. LOL

I hope you're having a great week and are looking forward to Easter, as well. Thanks so much for stopping by, and remember to laugh--a little or a lot--every day.
Cheryl

Friday, March 18, 2016

A near success with vinyl and my Silhouette Cameo...

Ever since I received my Silhouette last December, I've been hankering to try cutting vinyl and applying it to a surface. I've also been afraid that I would just make a mess of it! I finally took the plunge and gave it a try.

I purchased some Oracal 651 vinyl from Ante Up Graphics. I bought only a few 12" X 12" sheets, since I had no idea what I was doing yet. The sheets were only 50 cents each, so it wasn't a big investment.

The first project I decided to try was to cut and place a fun sentiment onto a coffee mug. The sentiment was purchased from the Silhouette Design Store.


I found a large, plain brown coffee mug that I thought would work. I would have liked to have cut my sentiment out of tan-colored vinyl, but since I didn't have any, white would have to do.

As you can see, the Silhouette did an amazing job of cutting some of the very thin parts of the design. The word "scream" ran together a bit when I applied the vinyl (an issue, I think, with curved surfaces), and it's not applied altogether straight, but I think it still looks okay. It makes for a fun coffee cup, don't you think? And I felt pretty good about my inaugural project.

The next idea I tried was to add names to some insulated cups for the grandkids.

This time, I used the "Hiccups" font to create the names in the Silhouette Designer Edition software. I think this is a fun font with a bit of a cartoon character to it. My names are not all applied perfectly straight either, but hopefully, I'll get better with practice.

Here's how I'm going to package these cups for Easter:


I found some extra long Easter treat bags at the Dollar Tree, and they're just the right size for these cups.

It was really fun to add my own vinyl touches to all these items, and I can't wait to try it on something else.

I finally got all my Easter cards and packages mailed today. It always feels good to have that done.

Thanks so much for stopping by, and remember to laugh--a little or a lot--every day.
Cheryl

Tuesday, March 15, 2016

Thinkin' o' the green...

St. Patrick's Day will soon be here, and I've made a card for my sister. Normally, I wouldn't share it here until I thought she had received it, because she reads my blog. But, since I didn't get it mailed until today (I was ill yesterday with some mysterious malady), she may get it late, so I'm going to share it here so she sees it in time and knows that I'm thinking of her.


Isn't my little leprechaun cute? The stamp set I used for the leprechaun, the shamrock and the sentiment was purchased at my local thrift shop's craft department, and since it was not in the original packaging, I'm not sure who the manufacturer is. I thought he was so cute, though, that I had to have him.


I colored him with ProMarkers and then fussy cut him out, so that I could pop him up with foam tape on my card. I did the same with the little shamrock.

I added a little glitter to my shamrock and the orange hat band and belt with a Wink of Stella pen.


My sentiment was stamped and then cut out with a Spellbinder's reverse scallop circle die. I inked the edges a bit with some spring green ink and also popped this up on some foam tape.


For the inside of my card, I found a nice Irish blessing online and printed it out with my computer. A strip of my DSP and another little "Winked" Shamrock, and my card was done.

To my sister: this is your card, Pat! Sorry if you receive it a day late. :(

I have been fortunate enough to visit Ireland a couple of times, and I absolutely loved it!! The people were so warm and genuine, and the countryside is breathtakingly beautiful. There is so much history to see and learn, delicious food and drink  to experience (love Bulmers hard cider), incredible scenery to take in and fun music to enjoy. I would go back again in a leprechaun's heartbeat, and I encourage you to go, too, if the opportunity ever comes along!!

Thanks so much for stopping by, and remember to laugh--a little or a lot--every day.
Cheryl

Wednesday, March 9, 2016

Another NBUS entry...

Never-Before-Used-Schtuff (Stamps, Dies, EFs, etc.)

The sweet and funny Darnell Knauss at DJKardKreations is wrapping up her NBUS (Never Before Used Schtuff) Challenge tomorrow, and I am sneaking in one more entry before the deadline.

I volunteer every week at a local thrift store. It is run by a church, which uses the proceeds to support their food shelf and other community outreach services. This particular thrift store is the nicest one I have ever seen! Items are beautifully displayed, and nothing offered for sale is ever dirty, broken or damaged.

They have a "craft section" at the store, and I am always checking there for stamps, papers and other items I can use.

I purchased the stamp for today's card from this store quite some time ago, and this is the first time I've ever used it. It's definitely NBUS!


I thought this image was so cute, even if it is in an older style. The stamp is from Stamps Happen, Inc., which I don't think is in business any longer. I did a little search, though, and found a few of their stamps still available online at various places.

I colored my image with ProMarkers. My "Happy Easter" (stamp source unknown) is on a scalloped circle die-cut that has been inked around the edges with some pink ink. I attached my little bow with some glossy accents.


On the inside of my card, I adhered another strip of my DSP and added a little bunny die-cut (Impression Obsession). My sentiment here is by My Sentiments Exactly (MSE).

There is very little adornment on this card. The image really takes center stage, and I kind of like it. The coloring took me a while - I'm slow! - but once that was done, the card came together very quickly.

Well, that's it for me today. Thanks so much for stopping by, and remember to laugh--a little or a lot--every day.
Cheryl