Wish List

Friday, January 31, 2025

Fun with embossing folders...


For this card I used both a 2-D and a 3-D embossing folder. As I'm sure you can tell, the 2-D folder was used on the white 4" X 5 1/4" panel. 

The 3-D folder was used to create the two flowers. I cut them out first with coordinating dies and then I embossed them in the folder. When that was done, I used a finger dauber to add a little white ink to the raised areas.


The sentiment was stamped, cut out with a circle die and popped up on my card front. 

The flowers were glued directly to the card front, but the glue was only on the backside of the flower centers. This left the petals free so I could position some of them over the top of the circle.

I added a few gems for a bit of sparkle.


I stamped a sentiment on the inside and embellished it with a small flourish stamp.

I really liked how this card turned out, so I plan to make a few more in other colors. Wedding season is just around the corner and I think these will sell quickly at the thrift store.

Thanks so much for stopping by, and remember to laugh--a little or a lot--every day.

Cheryl

Thursday, January 30, 2025

Funfold Valentine...


This Valentine began with a white panel that was 4 1/4" X 5 1/2".  Then I cut a piece of double-sided DSP that was 4" X 12". I scored this long piece at 2 1/2" and 6 3/4". 

The first fold became a mountain fold and the second fold was a valley fold. I glued the first fold back onto the card front after adhering a white strip so that a 1/8" edge was showing. 

The back side of the folded strip that measured 4" X 5 1/4" was glued to the center of the white panel.

On the "folded back" front section, I added a heart die-cut. When I created the die-cut, there were some leftover white hearts. I added them as decoration in two of the corners. I also added a couple of pink enamel hearts.

The sentiment was stamped, fussy-cut, and popped up with foam tape.


On the inside of the card I added a 3 3/4" X 3 3/4" white panel with a stamped sentiment and a tiny enamel heart.

This card design is a great way to use some of your double-sided papers and feature both patterns on your card. The patterns on my strip weren't so very different, so it's not a dramatic look, but I liked how it turned out, anyway.


I thought I'd share one more Valentine with you today, even though it's not a funfold. This is a pretty simple card, and what I like most about it is the stamped sentiment on the front.


I die-cut this heart banner and backed some of the hearts with off-white cardstock.

After it was glued to my card, I added a red gem to the center of each tiny bow.


A simple sentiment was stamped on the inside. I thought this card might work for either a male or female.

We have just returned from spending four days with friends in Arizona. The weather there was cool, but not cold. It was such a nice change and so good to see our friends again.

Thanks so much for stopping by, and remember to laugh--a little or a lot--every day.

Cheryl


Wednesday, January 29, 2025

Love you "beary" much...


The idea for these two cards came in response to a request from an employee of the thrift store. She has a new baby grandson and asked me if I could make a special Valentine for her to give to him. 

This is the Valentine I came up with for her. It was made with a lot of scraps. The background paper was a left-over piece from other cards, and the cardstock I used for the bear was actually a little unassembled pillow box that I knew I wouldn't ever use as intended. After cutting him out, I inked the paws, belly, nose/mouth and ears through openings in the die. I enhanced his eyes with some Nuvo drops.

The white heart, too, was cut from a scrap of cardsstock. I inked the edges to help define it a bit more. It was popped up, as was the sentiment, which I printed with my computer.

The tiny hearts are actually enamel hearts that were once part of a card kit.

Because I had this card design worked out, I decided to make another one in more feminine colors. 


I used my computer to print the sentiments for the inside, and I added another enamel heart underneath each of them. I have really enjoyed using those tiny hearts as embellishments.

I think there are a lot of grandmothers who frequent the thrift store and buy cards for their families, especially their grandchildren, so I try to donate cards that will work for that purpose.

Thanks so much for stopping by, and remember to laugh--a little or a lot--every day.

Cheryl


Monday, January 27, 2025

Changing and adding to an already pretty design...

Have you ever had one of those 12" X 12" paper stacks that was really meant for scrapbooking? I've had several, and sometimes I struggle with how to use some of the pages that have a design that incorporates the entire page. Today's card was made from one of those pages.

I should have taken a picture of the page before I cut it, but you can probably imagine what it looked like. The top 2/3 of the page was the peachy color at the top of this card. The bottom 1/3 was the orange and teal stripe. Where these two sections met there was the design you see above (including the glittery elements), with the polka-dotted strip on the right running the entire width of the page.

Underneath the "feel better soon" banner there was an an orange stripe that had the word "smile" on it. I simply cut a banner from some of the leftover peach cardstock and heat-embossed the sentiment I wanted. Then I popped this up directly over the strip that said "smile."


The only other embellishment that I added was some Nuvo Drops. I think you can see them better in the first photo.

When I was done, I was pretty pleased with the results. 


I stamped a sentiment on the inside and the card was done. Boy, talk about quick! Now I wish I had more pages in my paper stack just like this one.

Thanks so much for stopping by, and remember to laugh--a little or a lot--every day.

Cheryl

Friday, January 24, 2025

Simple design with heat-embossed sentiments...


I really liked the pretty paper on the top half of this card, so I didn't want to add too much else. I added a polka dot paper on the bottom in the same colors and a ribbon to cover the seam.


I heat-embossed the sentiment with a deep gold embossing powder and die-cut it with one of my favorite label dies. 

I popped the sentiment label up on a larger label that had been cut from the same cardstock as the card base. I adhered that bottom layer directly to the card front. It helped to hold the ribbon in place.


The sentiment on the inside was also heat-embossed.

I actually made two of these cards and have donated them to the thrift store.

I've been spending a lot of time making Valentines for family members. With such a large family (I need about 20 of them), it takes a while! I've also been making 8-10 Valentines a week for the thrift store, so I'm just about Valentined out.

Thanks so much for stopping by, and remember to laugh--a little or a lot--every day.

Cheryl

Wednesday, January 22, 2025

Tone-on-tone inking....

 Embossing folders--especially the 3D ones--are some of my favorite cardmaking tools. They add so much texture and dimension to cards. When embossing on colored cardstock, I often like to highlight the design with some white ink as I did in this post.

For today's card, however, I decided to do some tone-on-tone inking.

I started with some lavendar cardstock and a 3D embossing folder with this pretty leafy design (gingko leaves?). While my lavendar panel was still in the embossing folder, I used a purple ink pad to lightly swipe over the raised design. After trying this a number of times on other cards, I have found that keeping the cardstock in the embossing folder while inking better supports the raised areas and helps keep the ink from getting into the lower parts of the design.


The 5/8" wide white ribbon has a velvety center and was too thick to use for a bow. I still wanted to add a bow, so I tied one with some 1/8" wide ribbon and glued it to my sentiment die-cut.

As a final embellishment, I added three lavendar gems.


I decided to mat my sentiment panel on the inside of my card, too. I don't often do this, but it definiitely adds a nice finishing touch.

We have just gotten through a sub-zero cold spell. We had temps in the negative double digits, and last Sunday it did not get above zero. Windchills on Sunday were -30 F to -40 F when we had to do a little walking in order to get to a local theater to see a play called "The Heart Sellers." Walking even a few blocks was brutal, but the play was great!

Thanks so much for stopping by, and remember to laugh--a little or a lot--every day.

Cheryl

Monday, January 20, 2025

It's Spiderman!...

I had all kinds of cardmaking fun with these cards. First, I found a free clipart image of a web on a red background. I actually printed it onto red cardstock to make sure I had good coverage and an intense red. If you don't have a color printer, you could draw or stamp a web(s) onto red cardstock.

After cutting the web image into a panel and adhering it to a blue A2 card base, I die-cut a couple of white hearts. I cut each heart in half--right down the center--and glued each half onto some black cardstock. I carefully fussy-cut a narrow black border around each piece.

The sentiment words were printed with my computer, fussy-cut and popped up on thin foam strips. 

I cut the numbers from blue and white cardstock and stacked them, off-setting them just a bit so that the white showed through. I chose to make these cards for a 5- and 6-year-old, because I thought that age group would love to receive a Spiderman card.

The numbers and the eyes were glued directly to the card front.

I added a computer-generated sentiment on the inside.

This card could be made with no dies at all. Just draw 1/2 a heart onto a folded piece of cardstock and fussy-cut it out, splitting it down the middle. Then mat each piece with black as I have done.

Use number stickers instead of die-cut numbers.  And remember you can color or recolor stickers with Sharpies or other markers if you need to.

Use your computer to print the sentiments, or print them by hand.

Most of all, have fun making them!

Thanks so much for stopping by, and remember to laugh--a little or a lot--every day.

Cheryl

Friday, January 17, 2025

More Valentines...


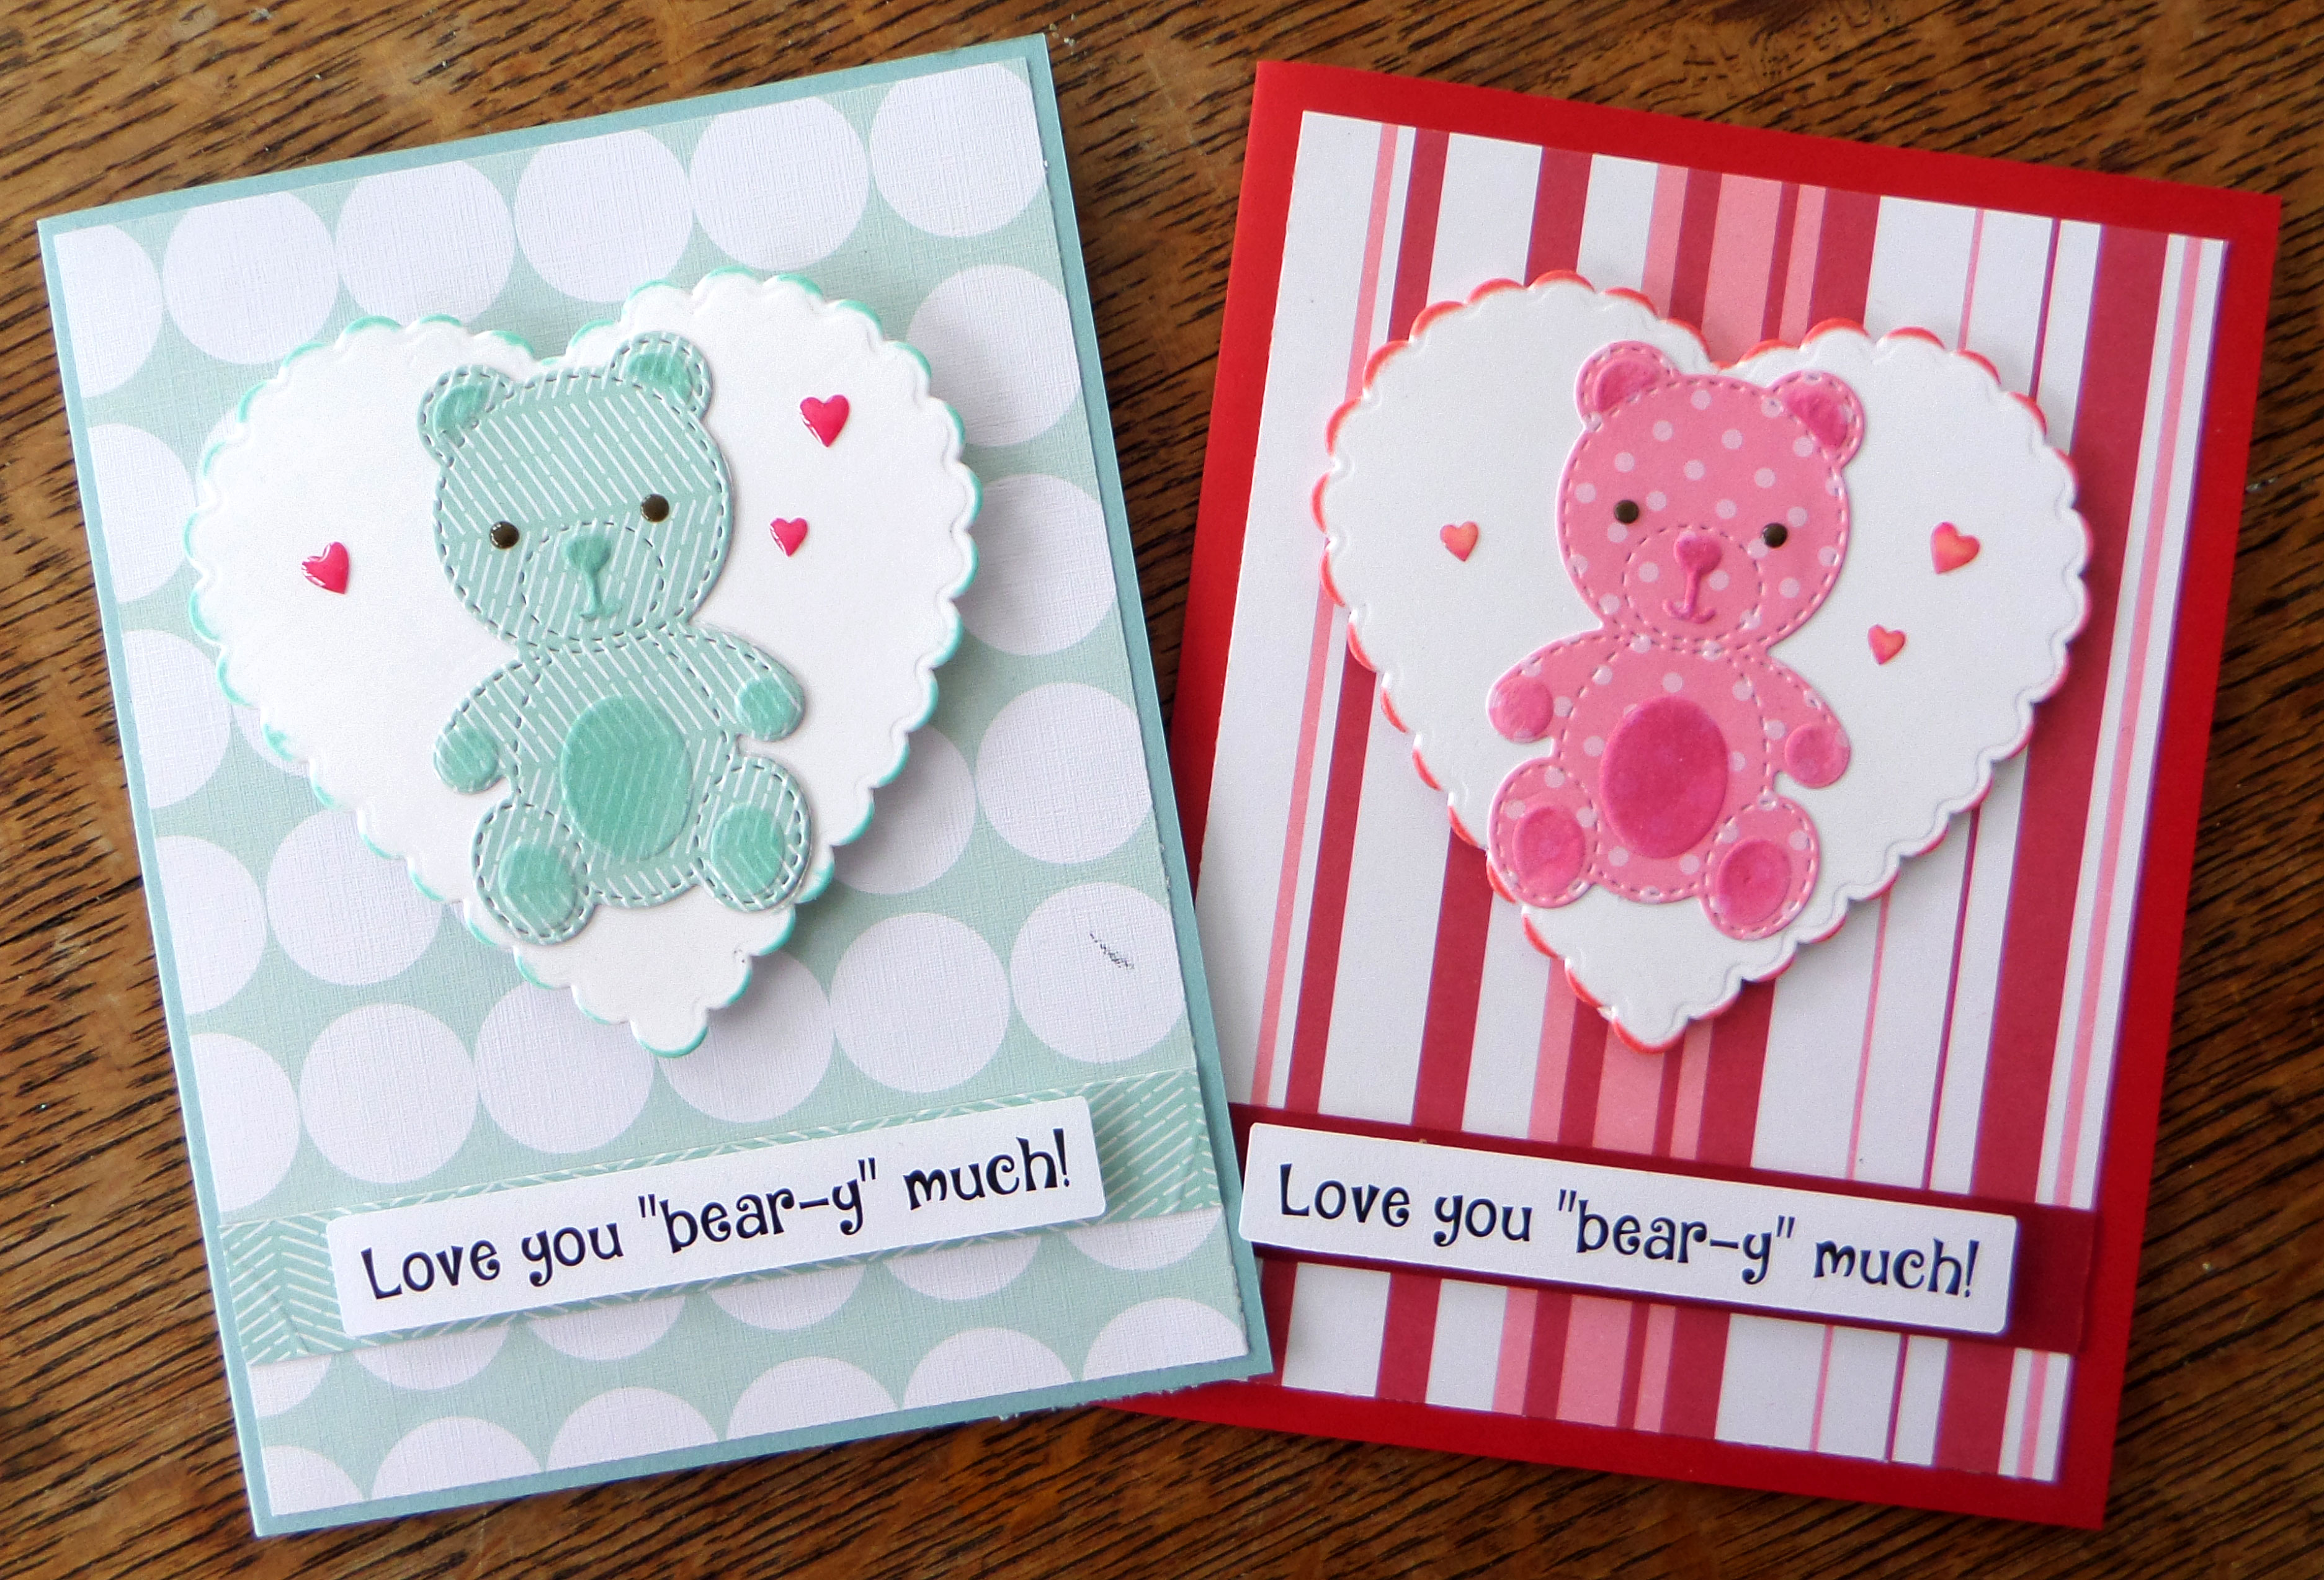
This was such a quick Valentine to make. I used some pretty, printed cardstock for the card base. I cut 1/8" off the right hand side of the front and then used a border punch to create the scallops (which also cut off an additional 1/8"). 

I glued a strip of pin cardstock to the right side of the inside back half of the base. When that was done, I rounded the corners of the inside (with the pink strip)


The die-cut sentiment was left over from making last year's Valentines, so I popped it up on the front of my card. I added a couple of die-cut hearts--the front one is glitter CS and the back one is cut from the same CS as the pink strip on the inside.


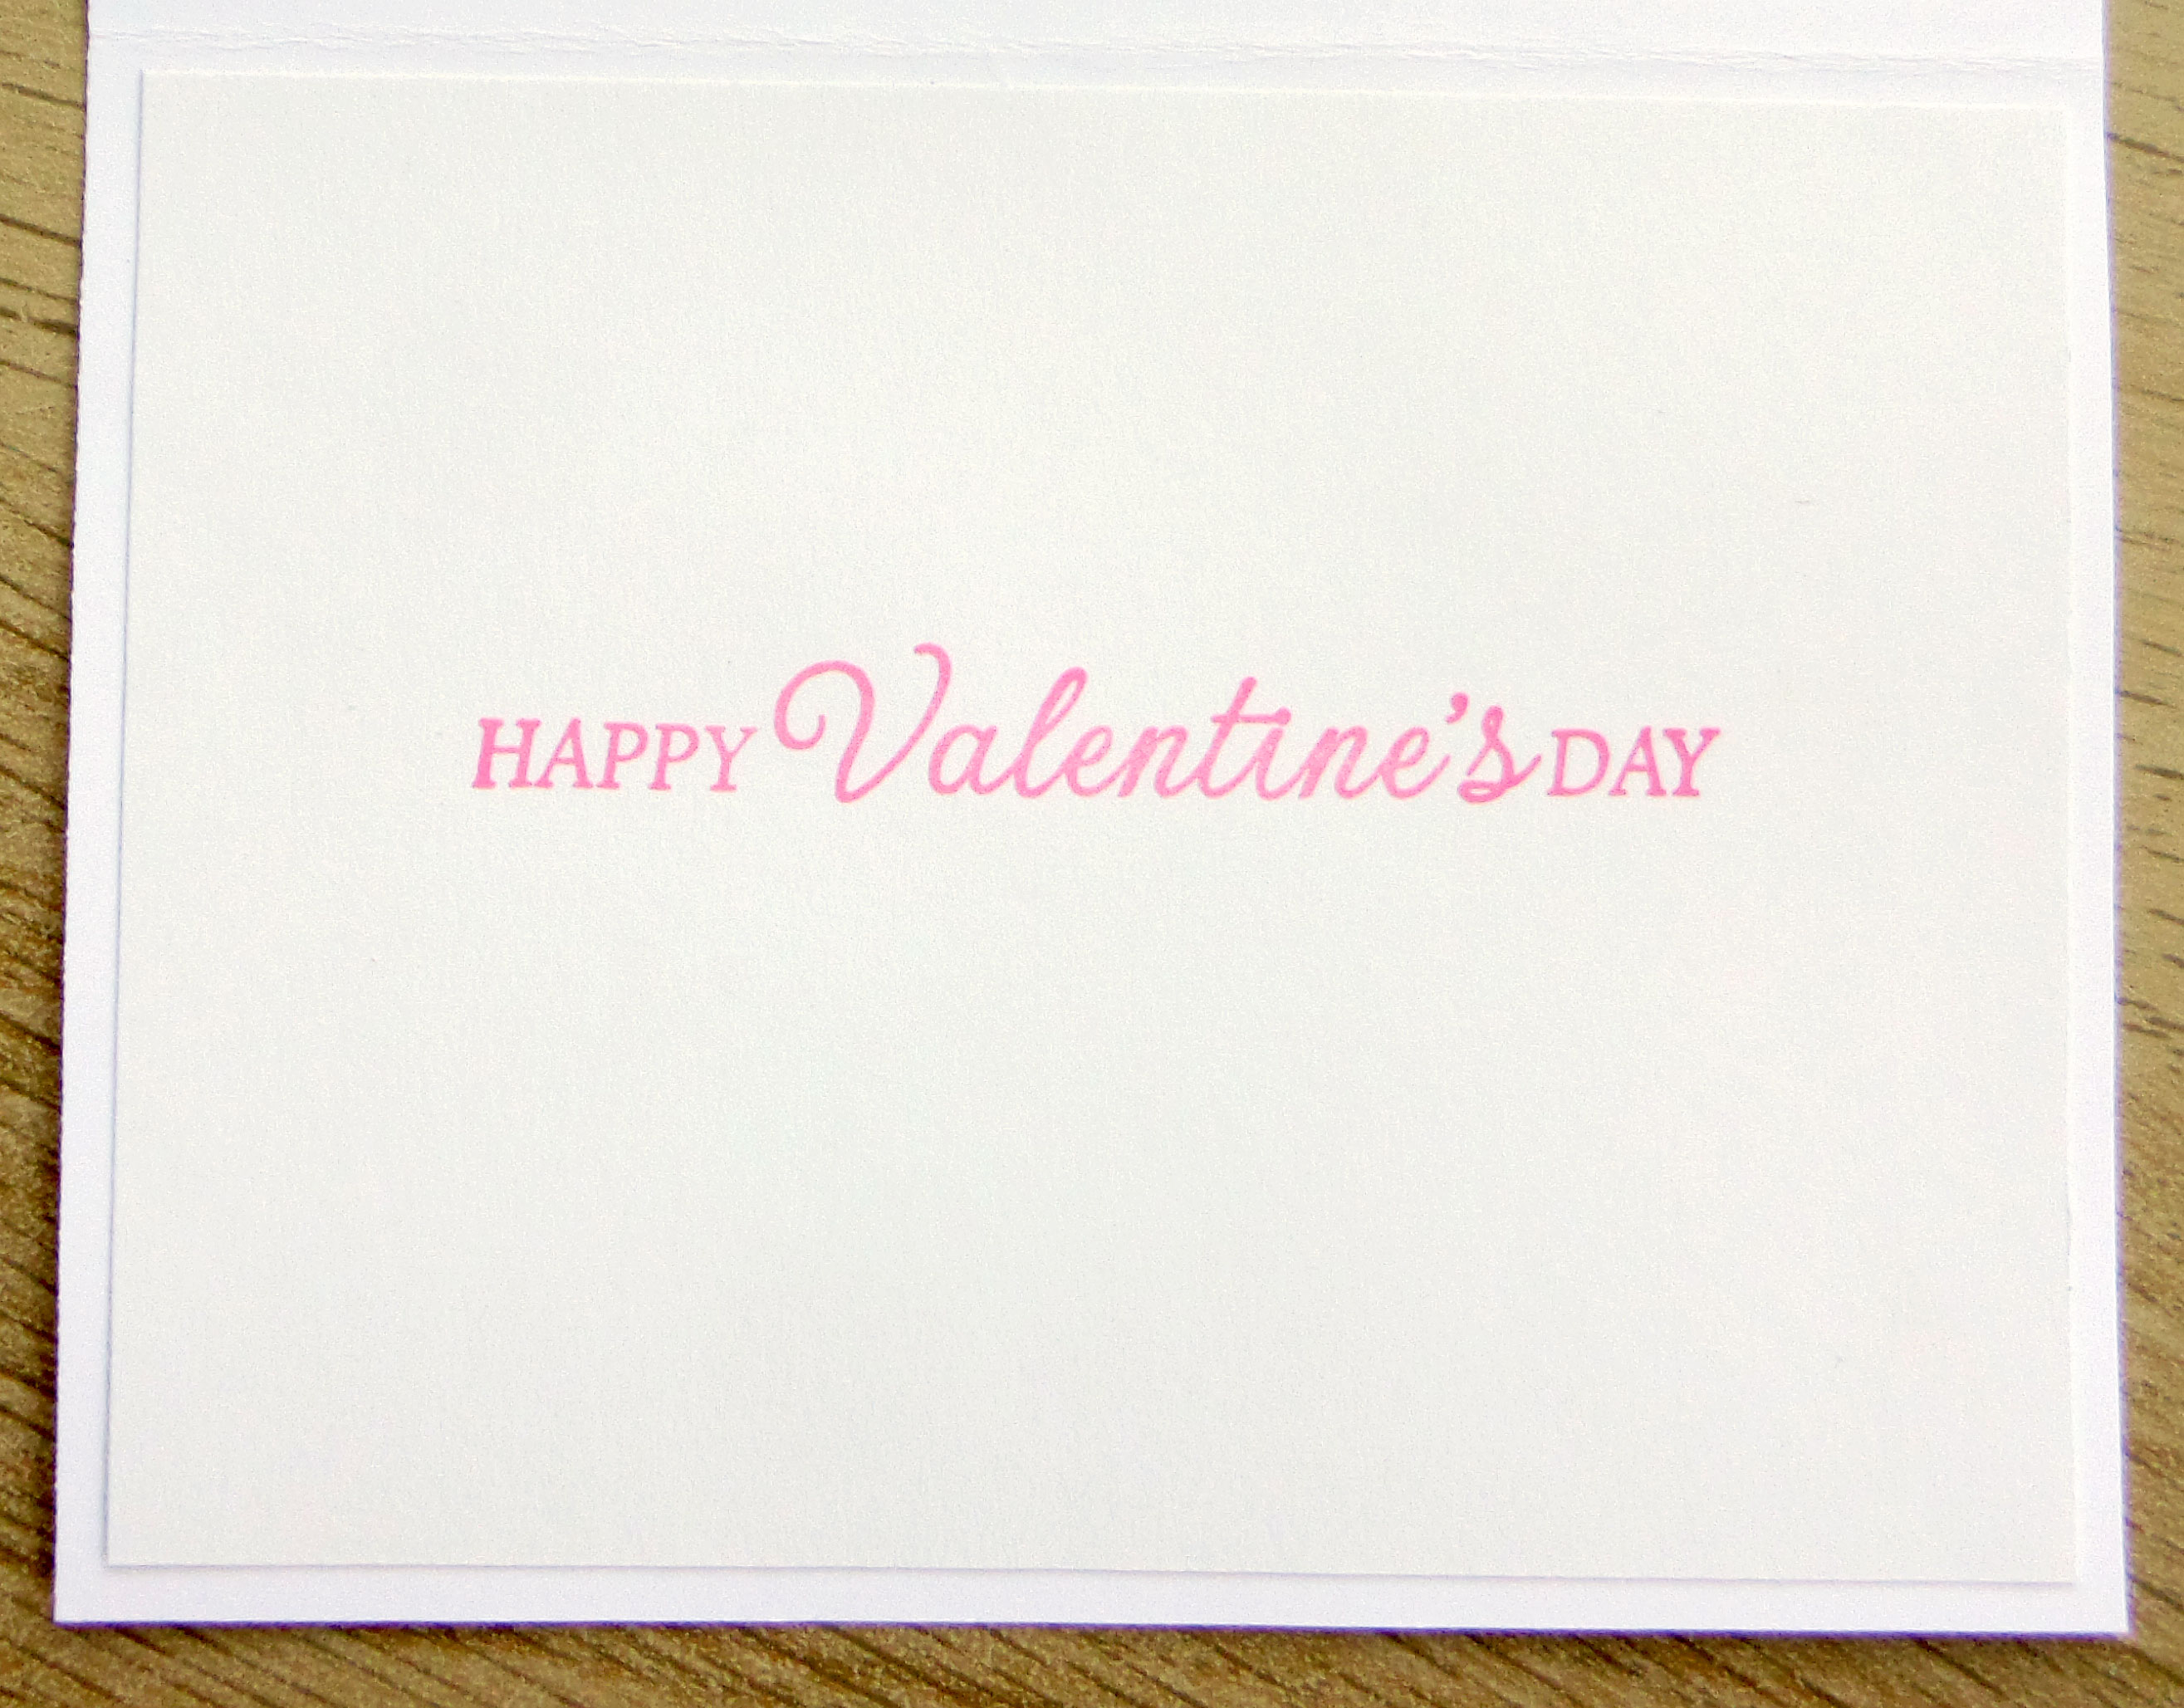
I stamped a simple sentiment on the inside. I think the pink strip adds a nice bit of color when the card is opened.


The word "Love" on it's pink background is a cut-apart from a 12" X 12" paper stack. I cut it out, backed it with some metallic gold cardstock, and popped it up with foam tape.

Then I added the word "You," also cut from metallic CS, and a few punched hearts. So simple, but I like how it turned out.


Once again, I stamped a simple sentiment on the inside.


For this card, I first cut a panel from a 12" X 12" sheet that included both the striped pattern at the bottom and a plain peach color at the top.

I stenciled some tone-on-tone hearts to the top section and then glued the panel to my slimline cardbase.

Finally, I die-cut the two cats, glued them directly to the card and popped up the die-cut sentiment, which had been printed with my computer.


A simple, stamped sentiment on the inside finished the card.

These were all fun to make and came together pretty quickly. They were all donated to the thrift store. The Valentines I've made for them seem to sell like hotcakes. I take 8-10 Valentines, along with an equal number of other types of cards, every week and they are almost always sold out within the week. It sure keeps me busy--and very thankful for my friend Lynette (My Stamping Addiction), who also contributes many cards to add to the mix.

Thanks so much for stopping by, and remember to laugh--a little or a lot--every day.

Cheryl


Wednesday, January 15, 2025

3D hearts...


I created this pretty panel with a 3D heart embossing folder, using light pink cardstock. Then I spritzed it with some Heidi Swapp Color Shine called "Primrose." The spritzing definitely helped to create more definition of the 3D heart pattern.

In fact, I thought it had enough going for it that it really didn't need anything else. I matted it with black, adhered it to a white 4" X 5 1/4" panel and put the whole shebang onto a black cardbase.

The sentiment was stamped, die-cut and popped up on foam tape.


I love the different dimensions of the hearts. I also loved the shades of color that the Color Shine spritz added. Besides that, it's just plain fun to "spritz!"


The sentiment on the inside was stamped. I thought this particular sentiment would work for a love partner, a friend, or even a son or daughter. 

We probably all have a "You are the best!" sentiment in our collection of stamps, so think about using it for Valentine cards.                                     


My crafting space now looks like a Valentine tsunami came roaring in unexpectedly. I barely have a 6" square space on my counter in which to put together my cards. I have gotten all my Valentines done for the grands, and am currently working on more for other family members--while still making cards for the thrift store. It's a busy time, but lots of fun. I am truly thankful I can spend 2-3 hours each day making cards. It's my therapy!

Thanks so much for stopping by, and remember to laugh--a little or a lot--every day.

Cheryl

Monday, January 13, 2025

Sending love....


I wanted to use up some snippets of DSP, so I created this Valentine using four different pieces. I am entering this card into Challenge #497 on the Snippets Playground blog.

After cutting my white cardbase, I also cut a metallic silver shadow for my X's and O's.


I popped my "sending love" sentiment up  on foam tape and then  scattered some tiny hearts across my letters.


I stamped a sentiment on the inside and added one more little heart.

I'm going to try to make a few more of these and use up more of those snippets. It sure feels good to put them to good use and not just throw them out.

Thanks so much for stopping by, and remember to laugh--a little or a lot--every day.

Cheryl

Friday, January 10, 2025

To ink or not to ink...


A friend at my church had given me an envelope filled with card parts left over from a mostly used card kit. Some of the pieces were perfect to use for Valentine cards, so that's what I made with them.

As I was making the cards, I decided to try a little comparison test. I thought I'd do some ink blending on one and absolutely none on the other card. I'd look at them side-by-side to see which one I liked better.

The card parts for this card were the circle, the chameleons and the tiny hearts. I found the dotted DSP in my stash and searched out a small ink cube that was the right color.  I blended some ink along the outside edges of my DSP and glued it directly to a white card base.


After inking around the edges of the circle, I adhered the chameleons and hearts. Then I popped it up with some foam squares onto my card front.

The sentiment was stamped, die-cut, and also popped up with some foam squares.


For my second card, I cut the panel of DSP to 4" X 5 1/2" so that it covered the full length (but not the width) of my card front. Then I added a thin strip of matching cardstock down each side of the DSP. The rest of the card was made the same as the first card, minus the ink blending.

Both cards had the same stamped sentiment on the inside.

When I was done, and looked at them side-by-side, I STILL couldn't decide which one I liked better. Do you have a favorite? 

I will probably make a few more of these as I have more chameleons and more little hearts. There were no more scalloped circles in the envelope, but I can easily cut some of those.

The chameleons reminded me that my daughter had a pet chameleon when she was in college. It was an interesting pet--especially when it changed colors--but not a very cuddly one. These days, she prefers dogs and has four of them.

Thanks so much for stopping by, and rmember to laugh--a little or a lot--every day.

Cheryl

Wednesday, January 8, 2025

Sparkle, it's your birthday...


This sentiment is another one from Hannelie Bester (Desert Diva), that I had printed out long ago. I've been trying to use up some of my card parts, so I decided to pop this one onto a card.

This patterned paper has lots of sparkle. All of the white areas are glittery. You can see it if you zoom in.

It actually was a gift bag that I bought at Dollar Tree and cut up to use on cards. The back side had no glitter, so I used it last spring for some Easter  cards (you can see them here) and saved the glittery side until now.

I die-cut the sentiment and then popped it up on foam tape. As a sparkly embellishment, I added a gem in each of the colors found in the background pattern.


I added a stamped sentiment on the inside to finish the card.

I've now started making Valentines--most of them for donating--and I'll be sharing some of them in the near future.

Thanks so much for stopping by, and remember to laugh--a little or a lot--every day.

Cheryl

Monday, January 6, 2025

Starting my holiday cards for 2025...


I had three window frames left from making a number of cards with them. I shared one of those cards with you in this post. I had run out of the images of the lighted tree I had used previously, so I decided to use an AI program to create another tree image with just a single star at the top.


After gluing my tree scene behind the window frame, I popped the whole rectangle up on foam tape.

I die-cut a white cat, blended a little gray ink onto it, and placed it in the bottom window pane. I think it looks like it's staring at that brilliant star.

The sentiment was stamped and also popped up on foam tape.


The inside was stamped with a holiday sentiment to finish the card. 

I used the other two window frames to make two more cards, just like this one. Three done...87 to go!

When I first created the tree scene for this card, I was concerned that it might be too dark an image. After putting together the first card, though, I decided I really liked it. I especially liked the way the tips of the branches were highlighted with light from the star.

Thanks so much for stopping by, and remember to laugh--a little or a lot--every day.

Cheryl

Sunday, January 5, 2025

Let's Craft and Create Challenge #215: Anything Goes or Cheers to You! (use a sentiment)...


If you're like me, you're gobsmocked that it is already 2025. It seems like we just entered the 2000's a year or two ago. It also makes me wonder how many cards we all have made in the last 25 years.

The themes for this first challenge of the New Year at Let's Craft and Create are "Anything Goes" or "Cheers to You!' (use a sentiment). I chose to make a card using a sentiment. Almost all my cards have sentiments on the front, so it was an easy decision for me. Here's the card I made:

I have this die that cuts a pretty, delicate floral corner design on a panel. I decided to cut it twice to really dress up my card front.

I wanted colors, other than green, behind the flowers in the cut-out design, so I cut small pieces of cardstock and glued them behind the openings.

To finish my flowers I added tiny Nuvo Drops to the centers and scattered three flat-back gems in each die-cut corner. 

The sentiment was stamped, using my stamp positioner, to get it straight and in the center.


I stamped another sentiment on the inside and my card was done.

I hope you'll play along with us. You can find lots of inspiration from the Design Team on the Let's Craft and Create blogsite.

Thanks so much for stopping by, and remember to laugh--a little or a lot--every day.

Cheryl